Pulling the HDMI cable has been one of the toughest things we've had to do so far. Once you see the pictures, you'll know why.
Okay, this is the back of the alcove. We had to cut this big piece out so we could drill a larger hole in the 2x4 that's framing out this bad boy. This is what it looks like now with all the wires pulled through. Originally it was just the one coax. Once we expanded that hole a bit, we were able to attach another coax to the end with a male/male adapter and a lot of duct tape and pull it down into the basement while leaving a feeder line upstairs.
This is in the basement under the family room. We had to cut that hole (originally much smaller) to allow the larger head of the HDMI cable to pass through up to the family room.
What's this? Another damn hole? Yeah, it is. After passing through the 2x4 behind the alcove, the wires then passed through (at a weird angle, even) another 2x4 and then finally through the OSB panel. We had to cut the hole in the OSB large enough to see (using a mirror on a stick) where the wires needed to go, and also to get a drill and keyhole saw up in there and widen it out. You can't really see the angles here, but the OSB is about 8-9 feet up from the floor of the basement, between two struts and about a foot back from the foundation wall. It's a pain to get anything back into that space. Then the second hole we had to drill is actually angled up and back away from the wall so a lot of gyrations were involved here. Thankfully, we got it done and got the cables pulled.
Here's the other side. So much easier!
We just drilled a 1" hole right next to the other hole and then connected them with a keyhole saw. My dad pushed the coax up through the hole and I grabbed it through the open port where the speaker wires came up. We didn't even have to disconnect any of the speaker wires and use them as a transport mechanism. So much easier!
Check that out! Pretty snazzy, eh? The speaker panel is still pulled off, but I got the center channel hooked up to the new cable we have connected to the panel in the alcove. Now the input will be in the back where it's supposed to be and the output will be in the front where it's supposed to be. Woot!
Remember that paint trick I told you about? Here are some pics of the results:
Boo-yah. That's beautiful. With this method, as long as your tape lines are clean, your paint lines are clean.
Here are some before, during and after shots of what we are calling the "Colonial Room."
You can't really see the pink in here, but this room was baby pink and bright purple. Ugh.
Here it is in process:
The pink shows up better here. We had pull down the wallpaper border, remove all the hardware, and spackle the crap out of the walls.
Another handy tip from my mom: Use post-its to remind you when you finished painting a surface so you know when to put on the next coat. This is very helpful when you're doing a lot of projects at the same time and can leave one for a bit and come back to it.
Lots and lots of spackle. And this was one of the better rooms. notice we pulled down the light fixture and the smoke alarm. So much easier than painting around them.
And these are the walls after paint. We still have a few more things to do in here, but it already looks and feels so much nicer!
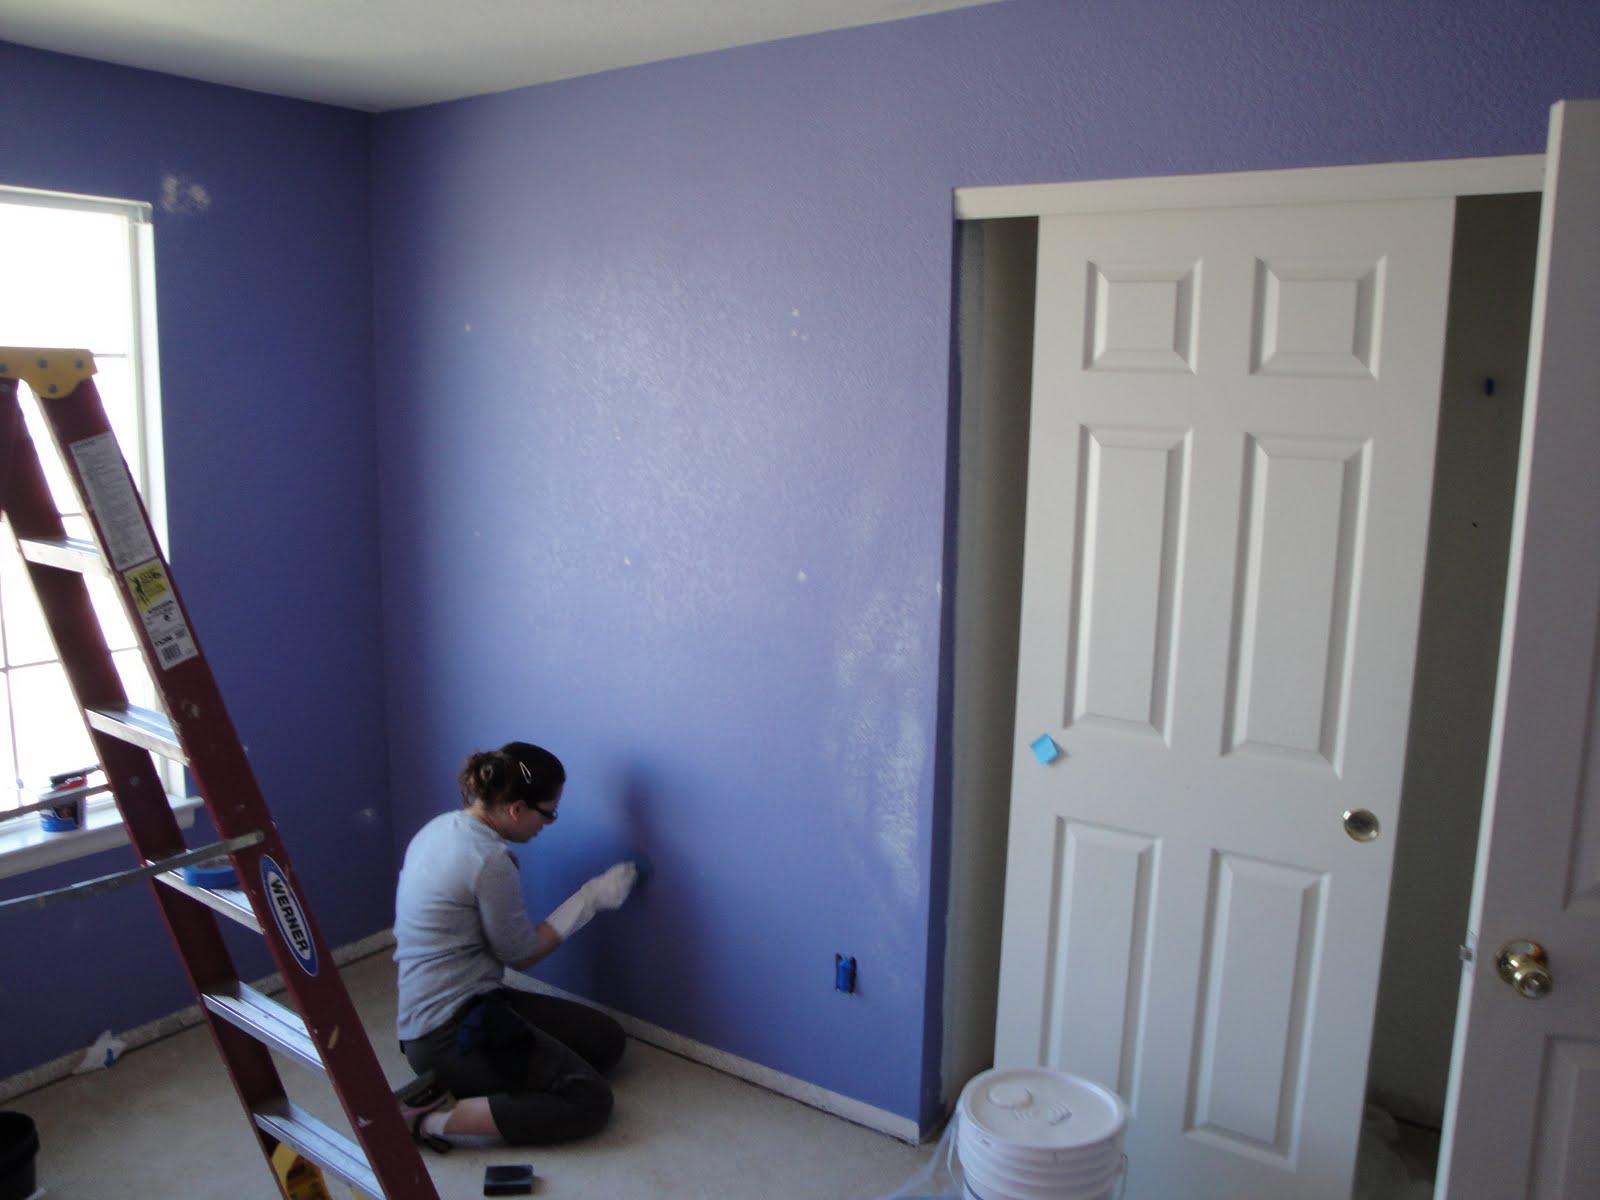
My loving wife working on the last bits of paint around the window.
The lighting makes this look brighter than it is. It's actually a really beautiful cornflower blue. We're planning to put white beadboard wainscoting and crown molding in here too, so it'll be a lot less blue in the end.
That's most of our progress from last night. Here's a quick peek at the next project:
Yes, that is all spackle. The "child" in this room used his walls for dartboards and the inside of his closet as a BB gun shooting range. What a wonderful family. We'll get this place fixed up right proper, though.


Great pictures and commentary!
ReplyDeleteWhen do you finally move in?
ReplyDelete