I finally got it. You can see it here:
It's one of those. Seriously wild, right? Booyah.
Seriously, though, the wild hair I'm always going on about is the one that inspires me to do a bunch of stuff to the house when I wasn't really planning on it. We got the bug this weekend and actually got a lot done. Here's a quick rundown. Or, more accurately, here's an extensive, plodding rundown, because that's more my style.
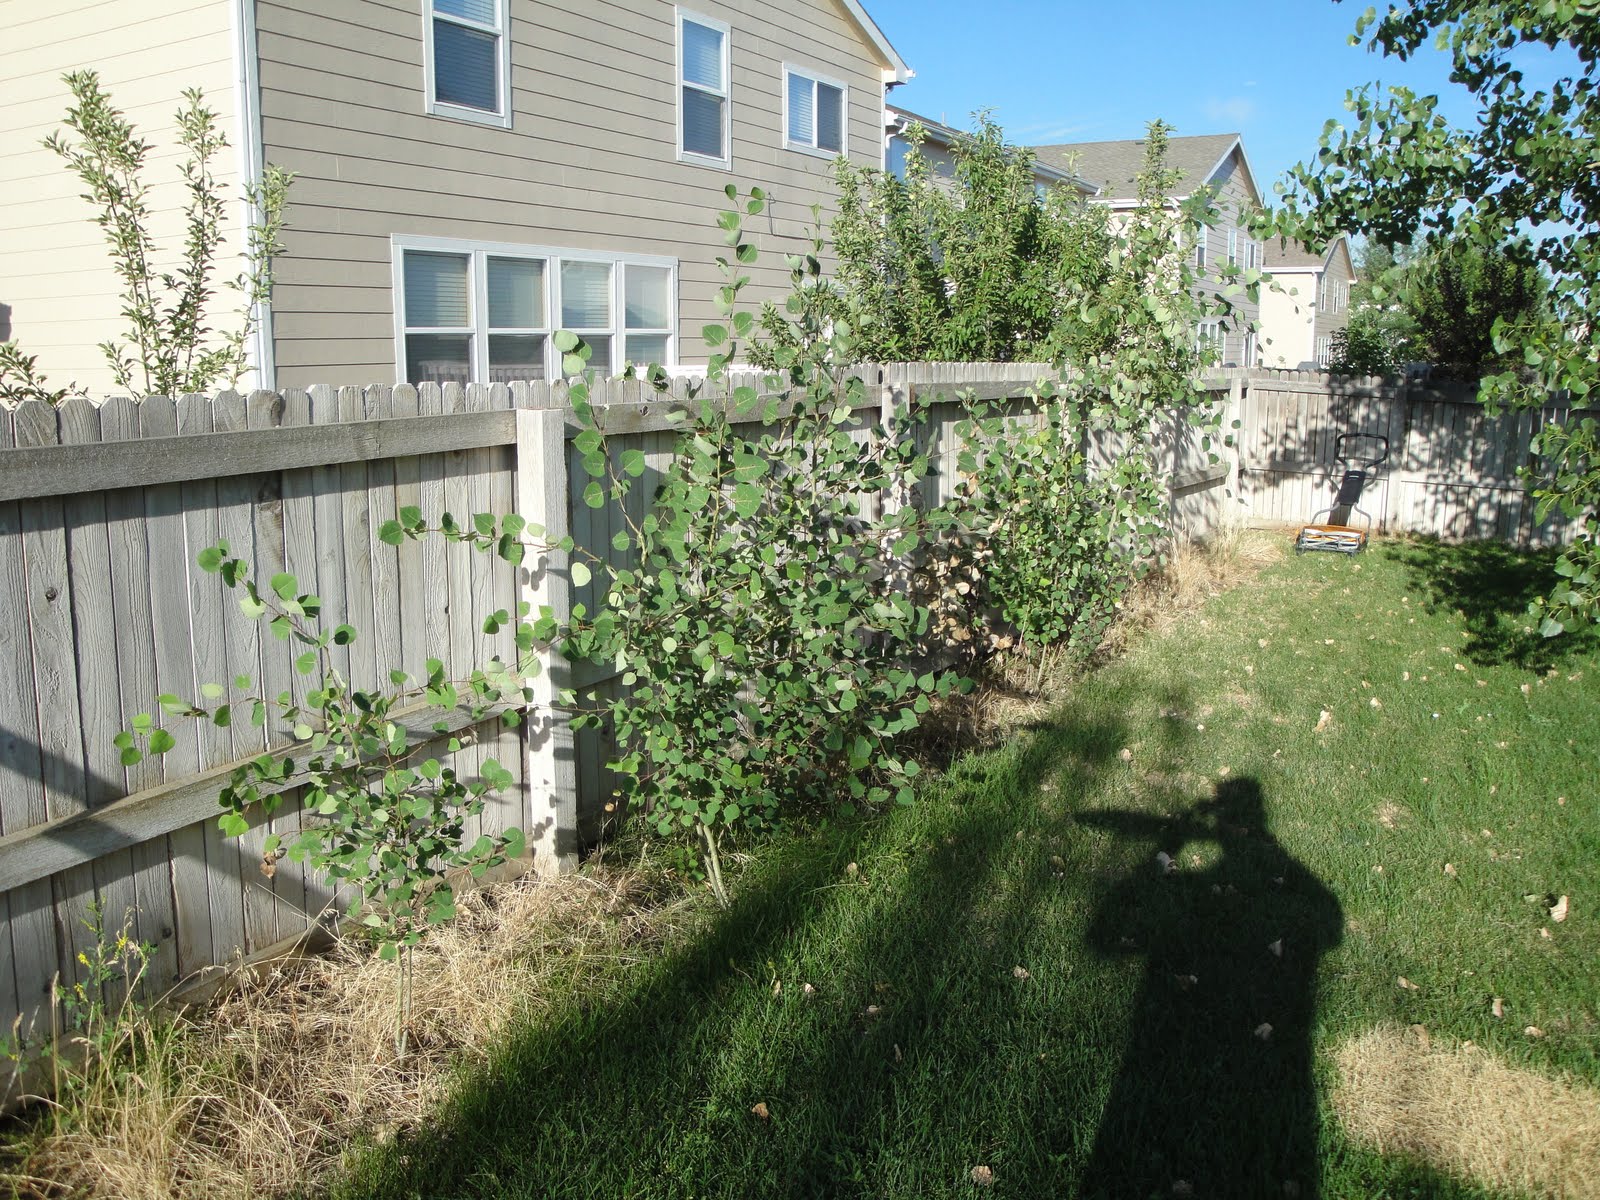
Look at the smug little jerks. Sitting there, thinking they own the place. Aspen trees are beautiful in the wild, but they're tough to domesticate. They get buggy and diseased all the time, and they send out little runners into your lawn and into your neighbor's yards and all. They're not ideal to put along your back fence. The good thing about them is that they grow like crazy. These guys were from 4-7 feet tall and they were little more than twigs in the ground a few months ago. Even with that, they have to go.
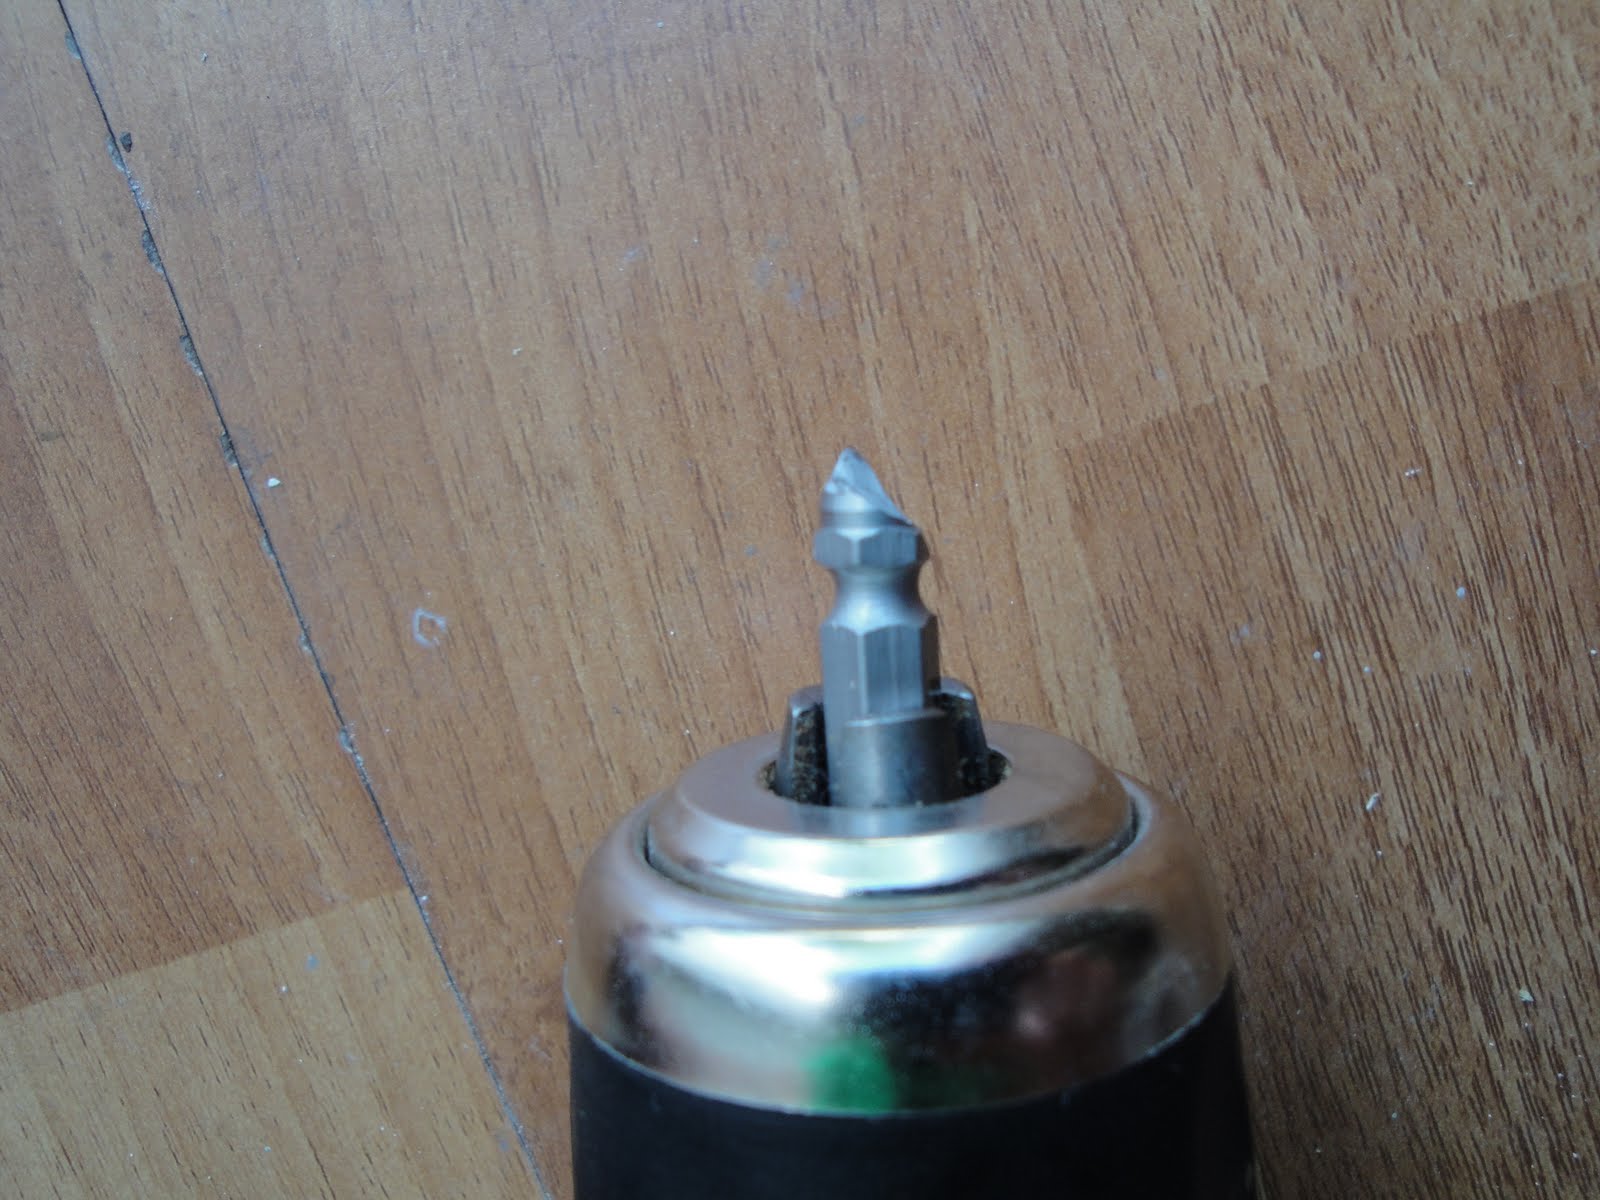
This here is my
weapon of choice. It's the same one I used on the giant weeds and I think it'll do well here. Oddly enough, I have probably 3 or 4 machetes around the house, so I have my pick of the litter. This one is working very well for everything I've had to do with it so far.
All better! The machete made quick work of these guys. Some of the trunks were over an inch in diameter but the wood is soft and wet so it wasn't too tough to chop through.
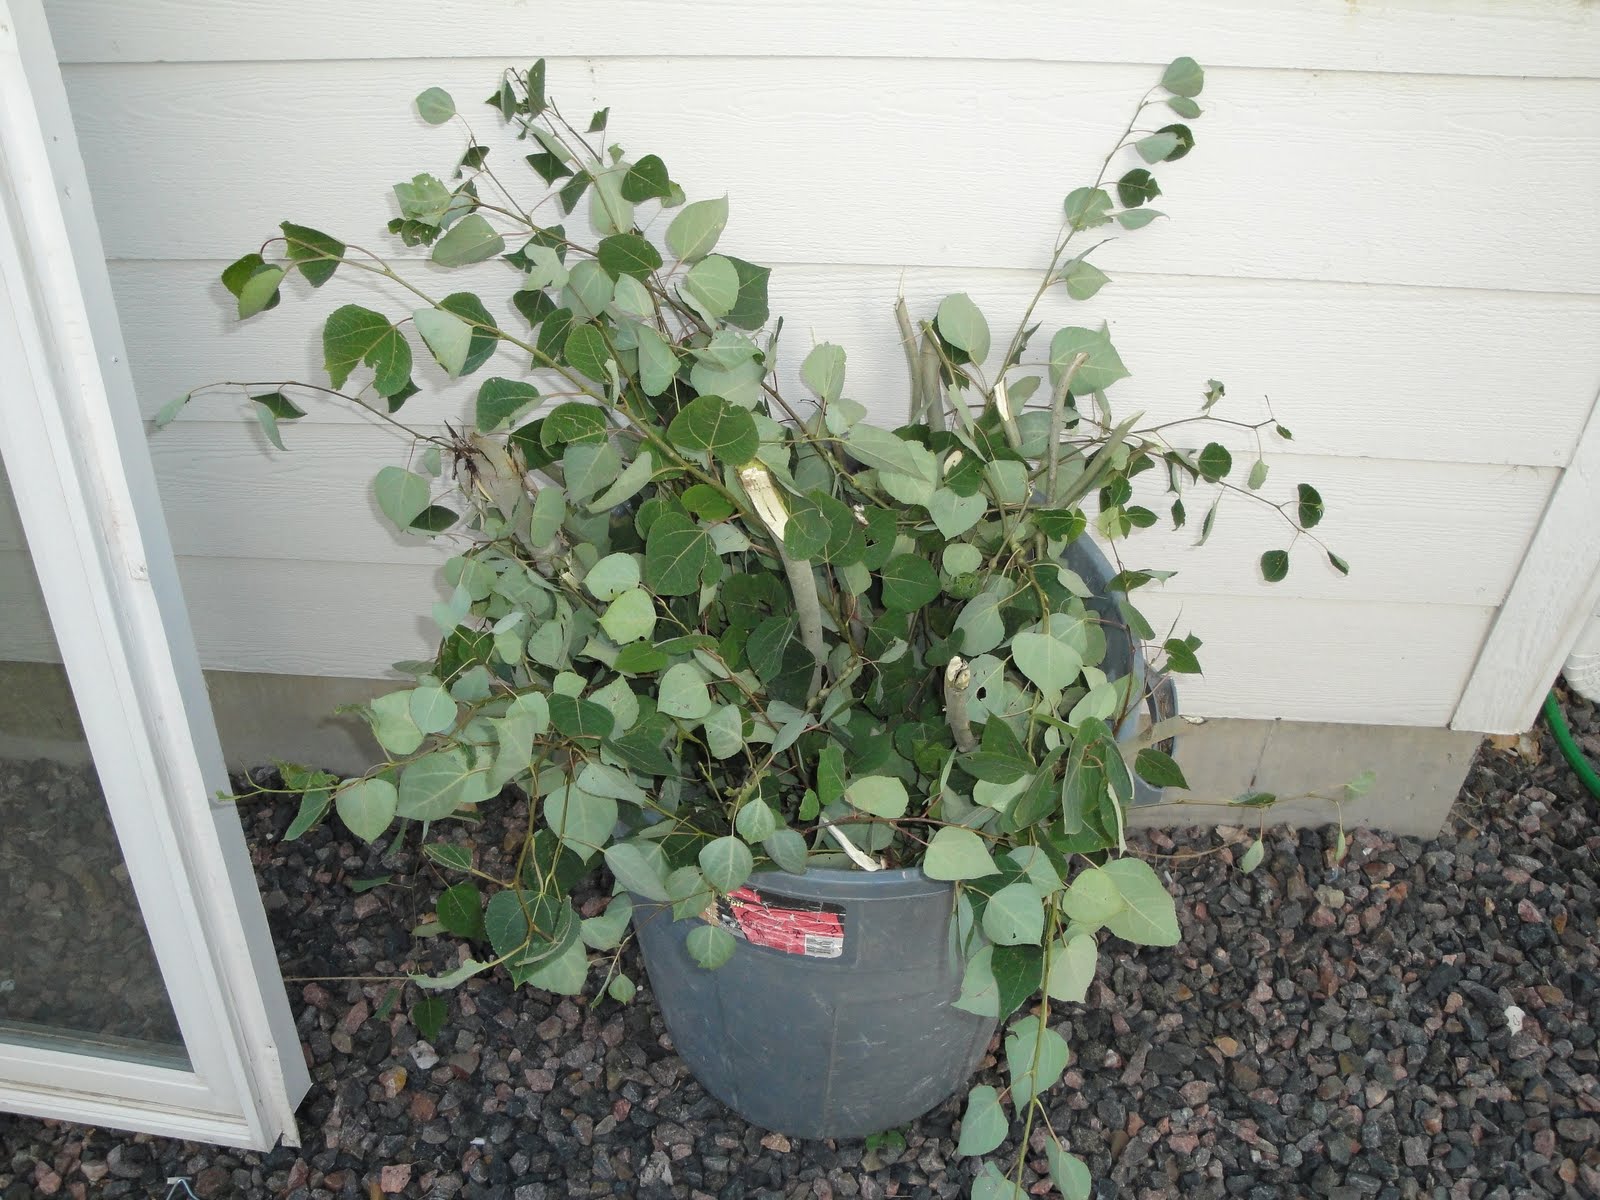
Trash can full of trees.
That's about it for the yard work. I mowed the front lawn, but the back lawn is chock full of weeds right now. Too many to pull feasibly, so I sprayed them all down with the Ortho stuff. So far I'm not seeing much effect. I got a bottle that hooks to the hose for a wide-area application, and I'm hoping that will be better. I have a nasty crabgrass infestation near the patio and I want that gone all the way.
On to other projects!
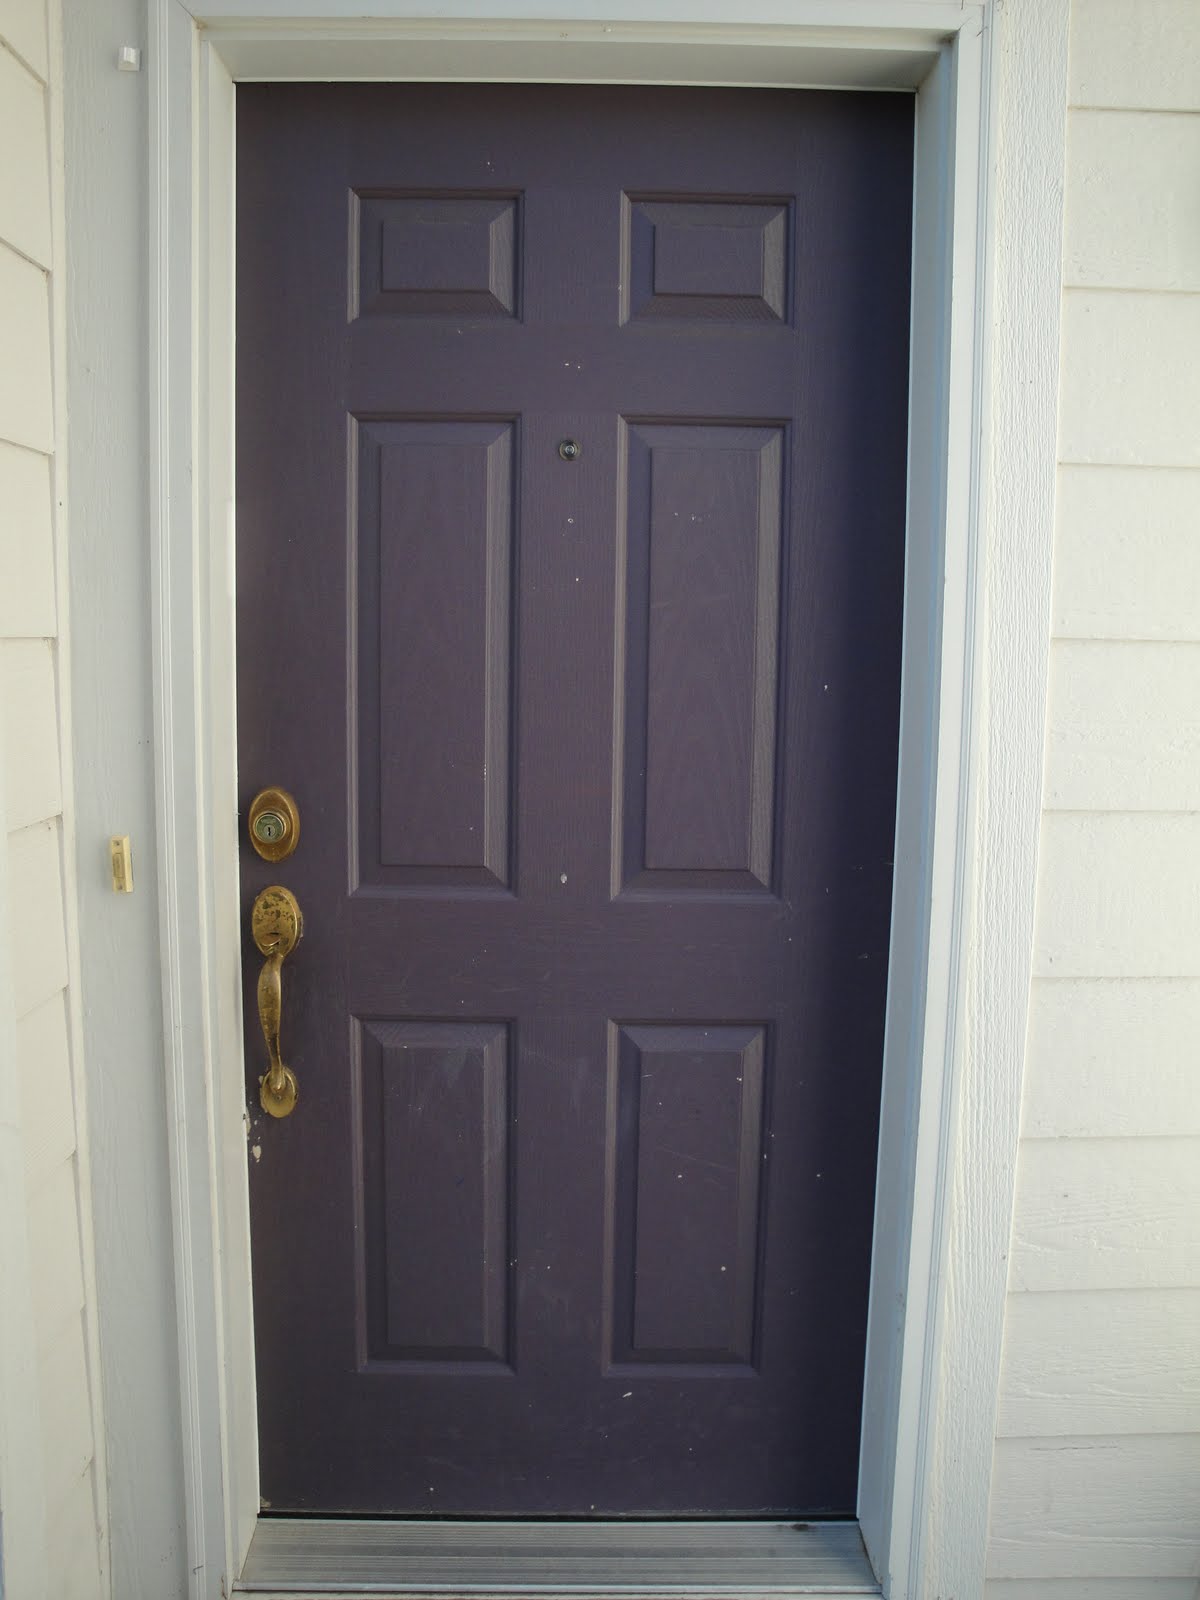
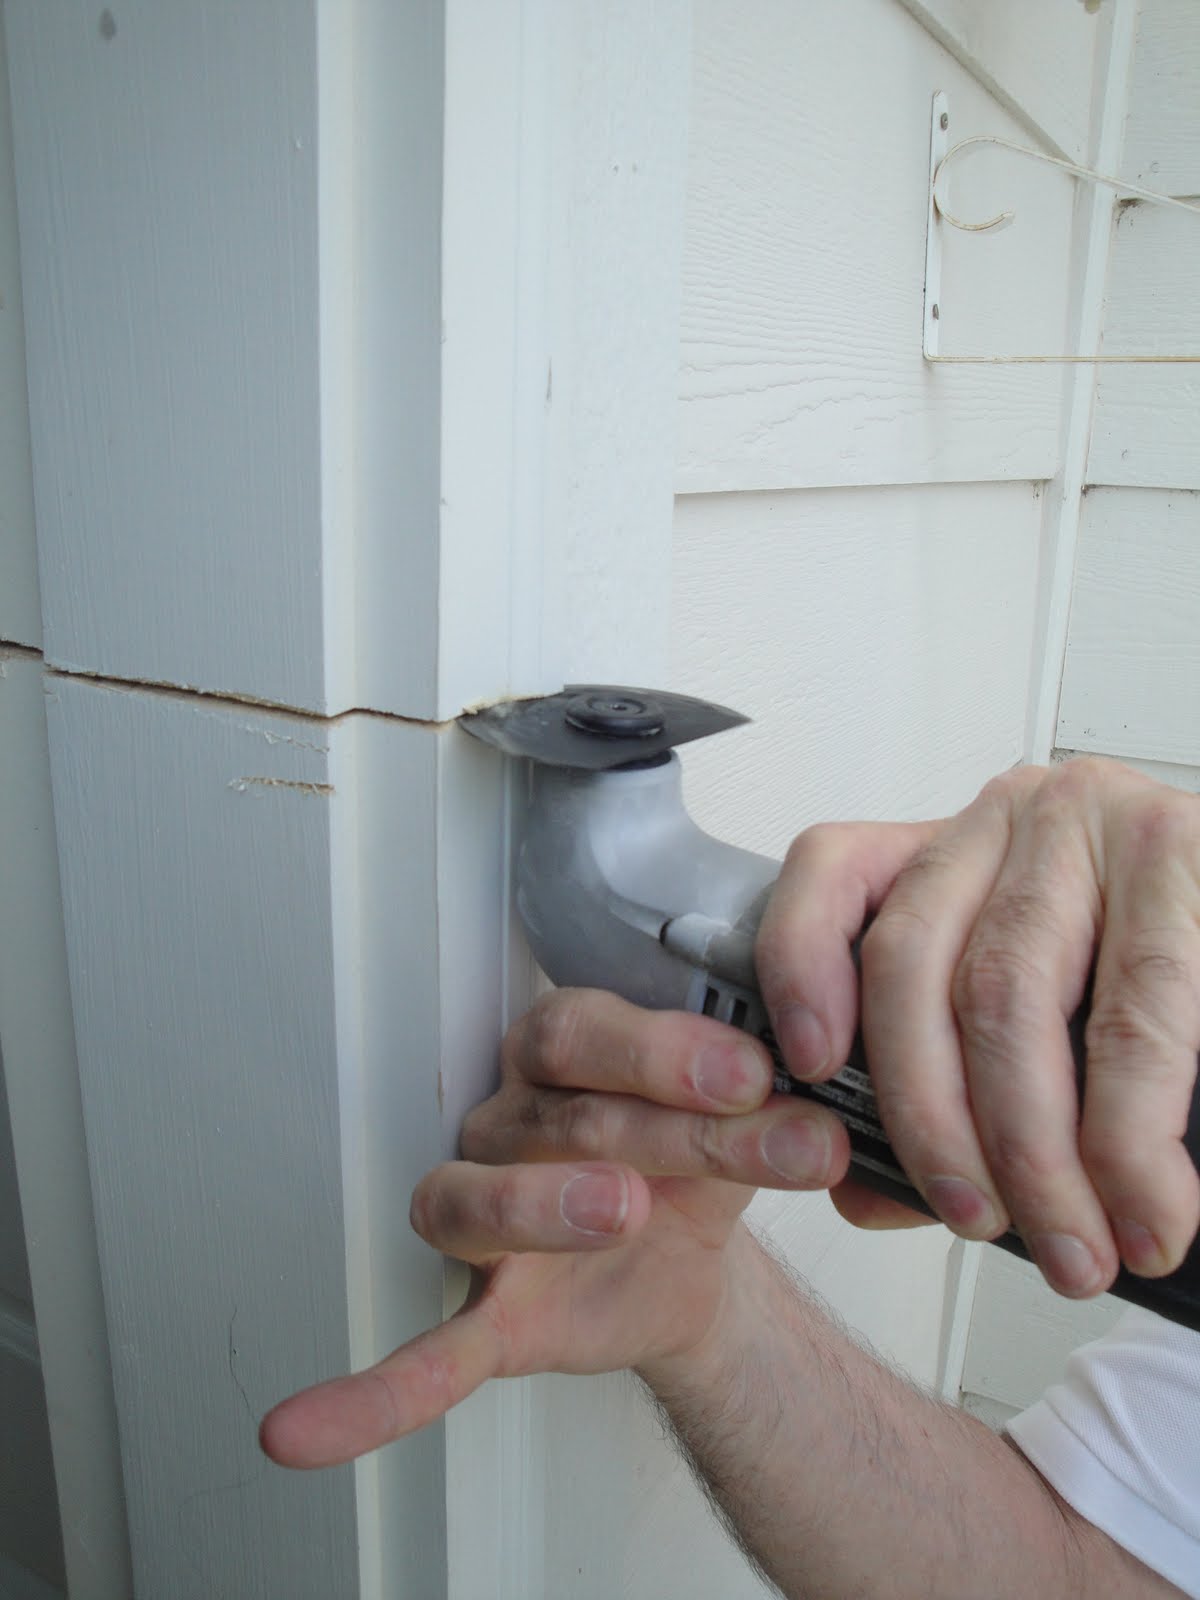
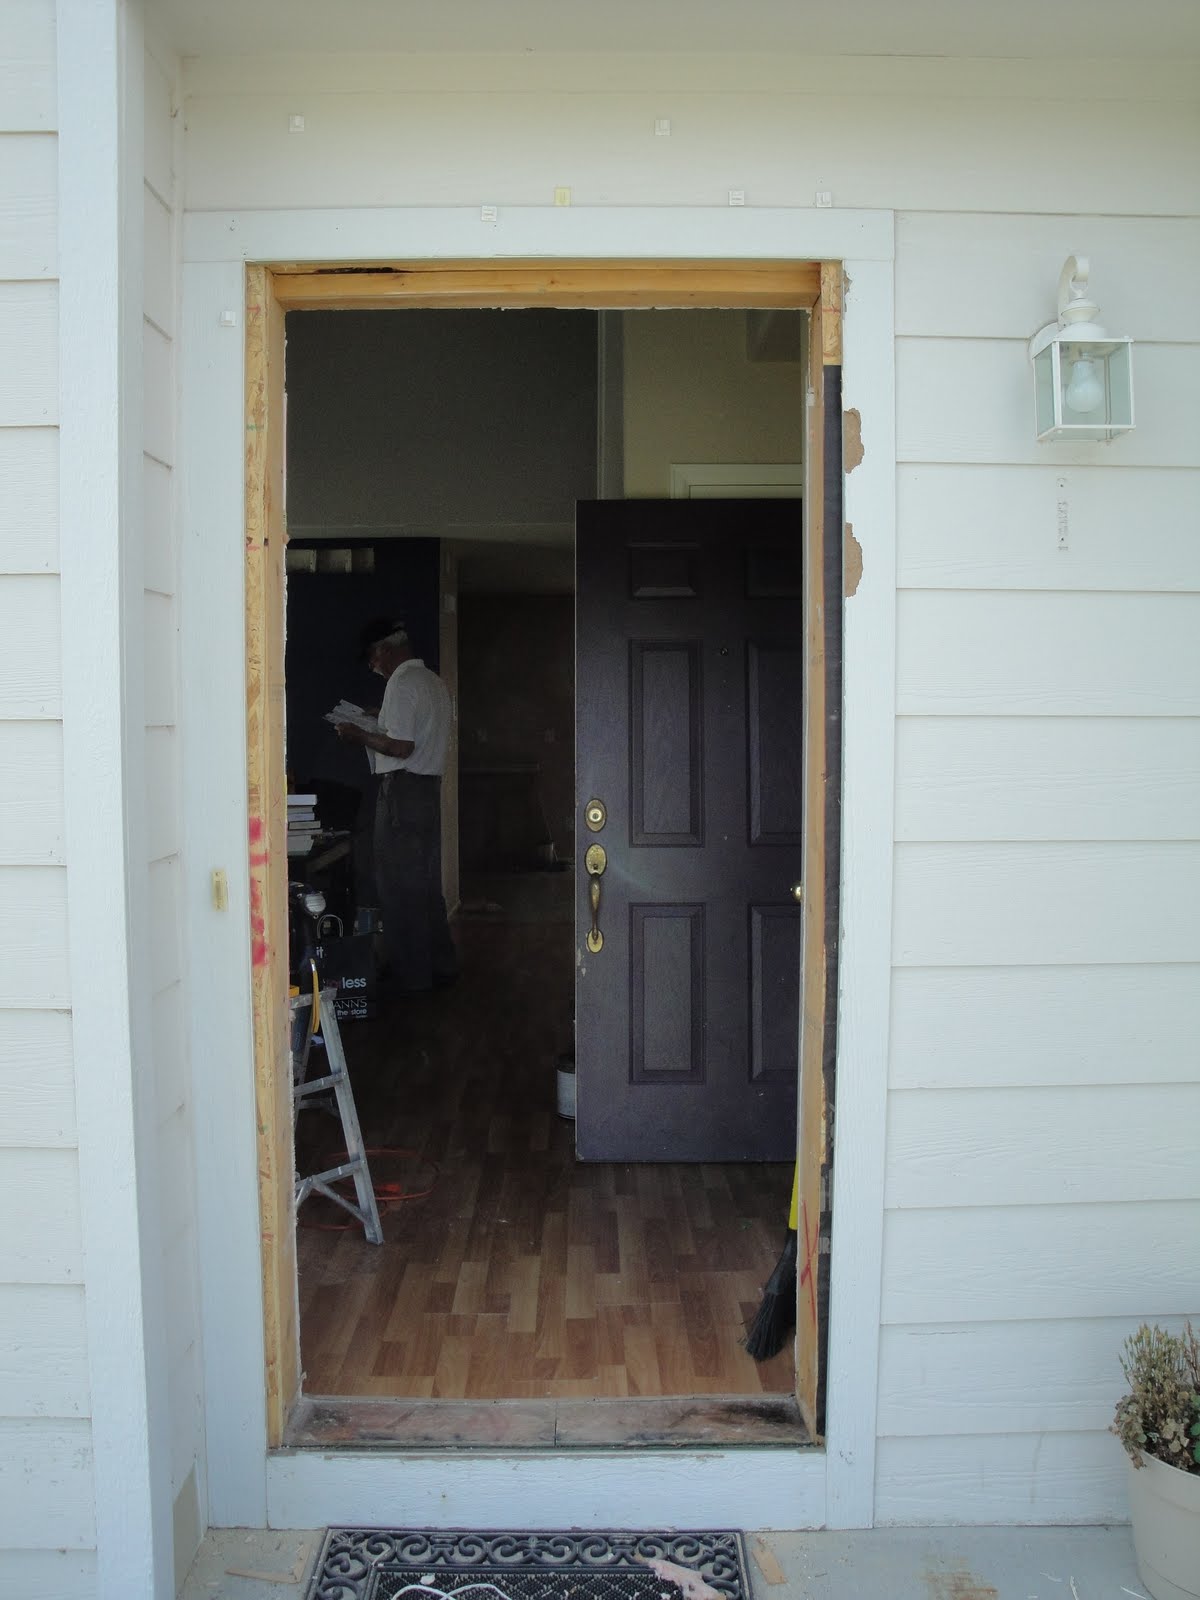
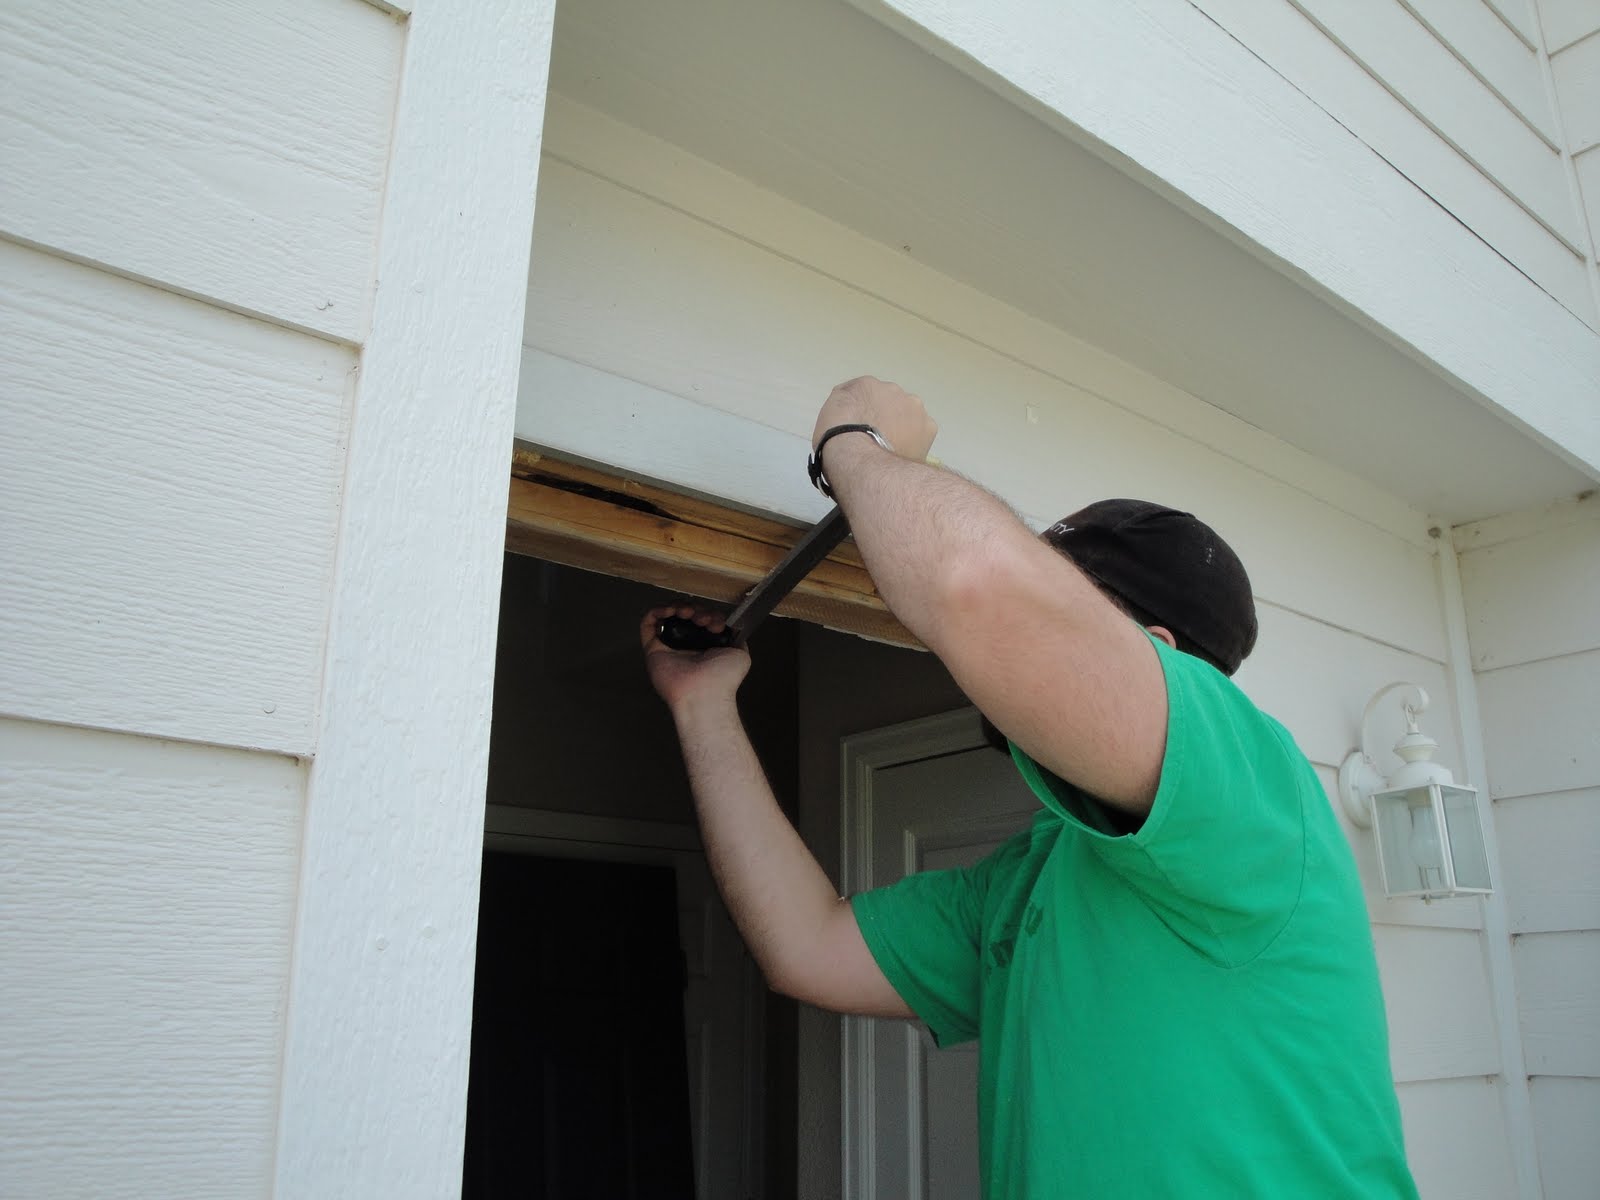
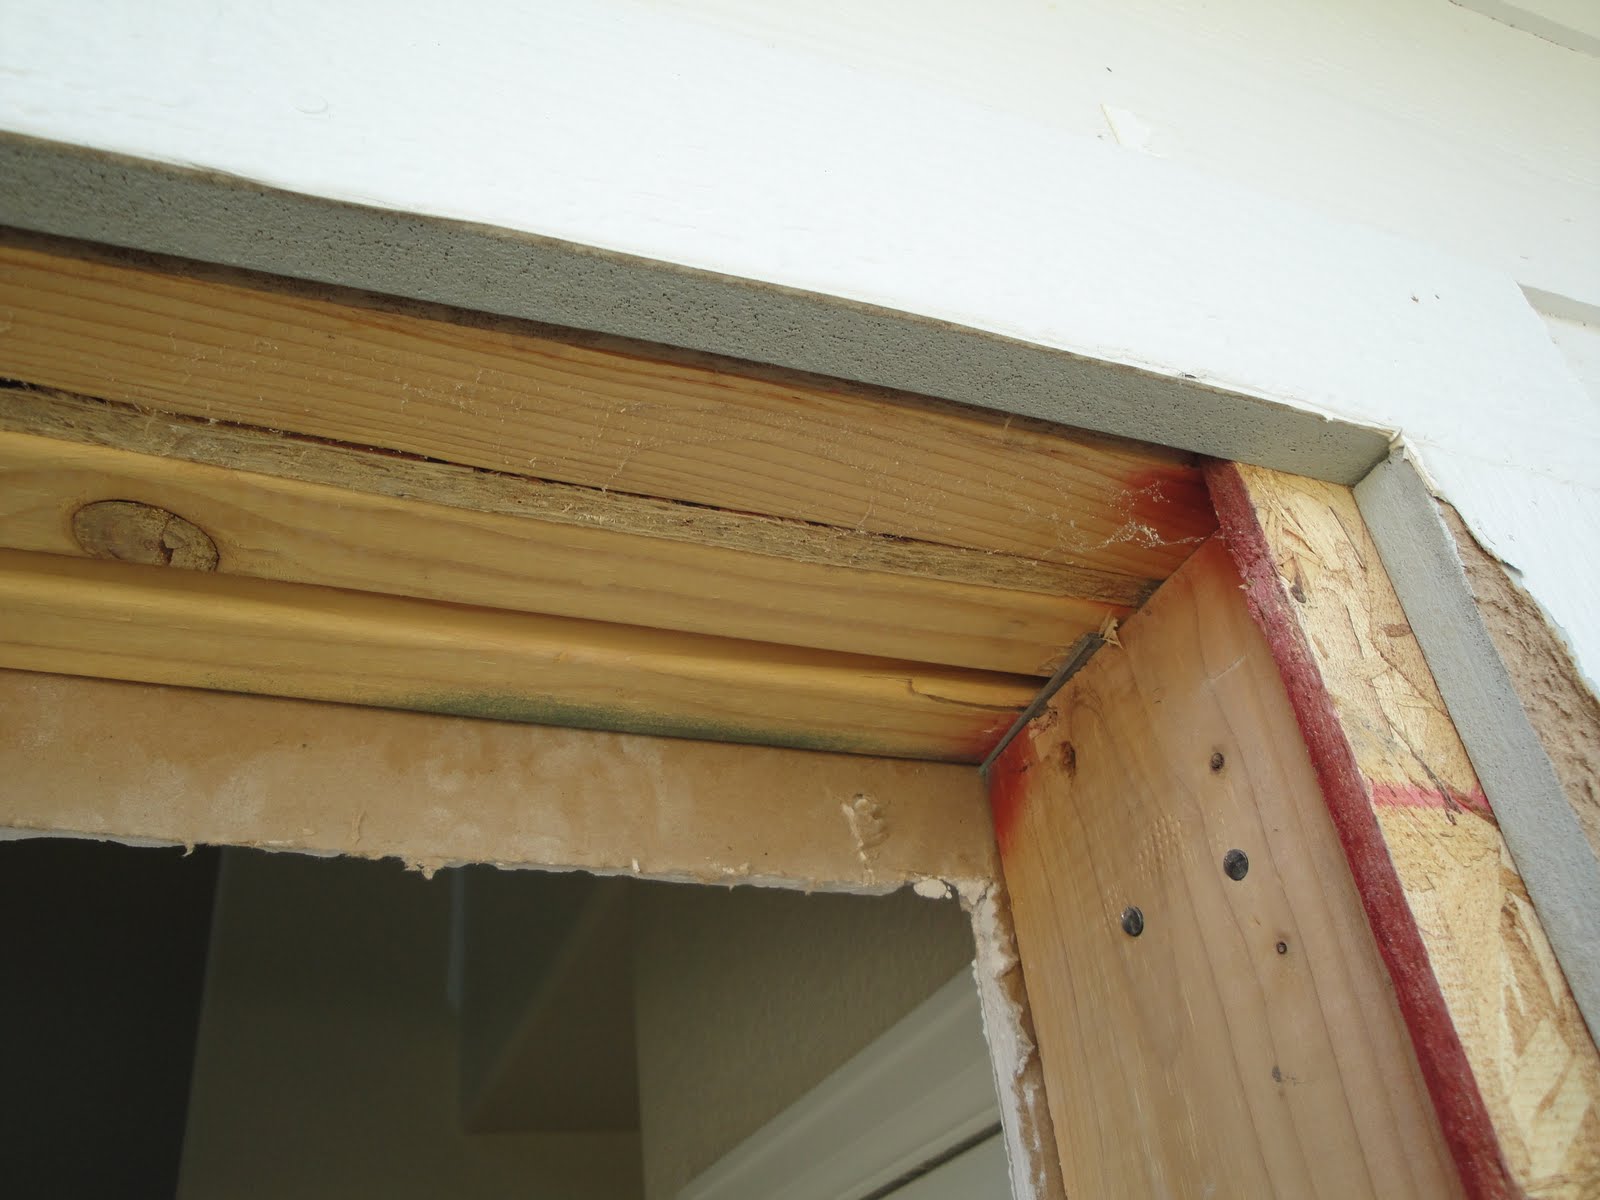
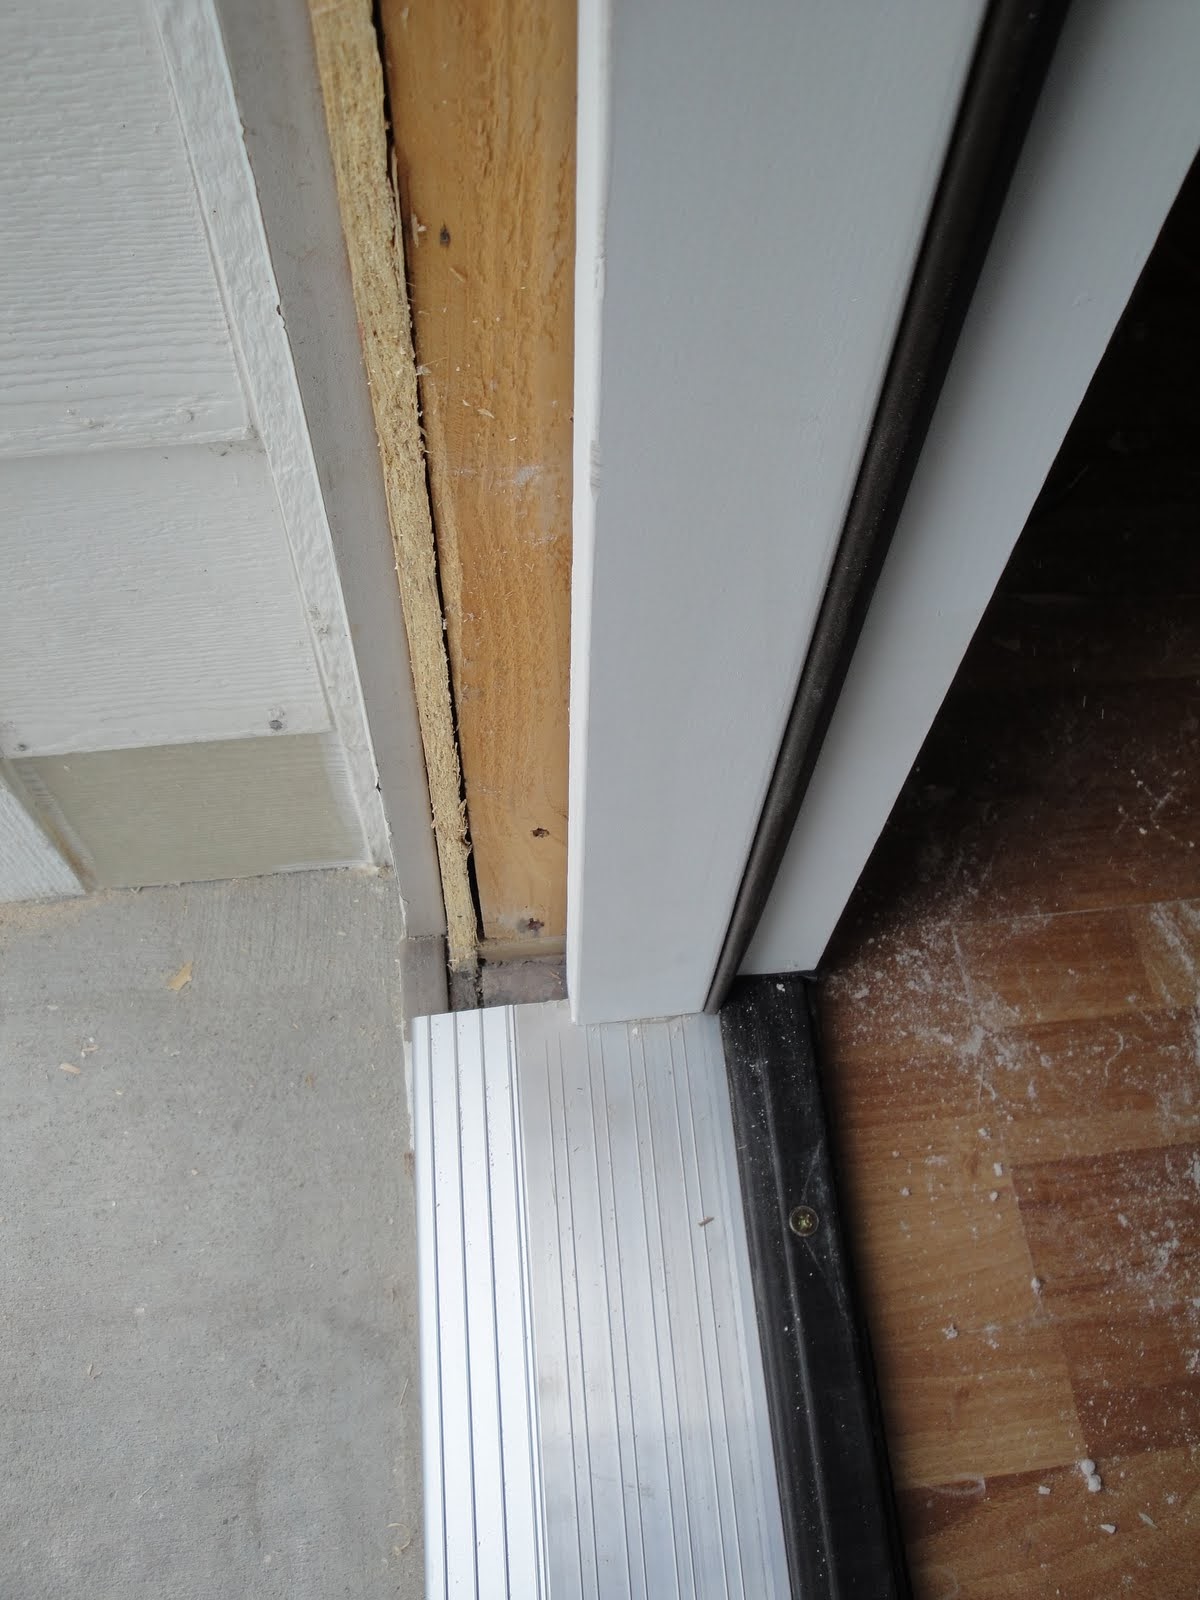
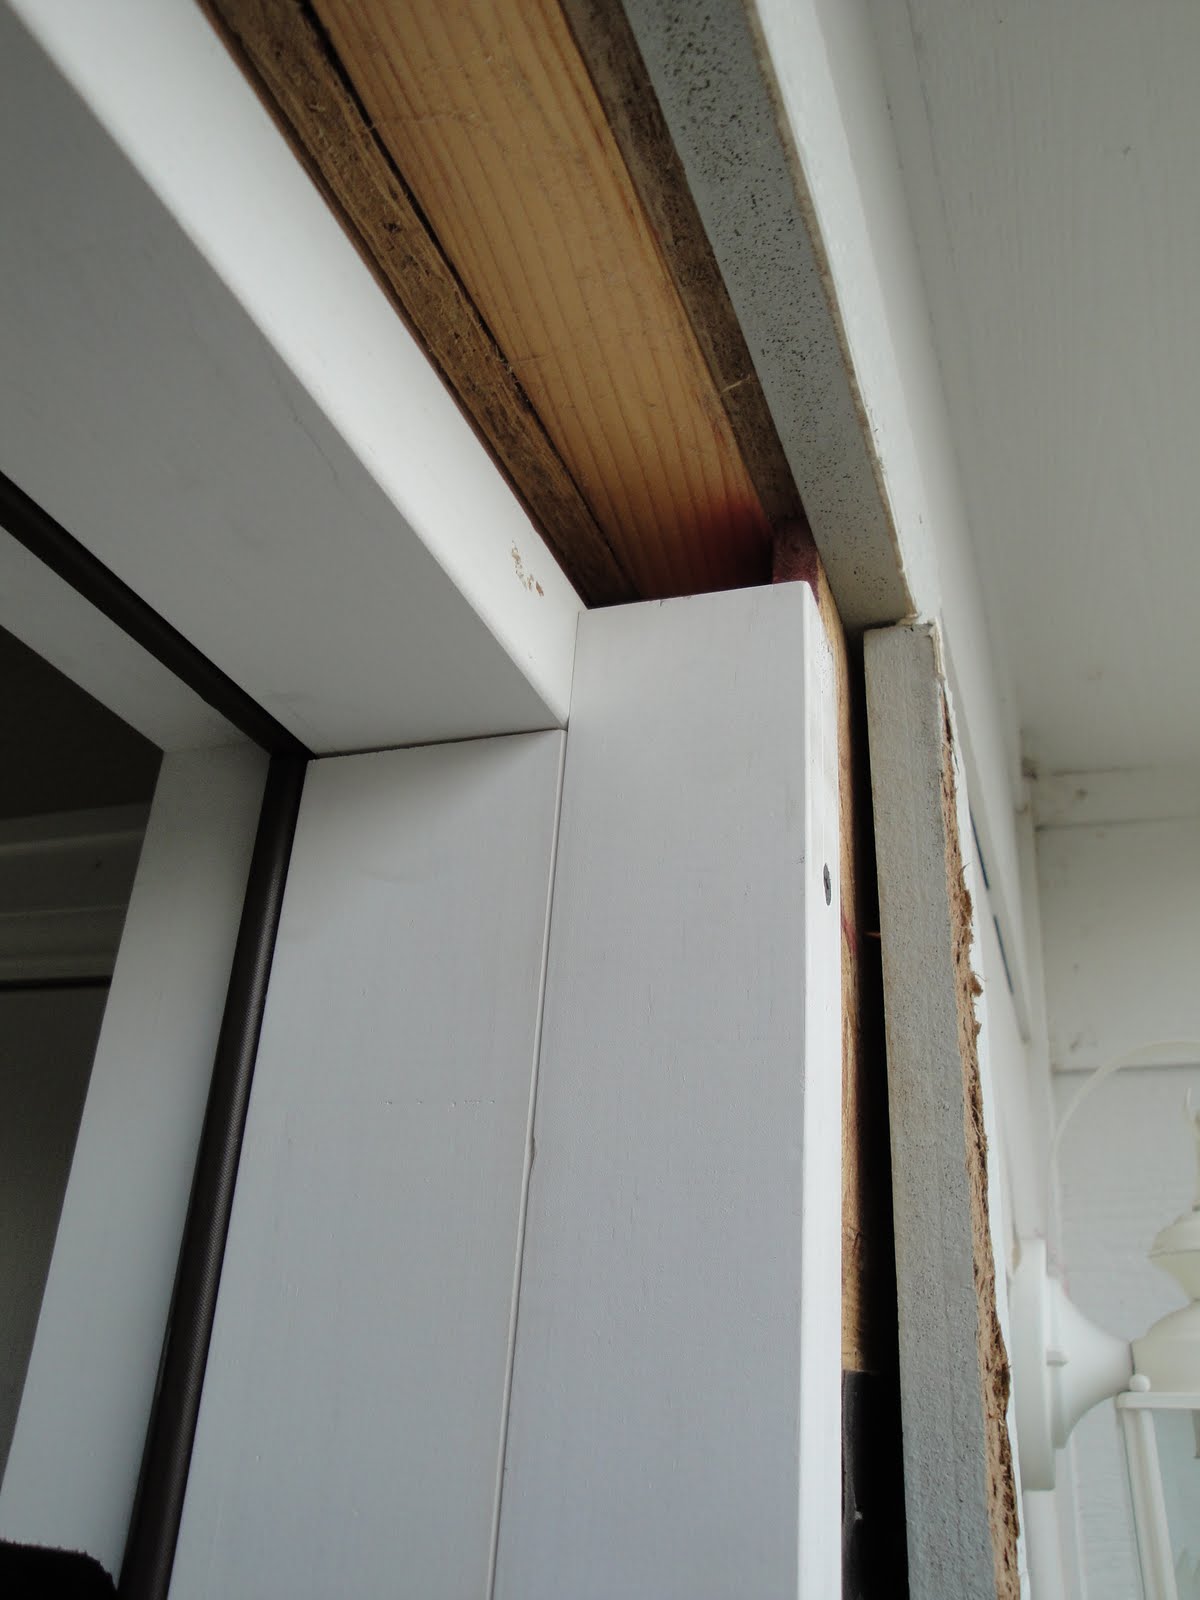
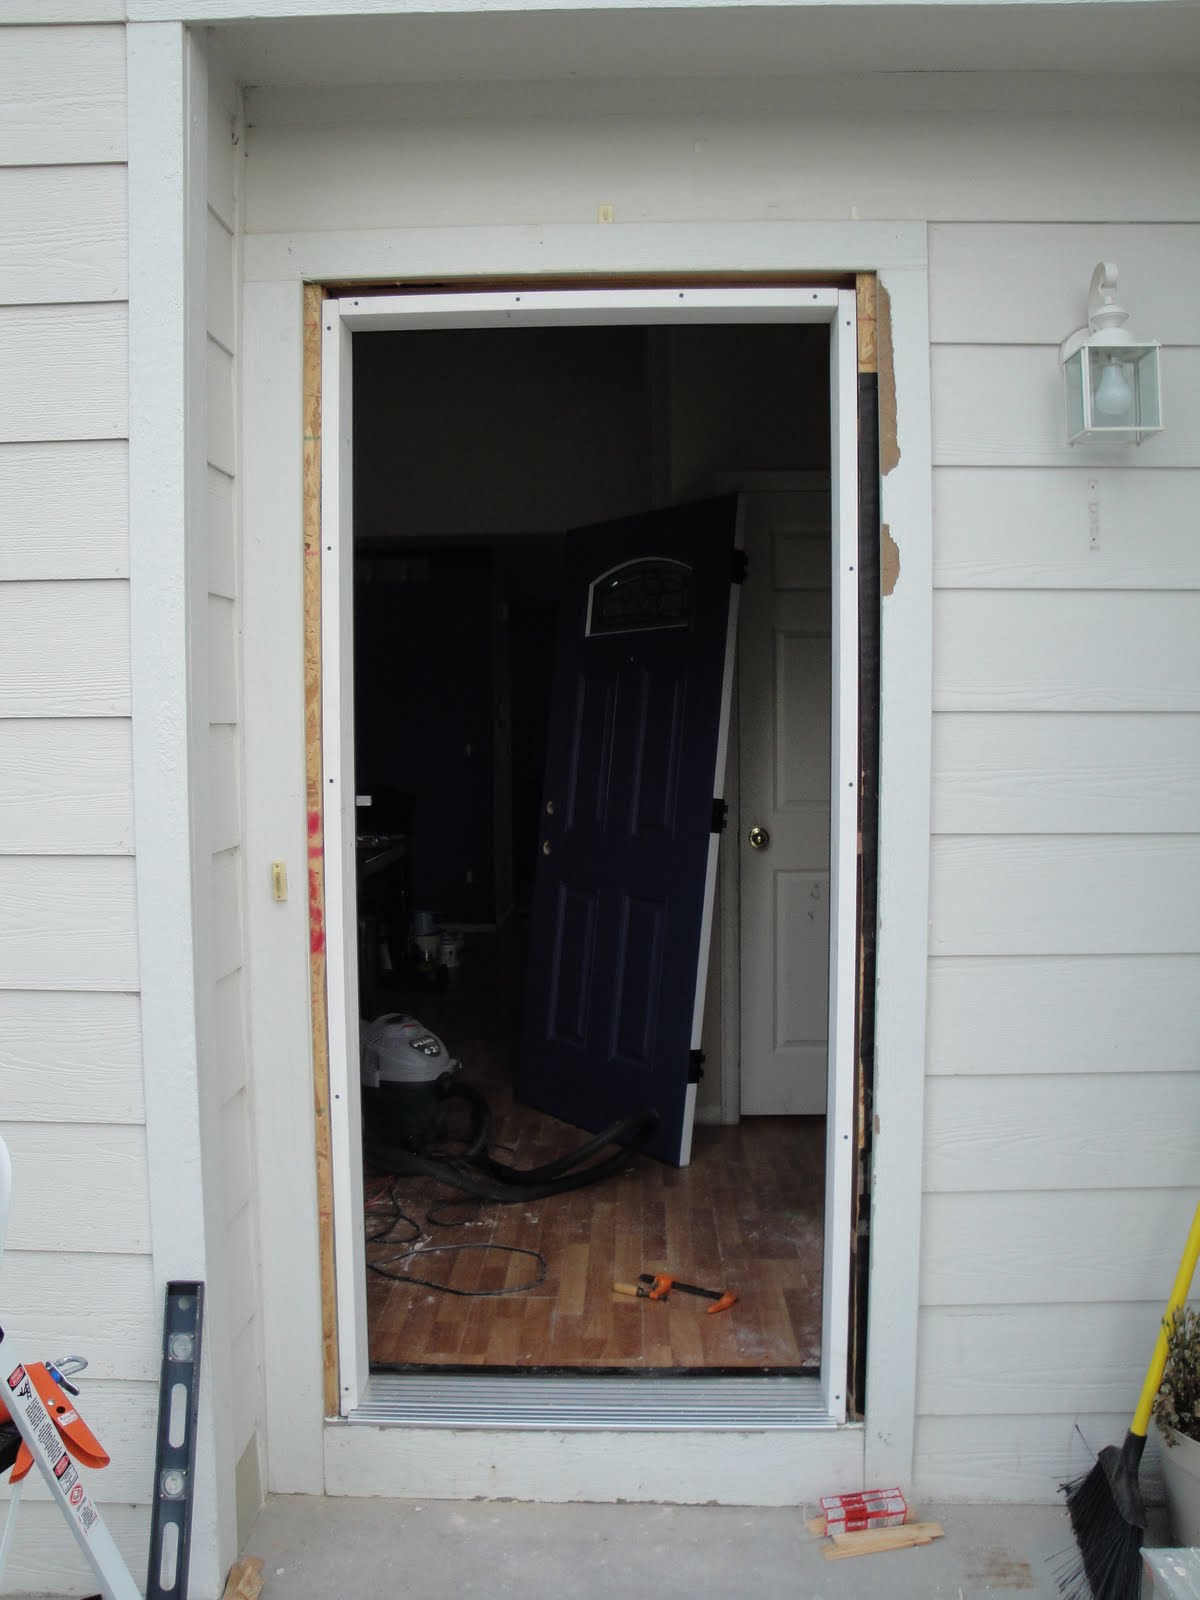
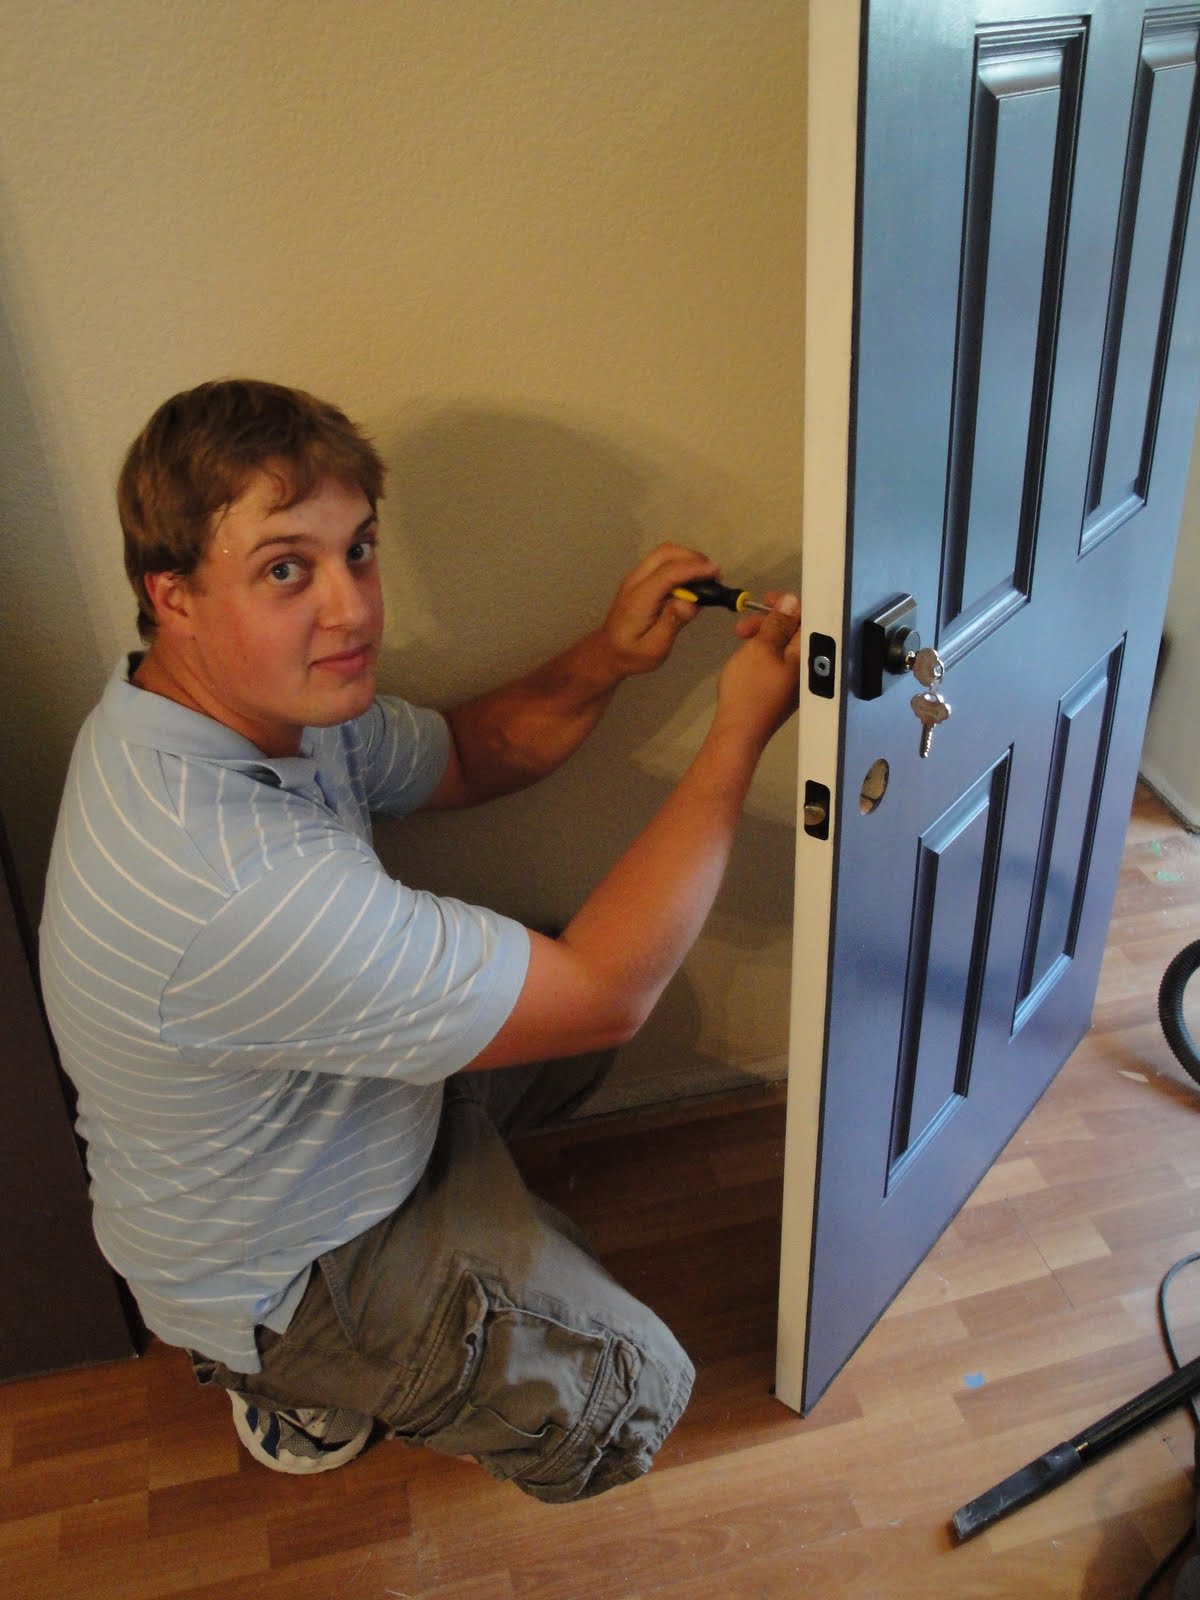
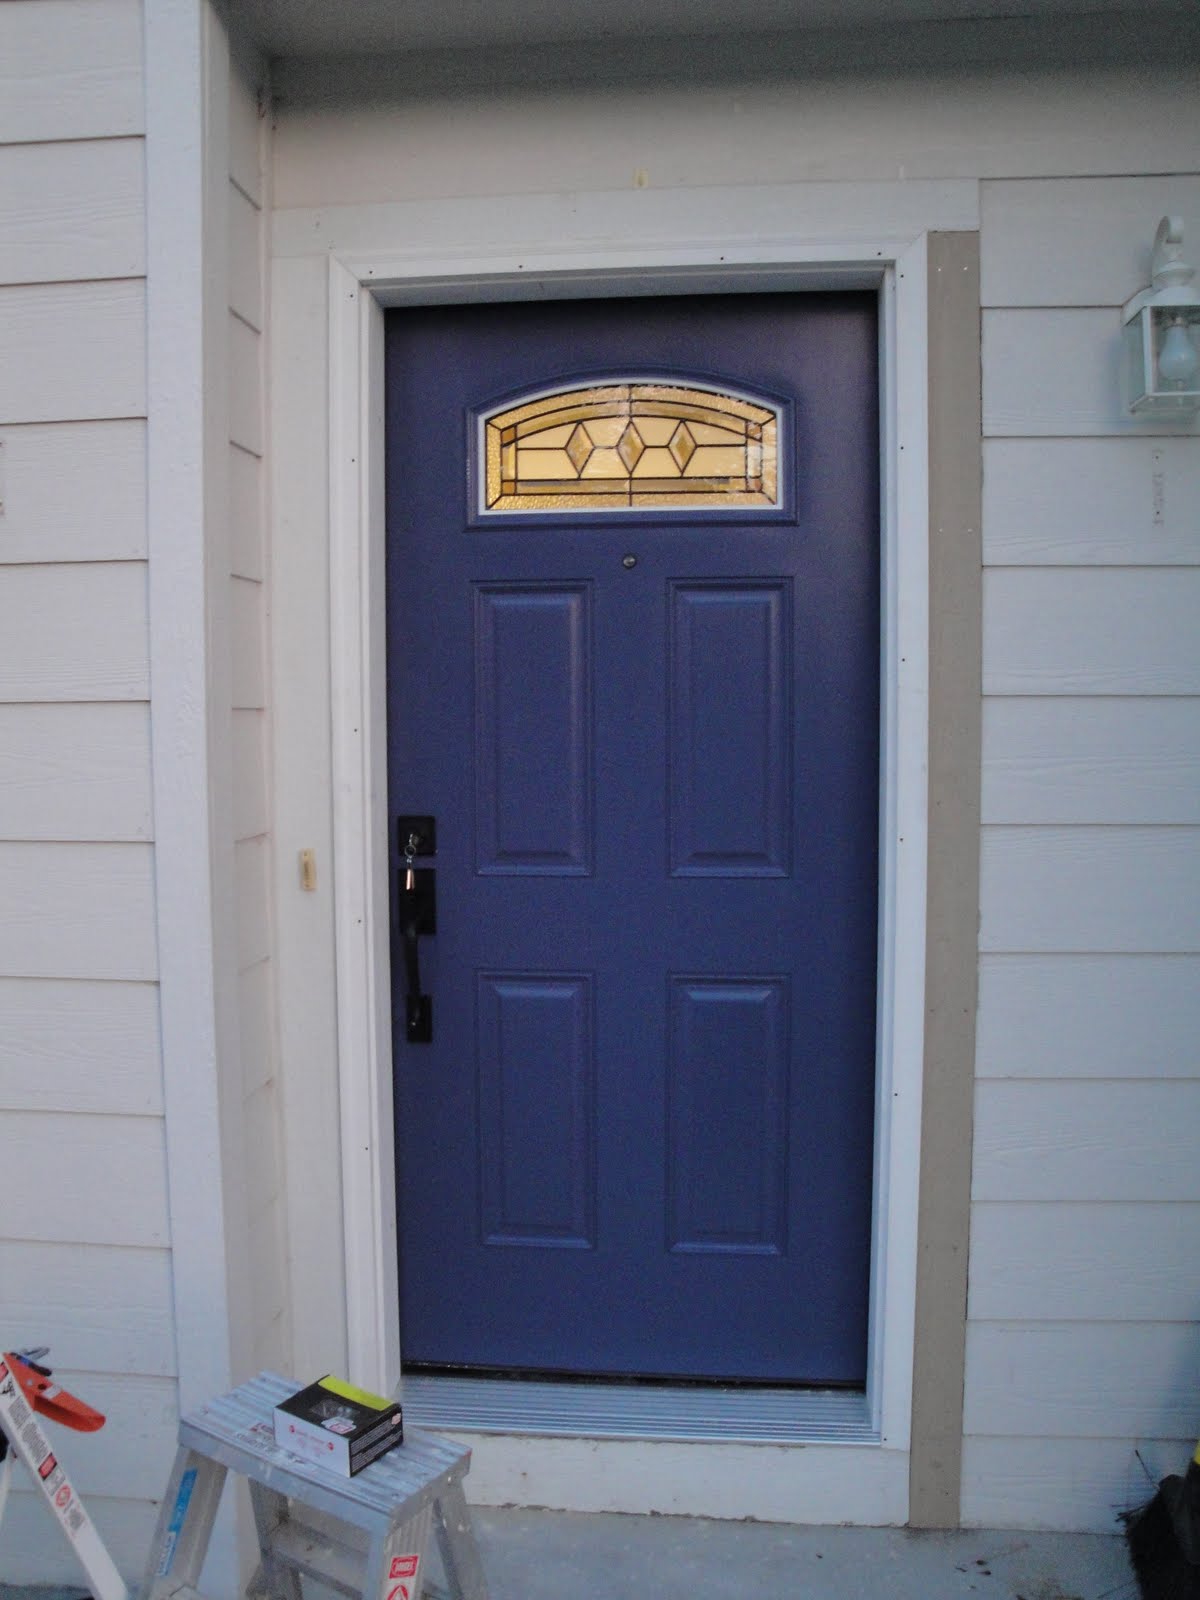
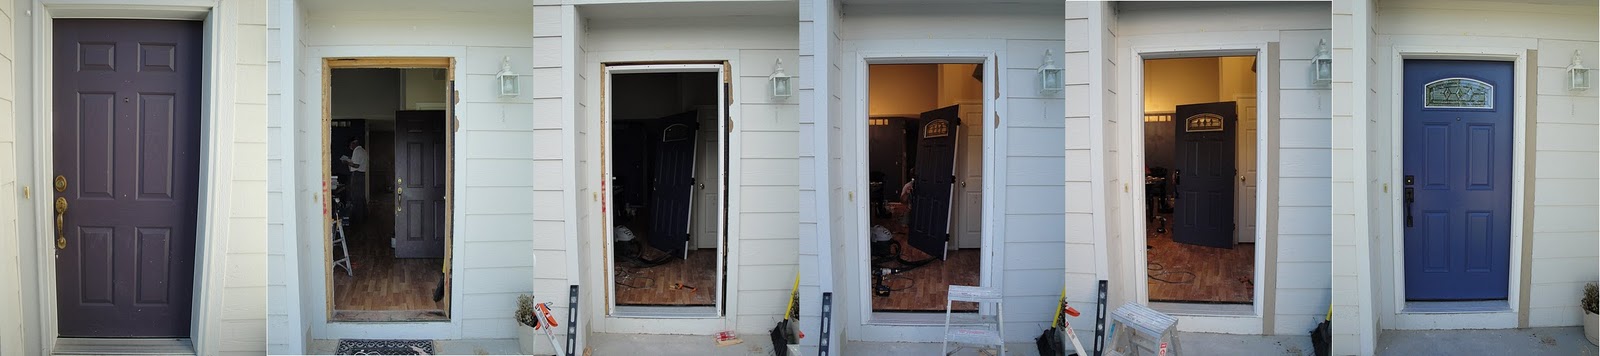
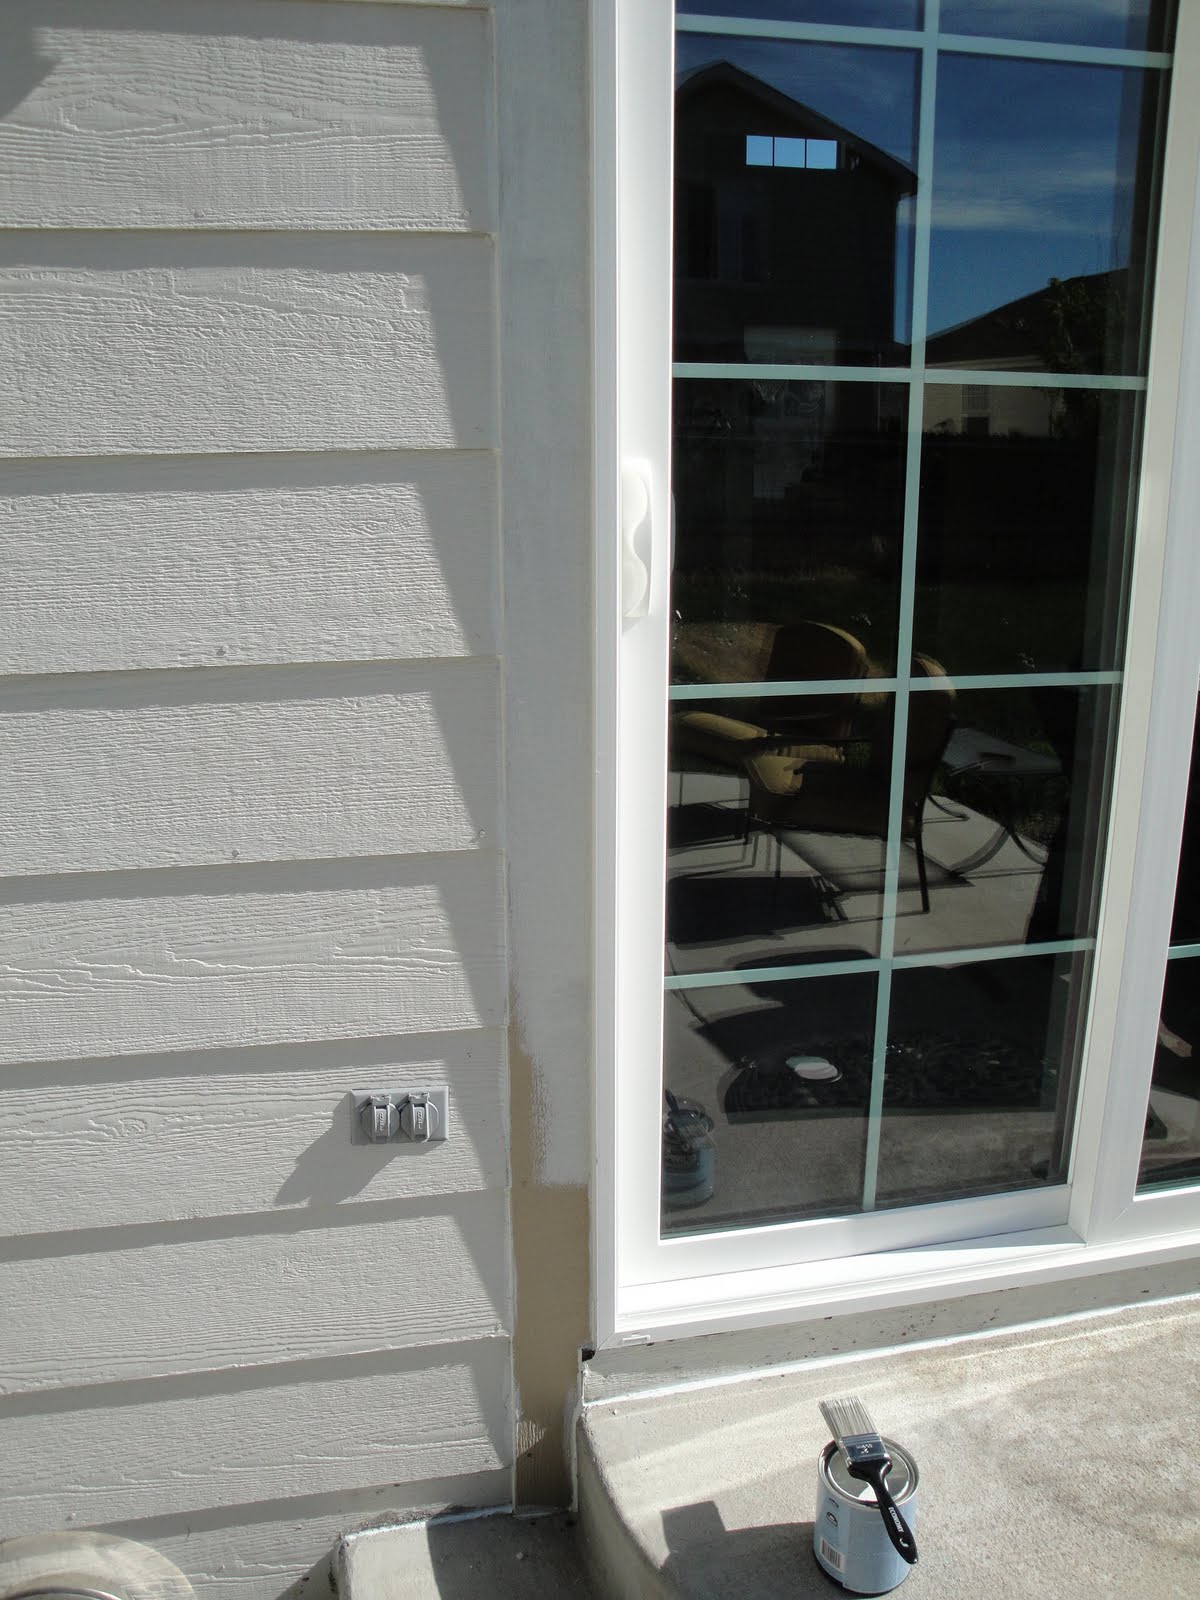
I started painting the edges of the door with the white paint. The blue bled past the tape pretty much all the way around. I'd have been better off not taping and just being a bit more judicious with my brush (that's what I'm doing with the white). You can see that it's not covering well with one coat, but I ended up putting a few more on there and it started looking really good. The nice part about the rest of this project is that I can pretty much do it when the door is hanging, if needed. The part that would have been hard to do in place was the front color, and that's still looking really good.
I painted the trim around the sliding door, too. It's looking good, and should combine with the caulk to make this thing impregnable. Anyone trying to impregnate my door is going to be sorely disappointed.
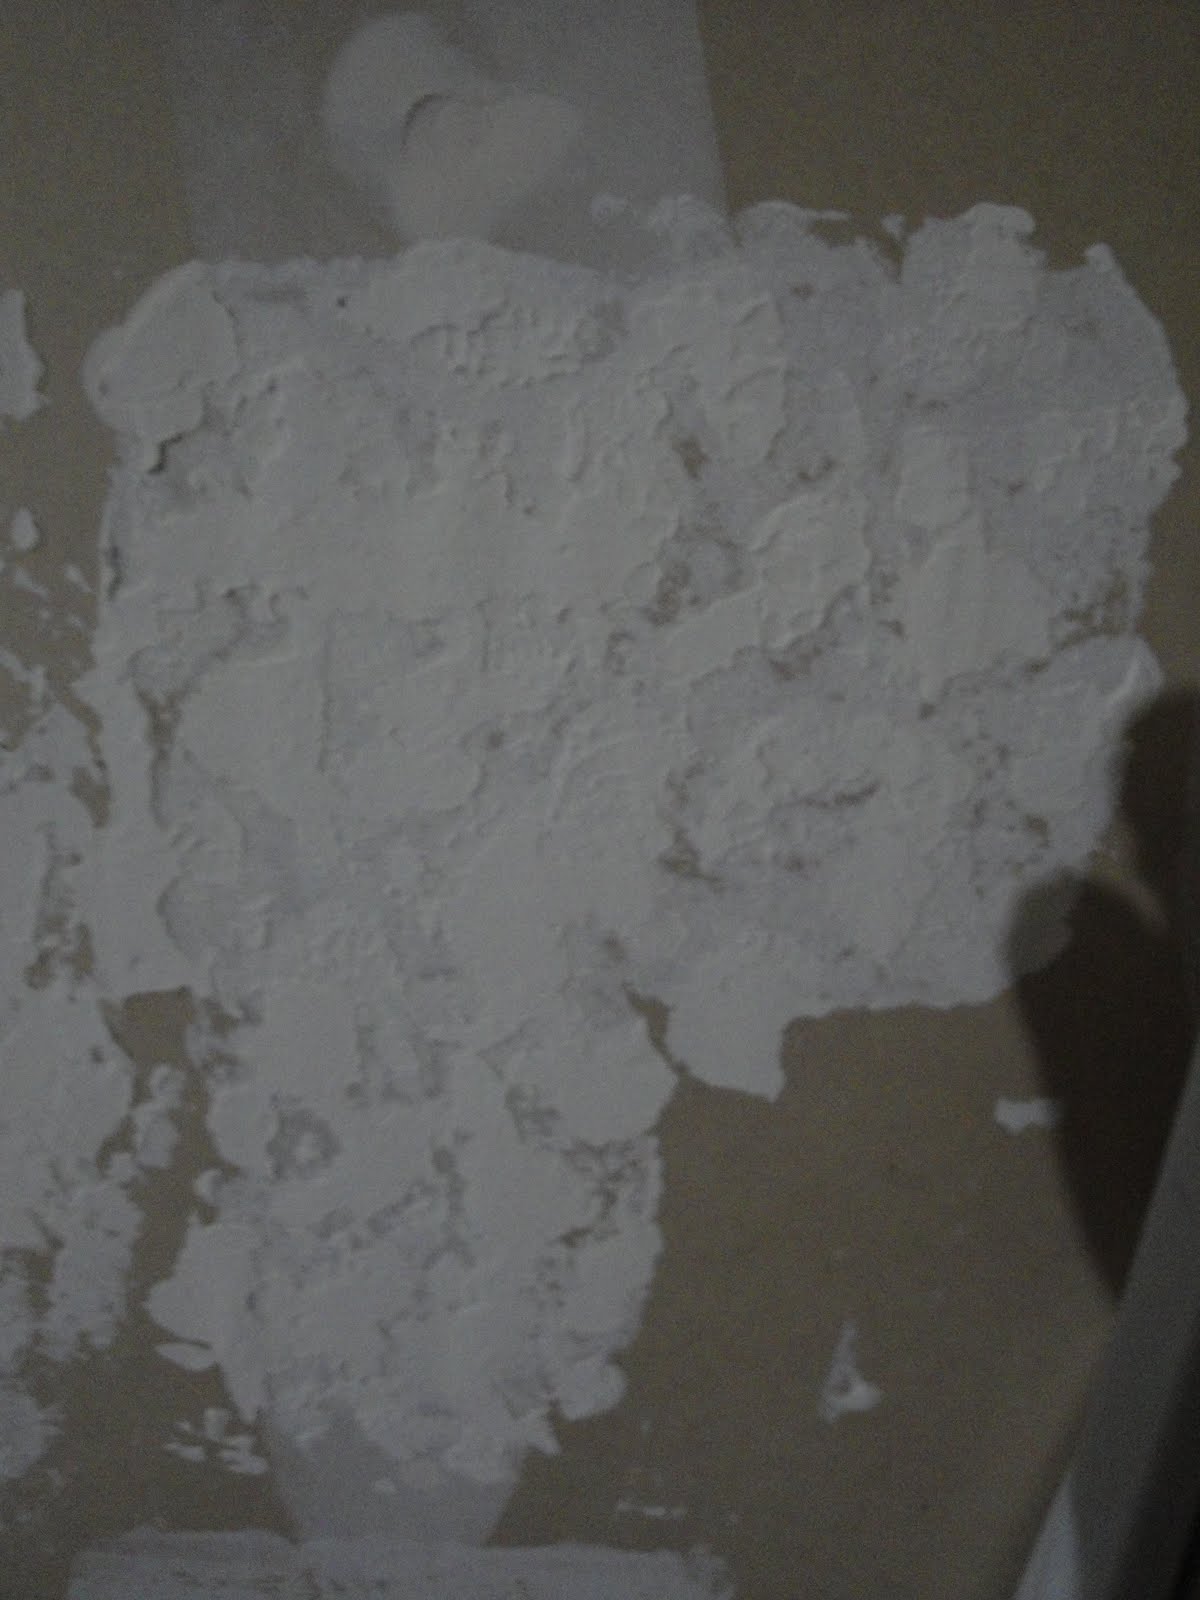
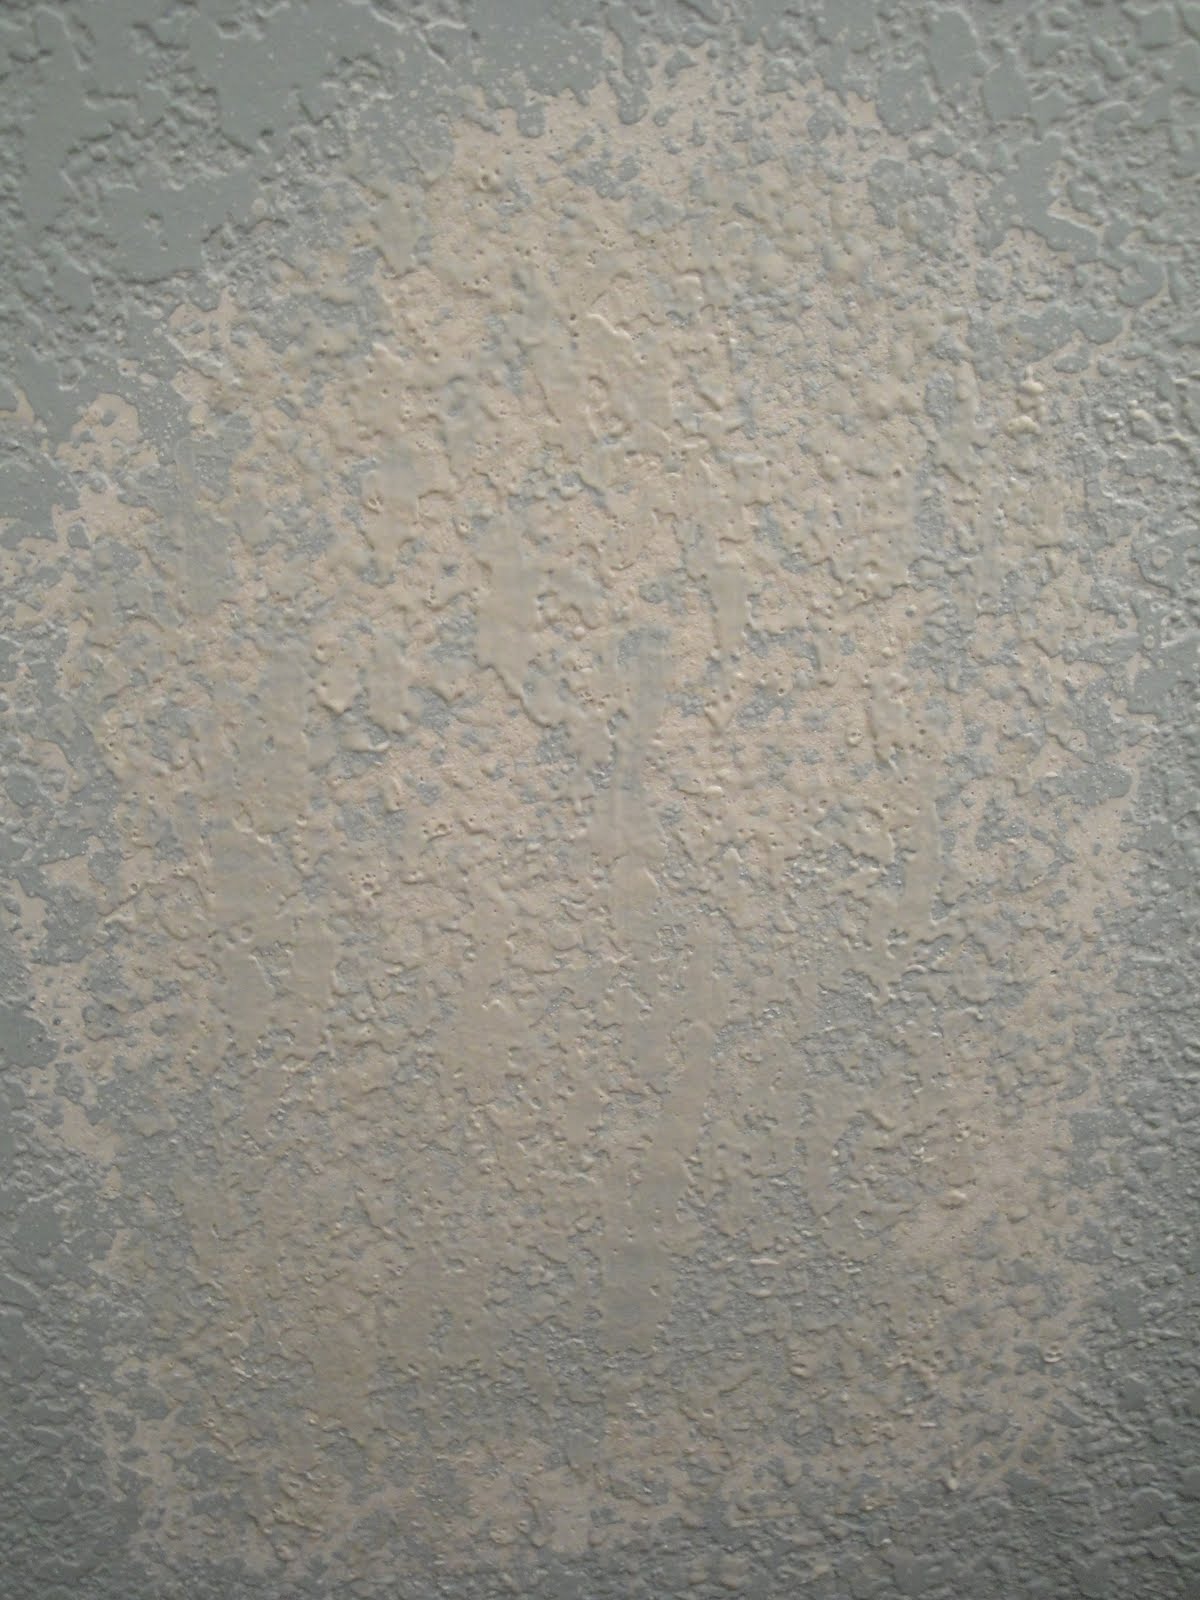
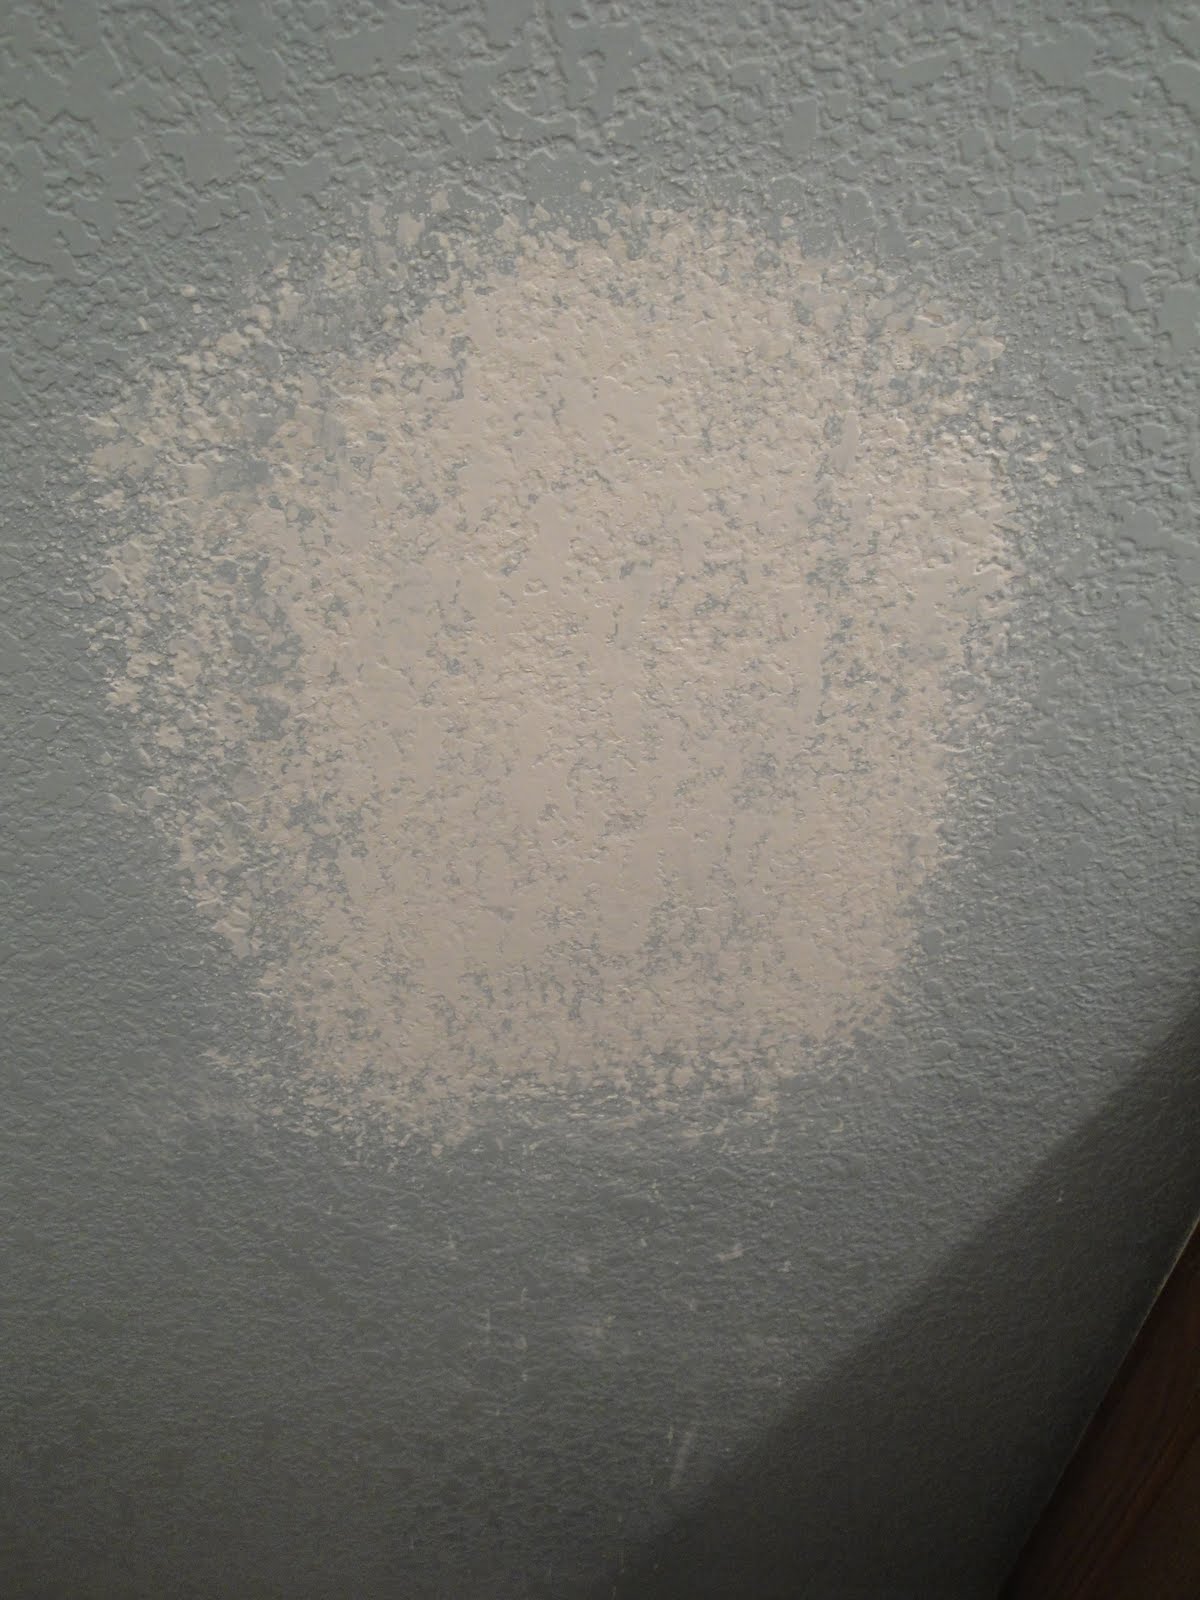
Remember this? Yeah, it's the spot in the hall bath where we keep attempting to fix the texture. I did it once and wasn't pleased, then the handyman did it and I still wasn't pleased, now I'm doing it again.
Gross. Okay, I'm trying something different this time. I sprayed the texture on, but I'm going to wait only a minute or two before knocking it down, rather than the 10+ minutes I was waiting before. That has been giving me a really big flat texture because the peaks you can see here are sort of flowing around while it dries. Not ideal.
The texture, meaning the size and distribution of the plateaus and valleys, isn't all bad, really. It's a decent coverage without looking too flat so far. The key to this is hold the knife almost parallel to the wall. You barely hold it with just your fingertips and the weight pulls it down. This is the same thing I'd been doing before when I was waiting a while, but it's even more important when you do it earlier. We'll see how it looks with paint on it.
While we wait for it to dry, let's get to the other issue in this bathroom:
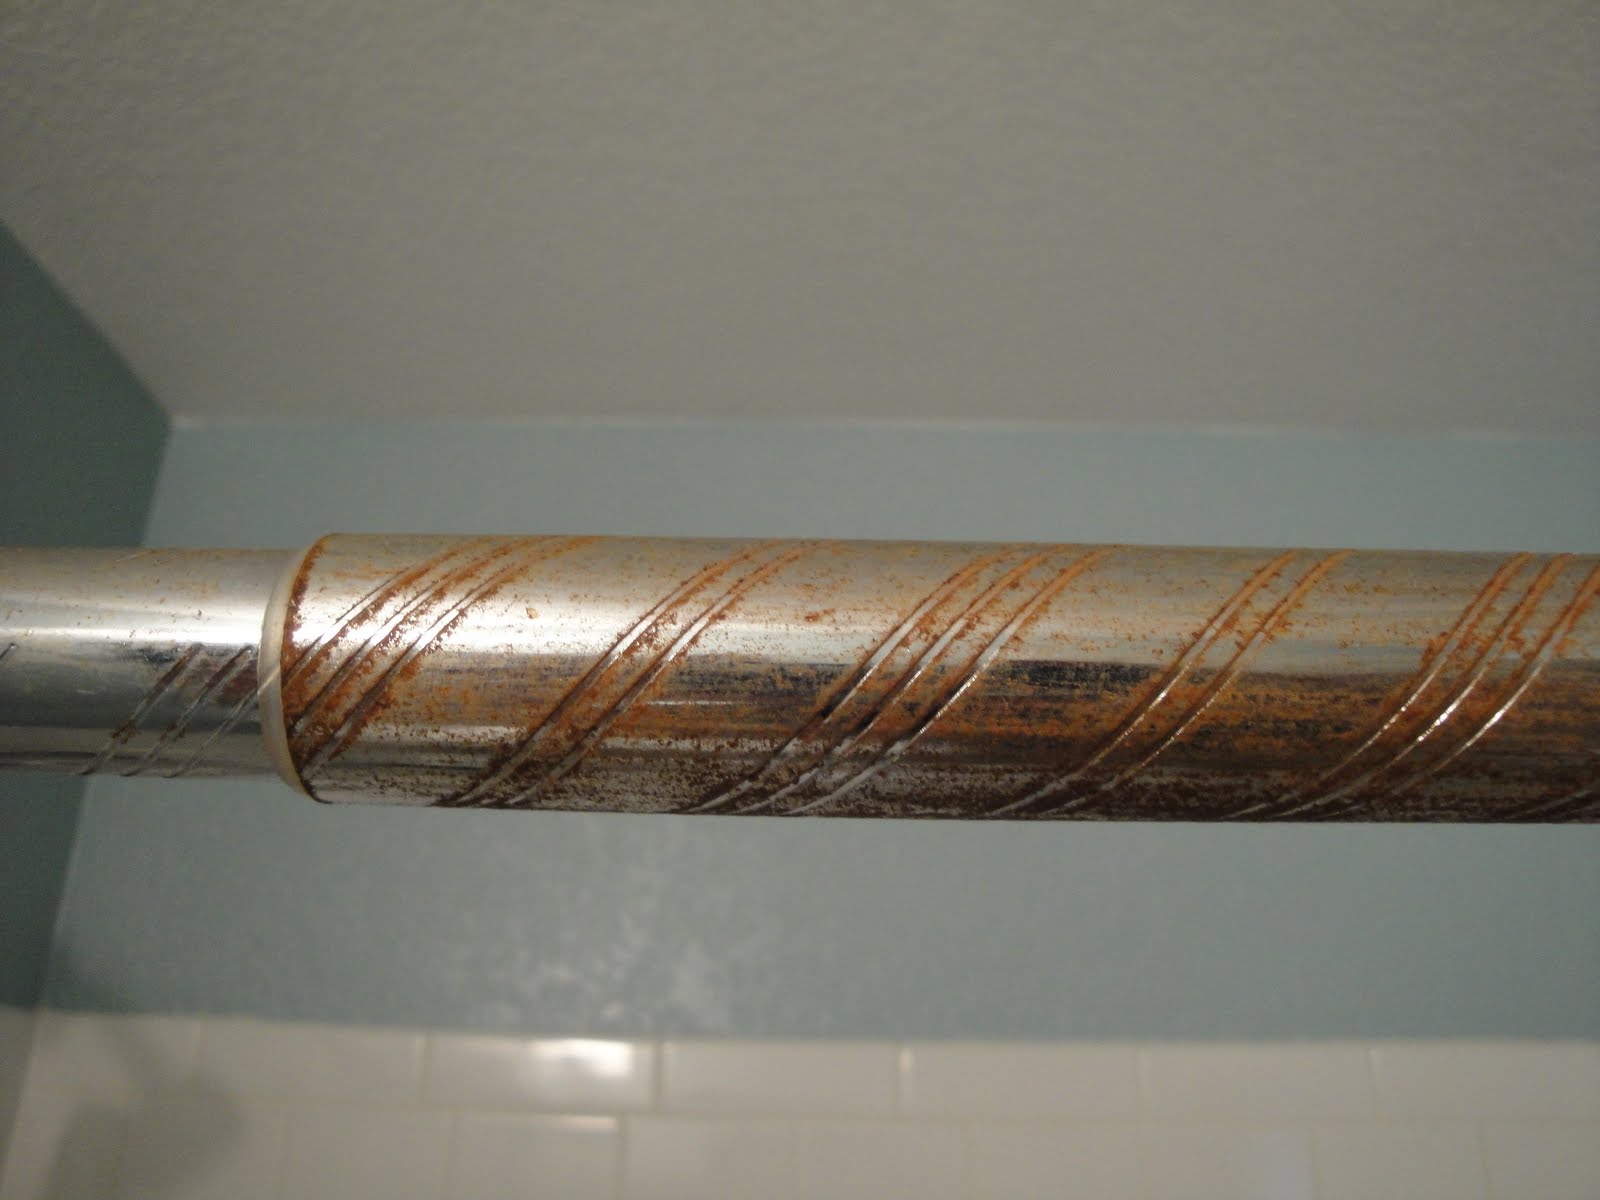
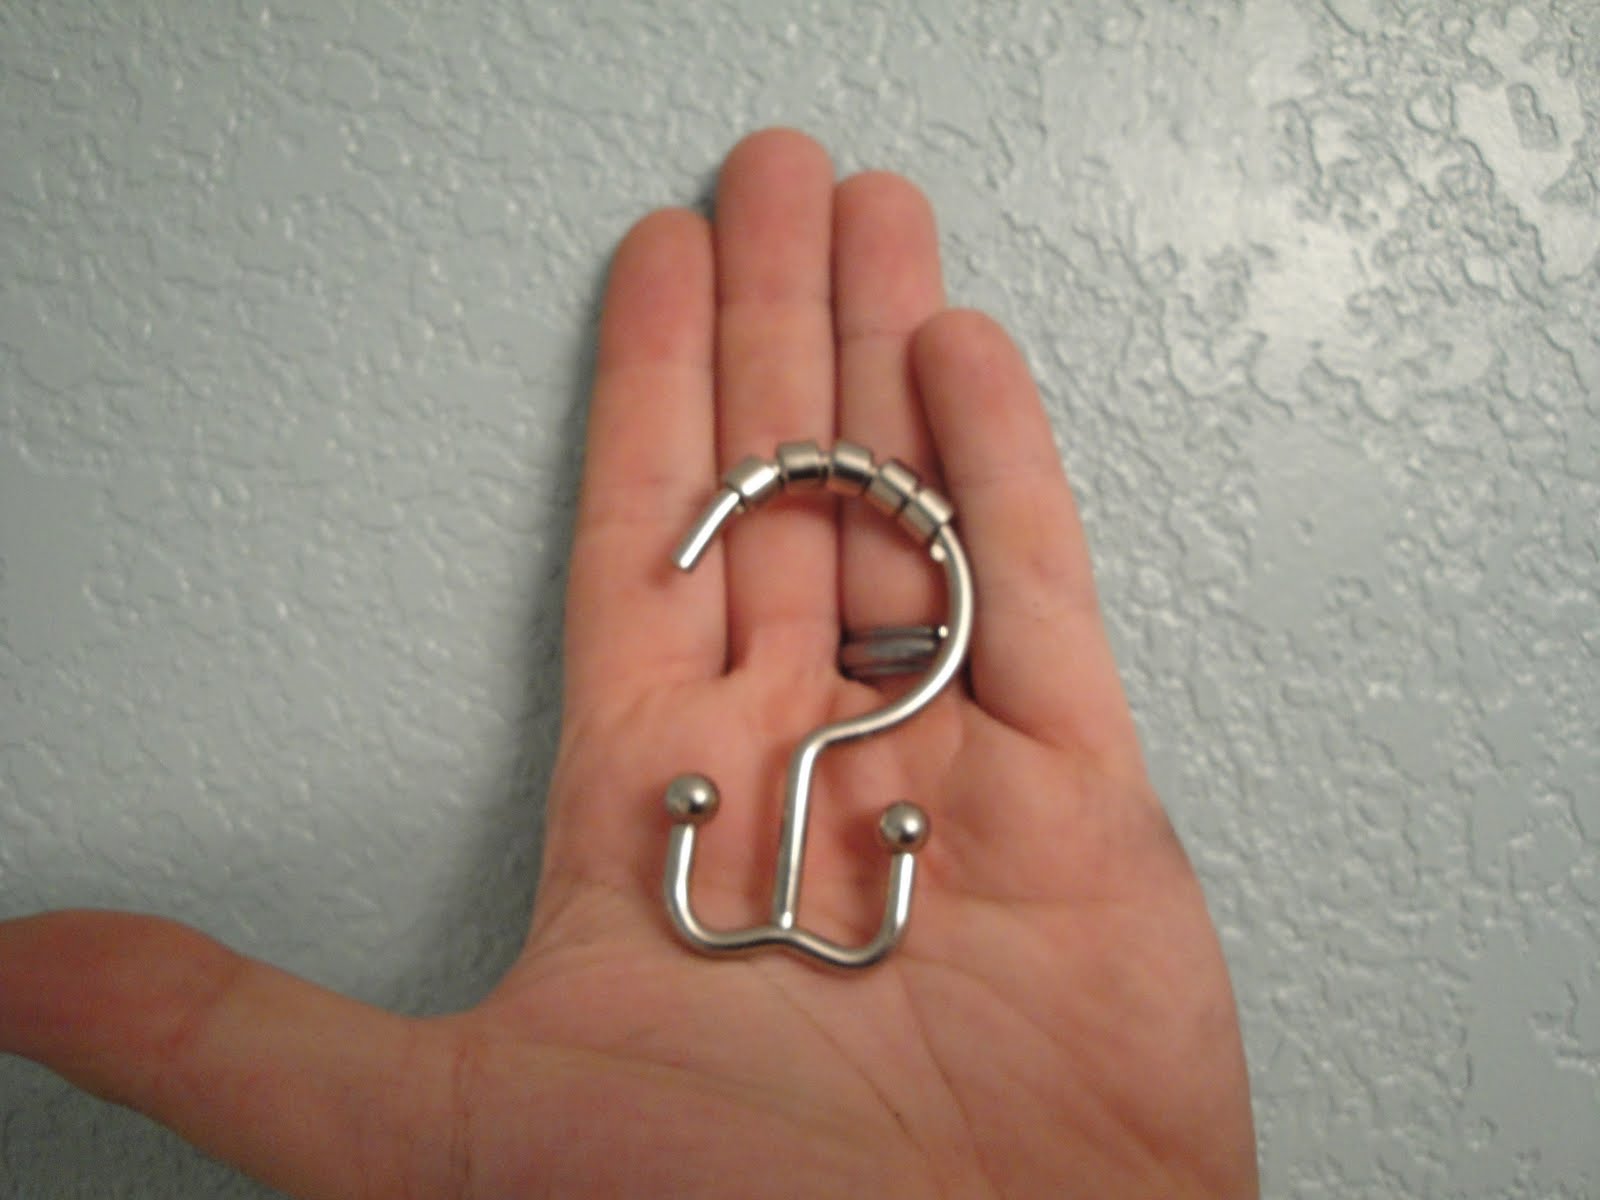
Yeah. That's our "stainless steel" tension rod for the shower curtain. Apparently they have a different understanding of stains than I do.
We don't like the tension rods. They tend to damage the wall over time (as they slip around you have to keep tightening them, eventually rubbing off the texture) and the curtain will generally fall down every so often. Also, they have the "tube inside another tube" construction that means you have a shoulder on there that your curtain hangy things have to jump over. Ours kept getting bucked off so we'd usually have one or two of them not on the rod at all at any given time. Pretty much a completely unsuccessful operation all around. I had my eye on a non-tension rod with end plates actually screwed to the wall.
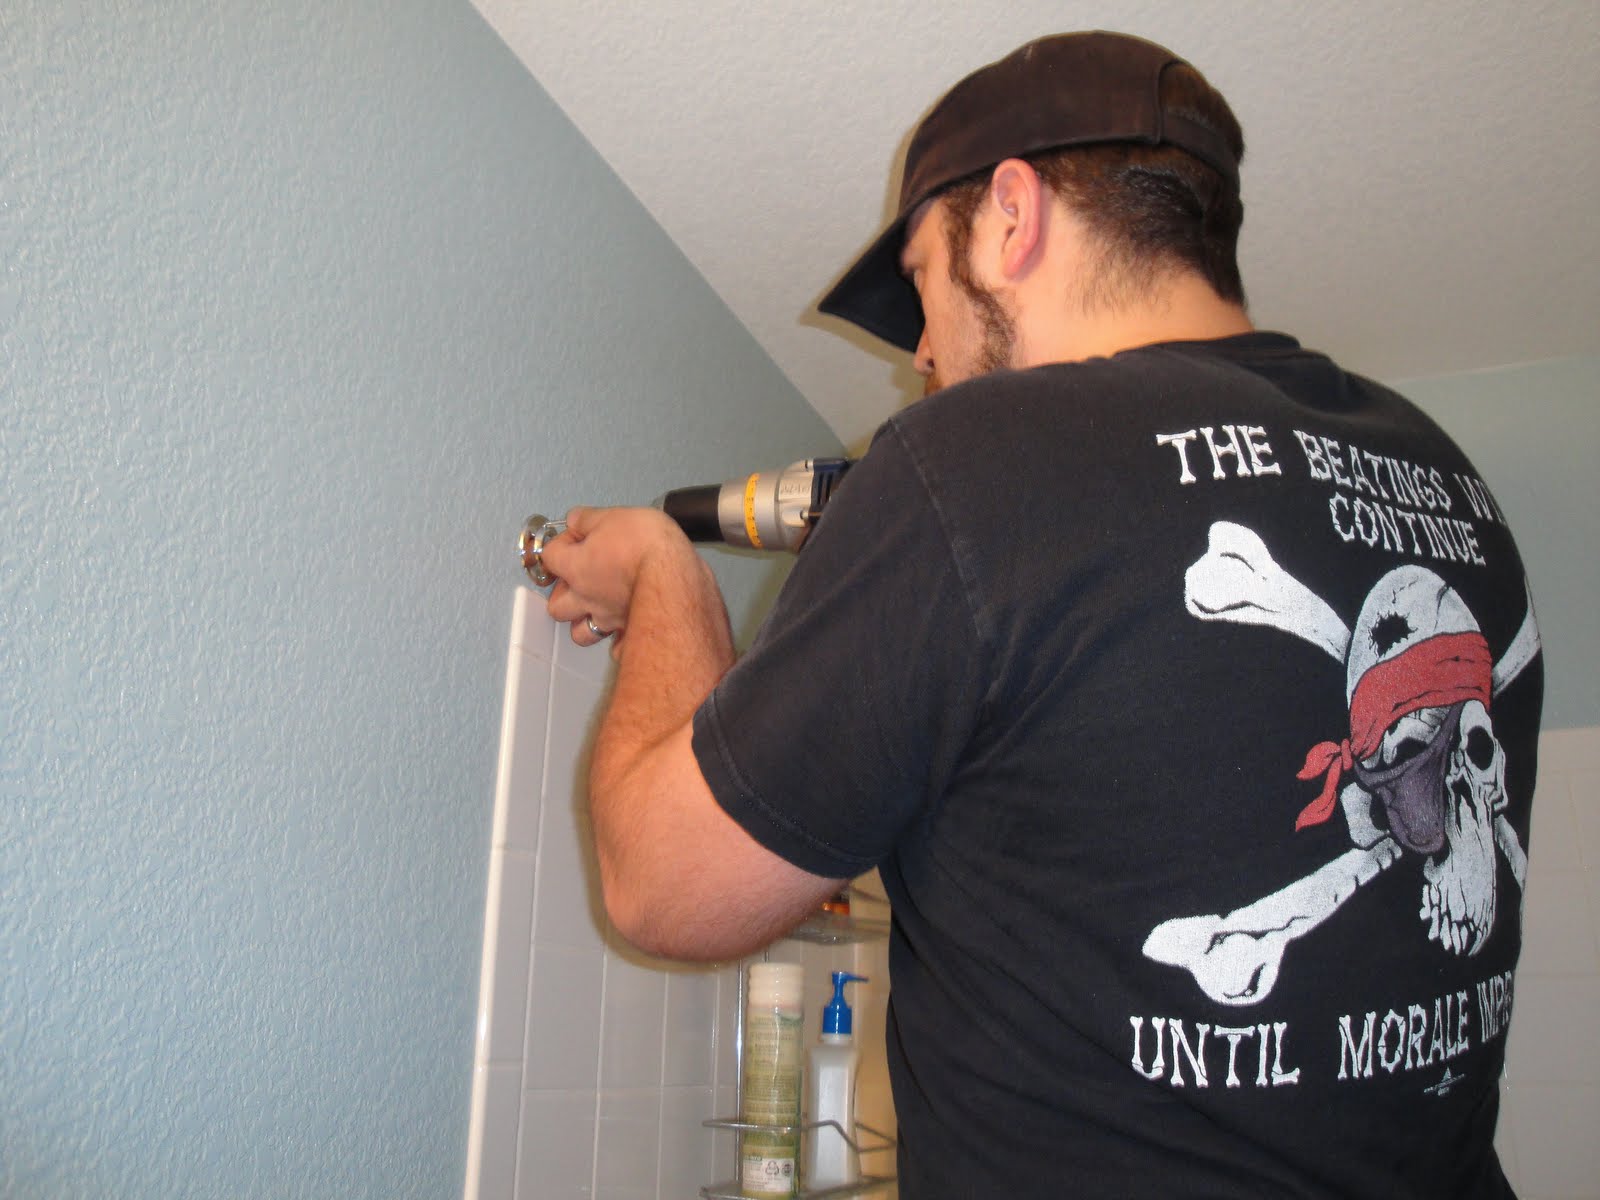
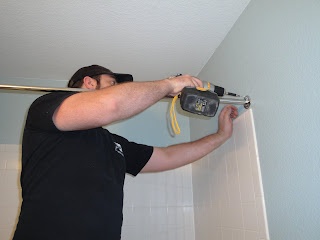
The kit came with plastic wall anchors, but we didn't actually have to bother. There were studs right where we needed them and the included screws were plenty long enough to anchor in them.
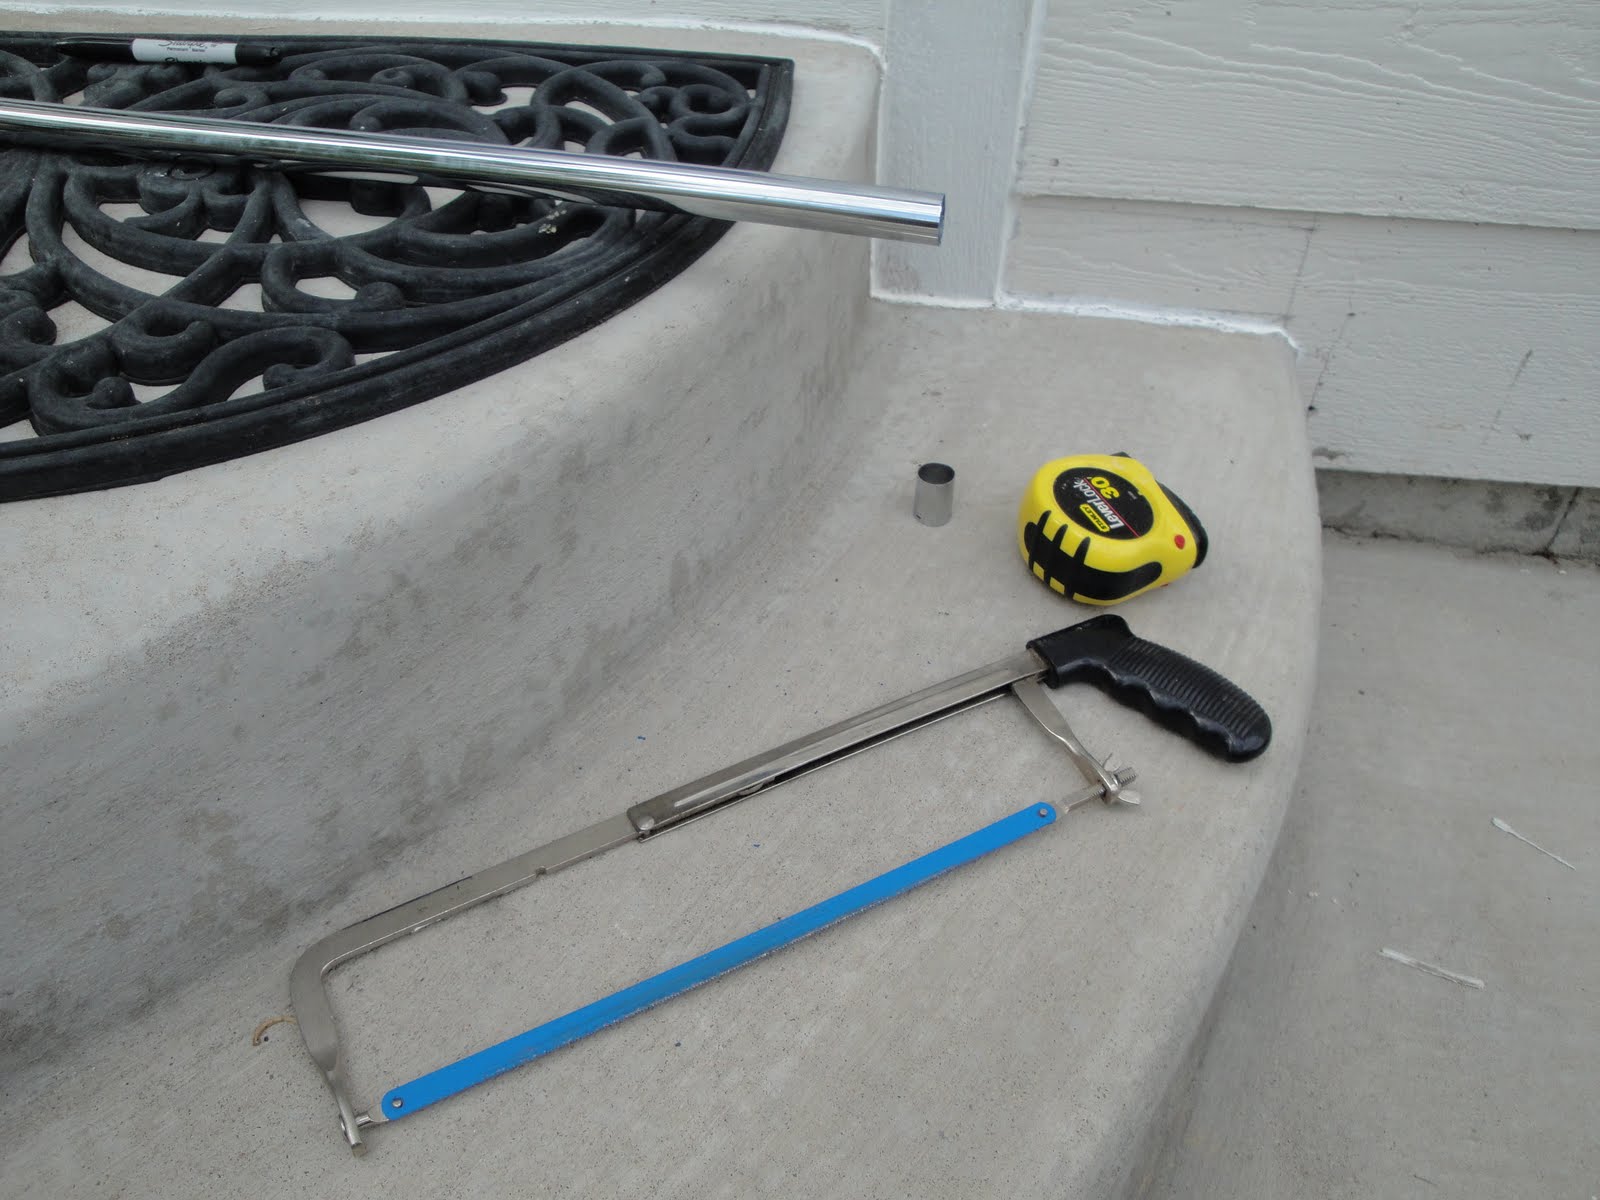
After a test fitting, I determined that the rod was about an inch too long to fit. Apply tape measure, sharpie and hacksaw liberally until problem resolves. I actually cut off about 1.25" to allow myself enough space to get the thing tilted up into place. It still ended up being pretty close, so I'm glad I didn't take off exactly an inch.
The first collar just gets attached to the wall. The rod sets in there without any issue. The other collar needs to be slid onto the rod before you tilt it up into place or you won't have any way to get the pole in both of them. This whole process is pretty easy, really. It doesn't take long and the non-tension rod is cheaper than the tension rods, generally. The only downside is that the rod and the ends aren't very decorative. They make non-tension rods with decorative ends but they're still the tube-in-a-tube construction. If that doesn't bother you, it's a great way to go. If you want to get really fancy, you can buy one of those kits and the solid rod and then just put the decorative ends on the one-piece rod and get the best of both worlds. That means you're spending $40+ on a shower rod though, so take it for what it's worth.
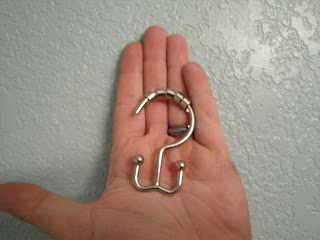
Another key to the whole process is getting decent hangers to put on the rod. Ours were kinda pretty-looking, but they were also getting rusty and didn't really match the aesthetic we're going for in the room. It has a kind of spa feel and I think the ones pictured above match the feel of the room a bit better. They've got bearings around the hook part and those work like a charm. The two hooks are for your inside curtain and your outside curtain.
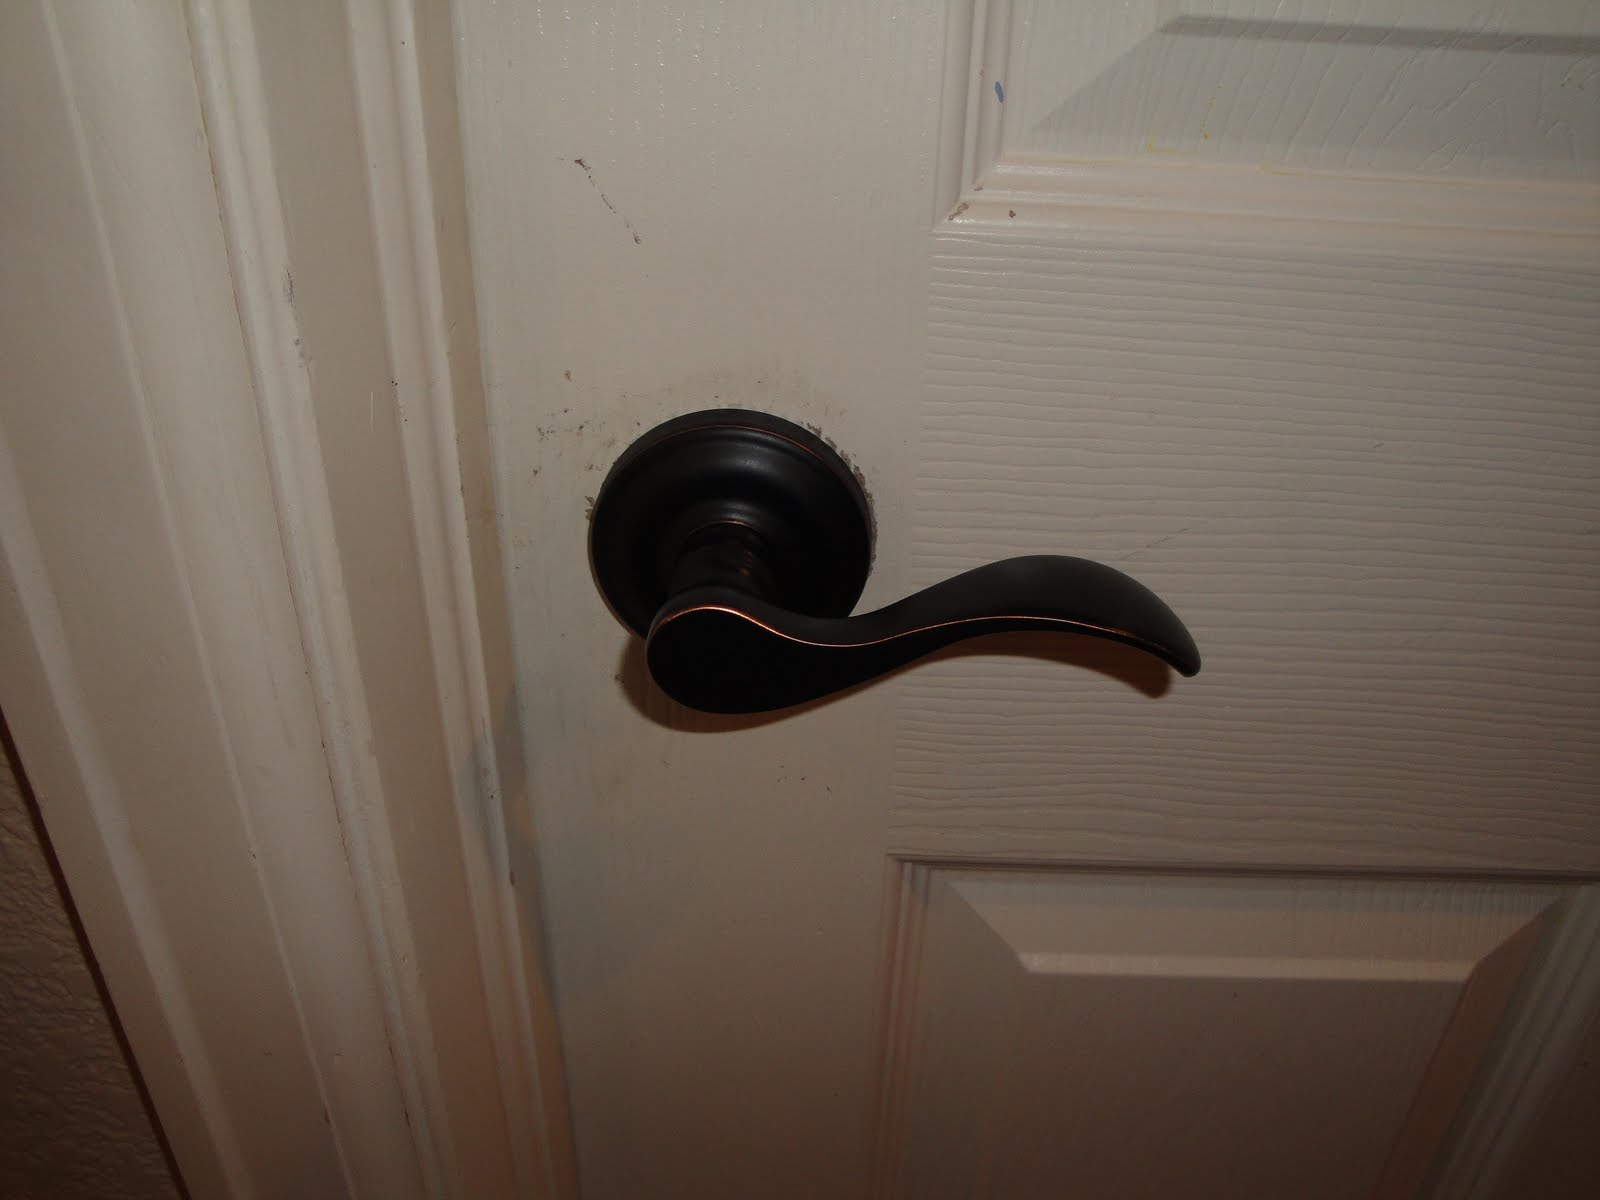
Yeah, I like that a lot better. These things move along the smooth rod so much more easily, too. It's pretty much effortless. So much nicer in both form and function.
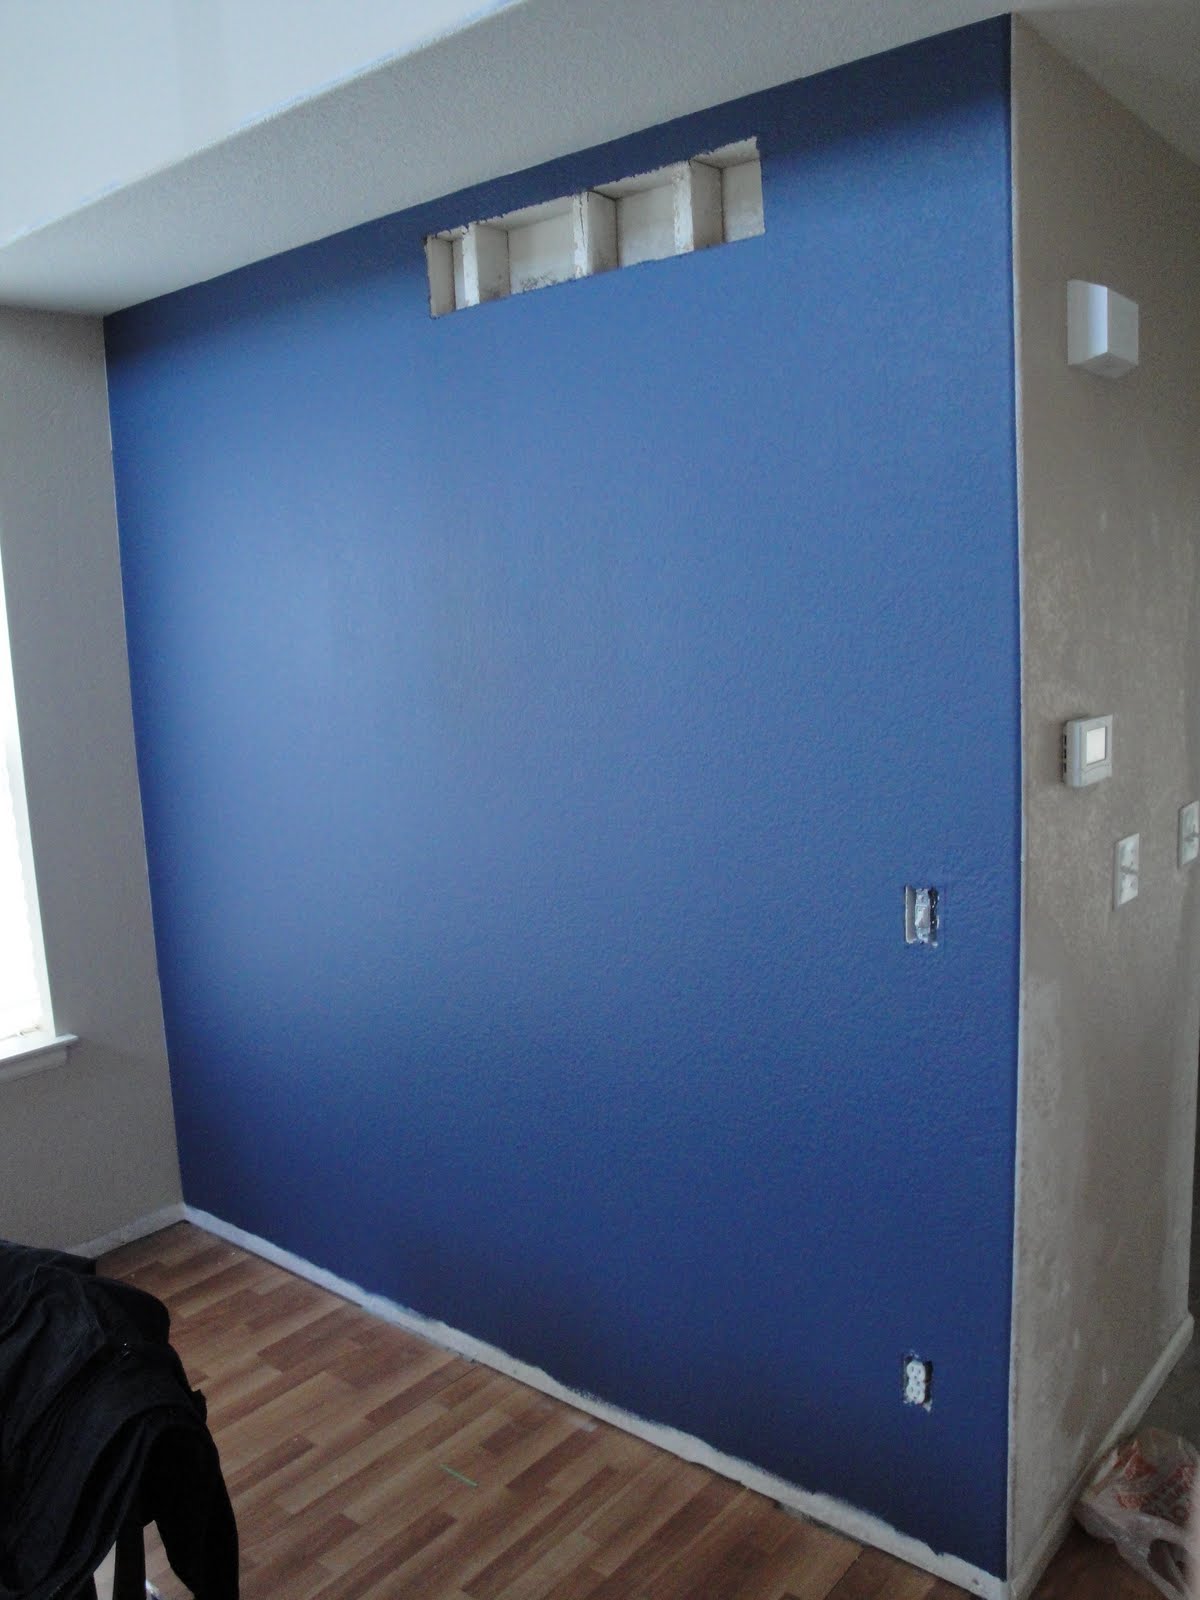
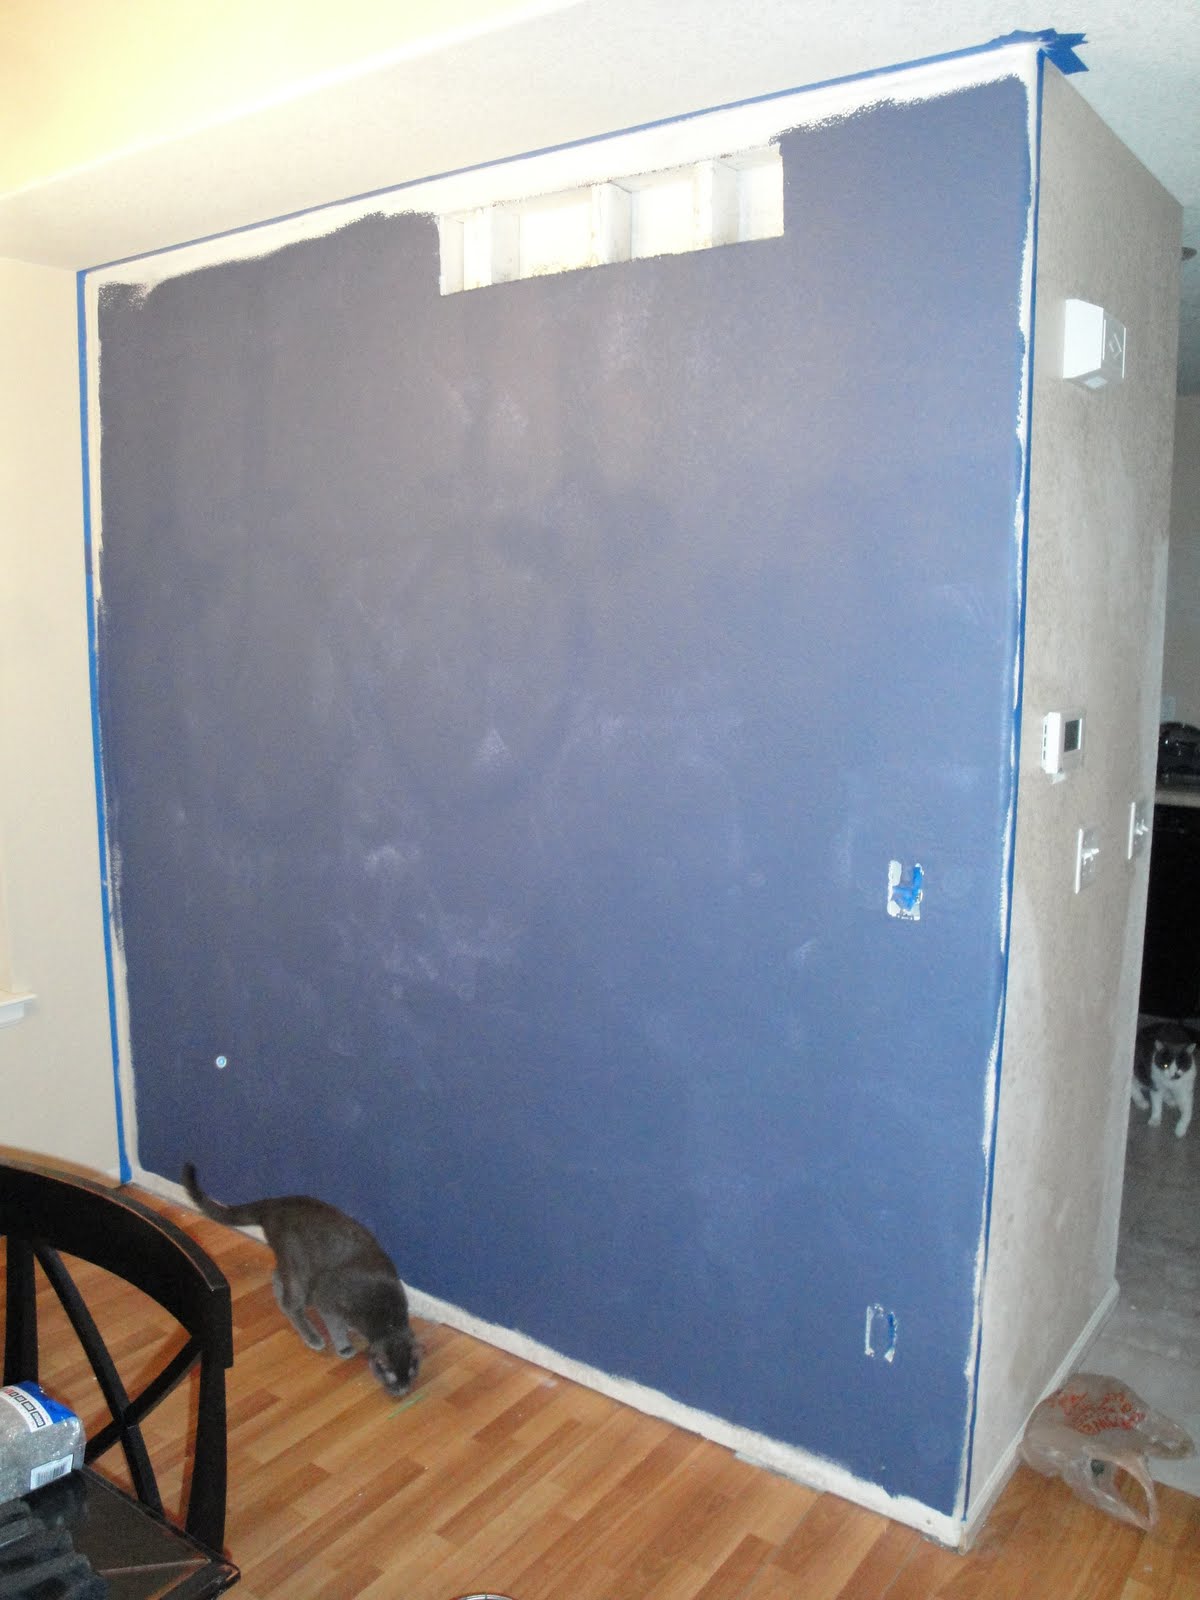
My lovely and talented wife also taped off and started painting the accent wall. It needs another coat, but I love this color. It's the same color as our front door, which should work nicely. We got it in an interior flat like the rest of the walls, and I'm really pleased so far. That's a huge step toward getting the main floor looking finished, for sure.
Okay, back to the bathroom wall.
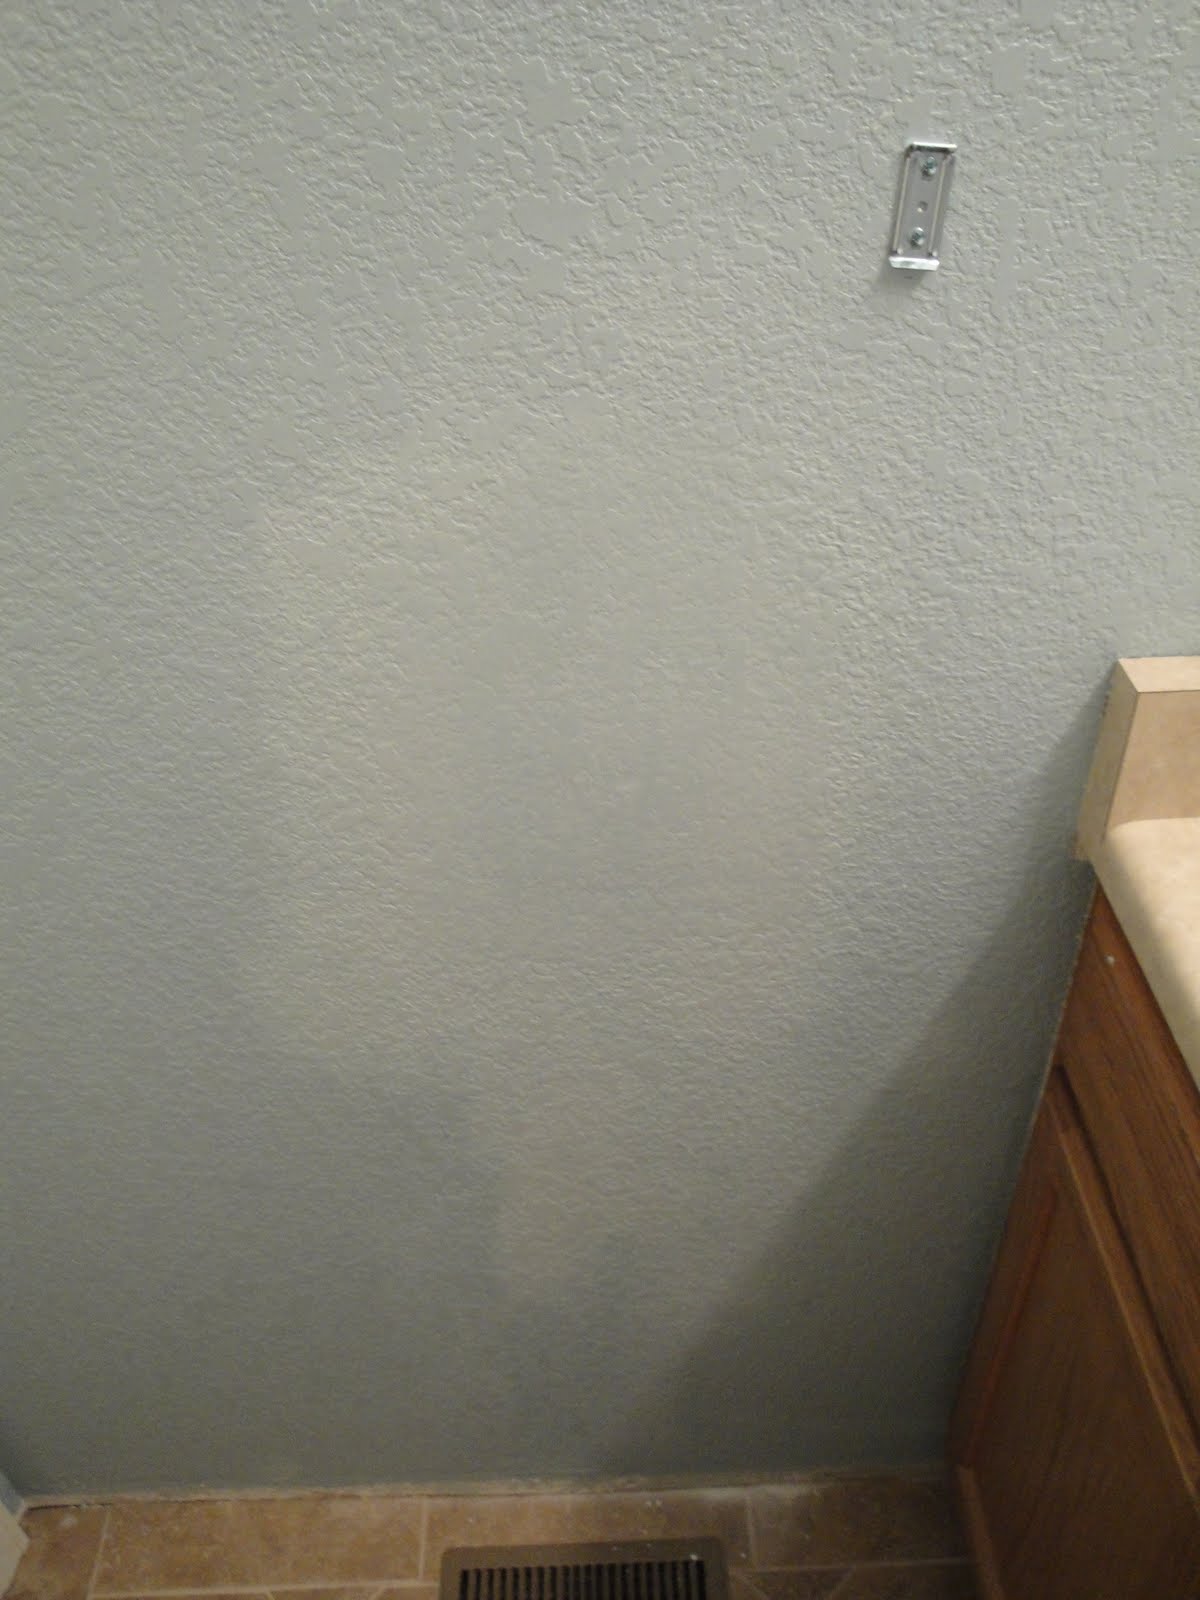
All dry! Now for some paint.
The paint is wet here, which is why it's so much lighter. The texture isn't as bad as it was originally, or after the first fix, but it's still not great. I'm pretty much decided that I need to get a hopper gun and just do this crap right. I'm never all the way satisfied with these patches. I keep thinking I can just live with their imperfection, but it's not as easy as you'd think. I'm going to do a little research and see what people like, hopper-wise.
Okay, that's about it. It was a busy weekend even without the improvements, but I'm really glad we did some work on the house. I always feel so much better when I get to work and write about it. Thanks, as always, for reading!
*Update*
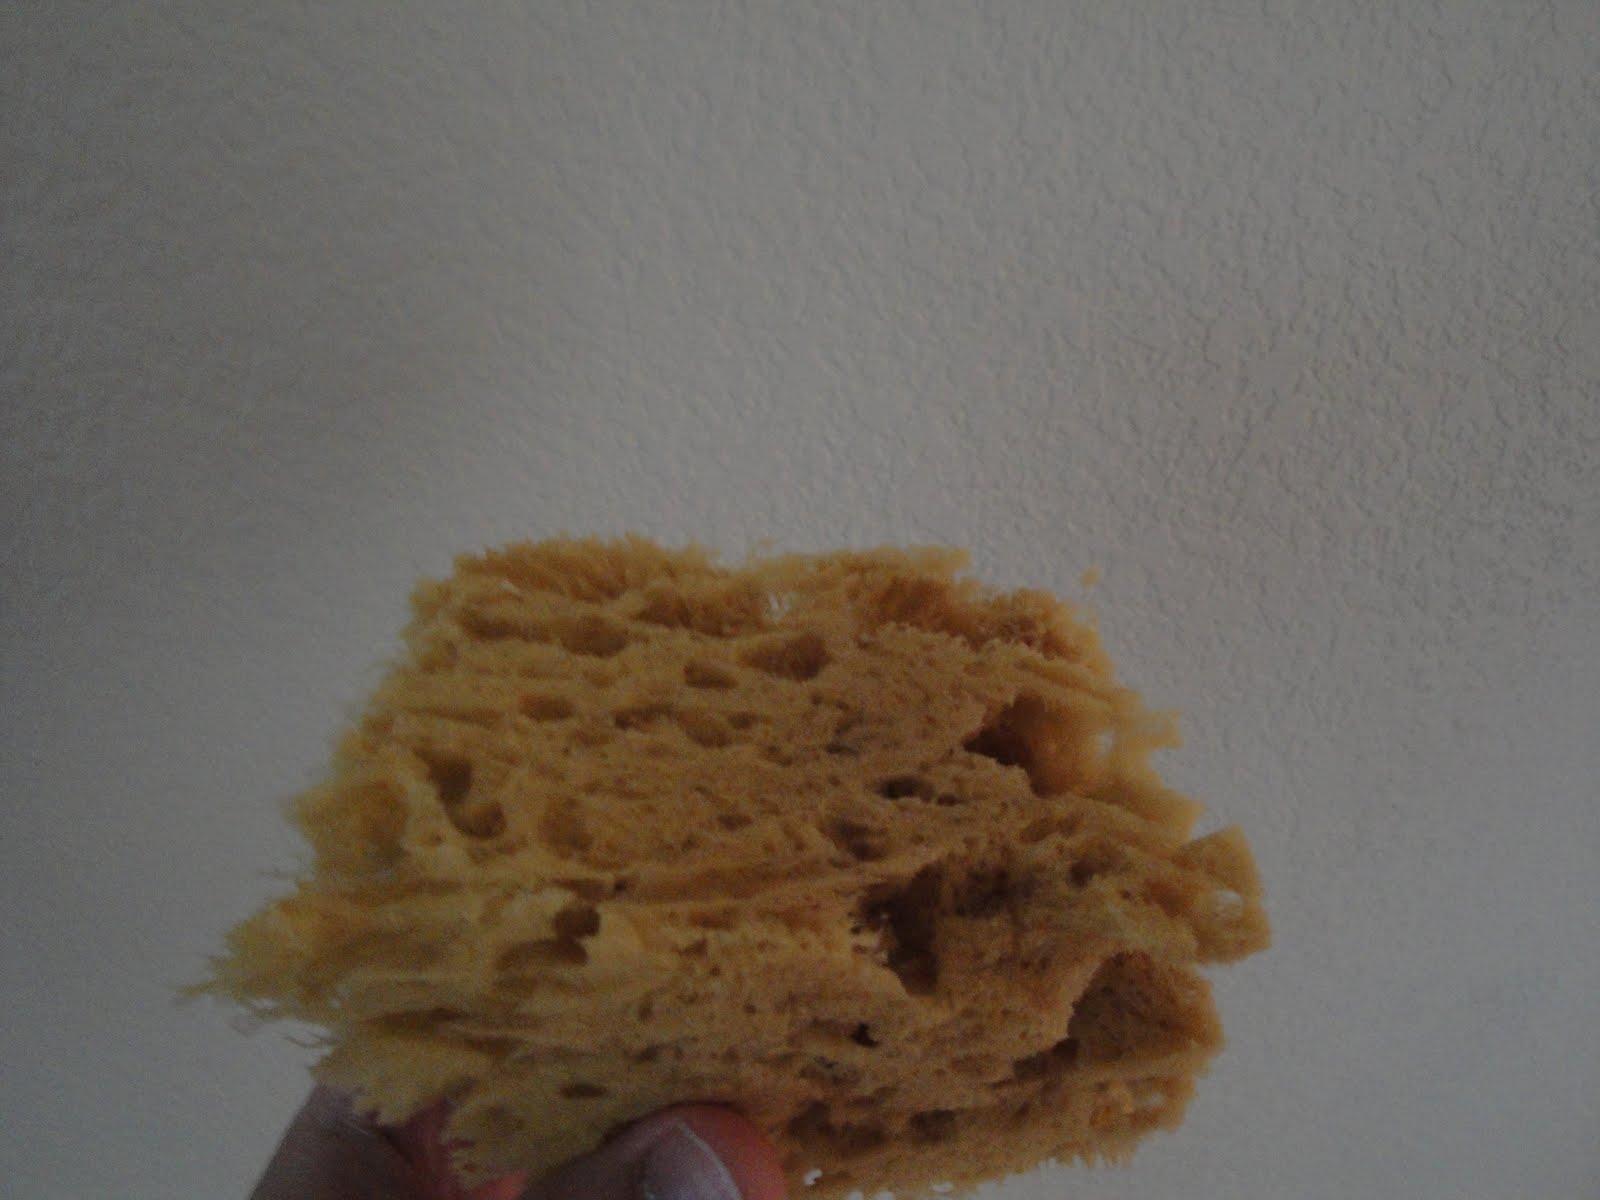
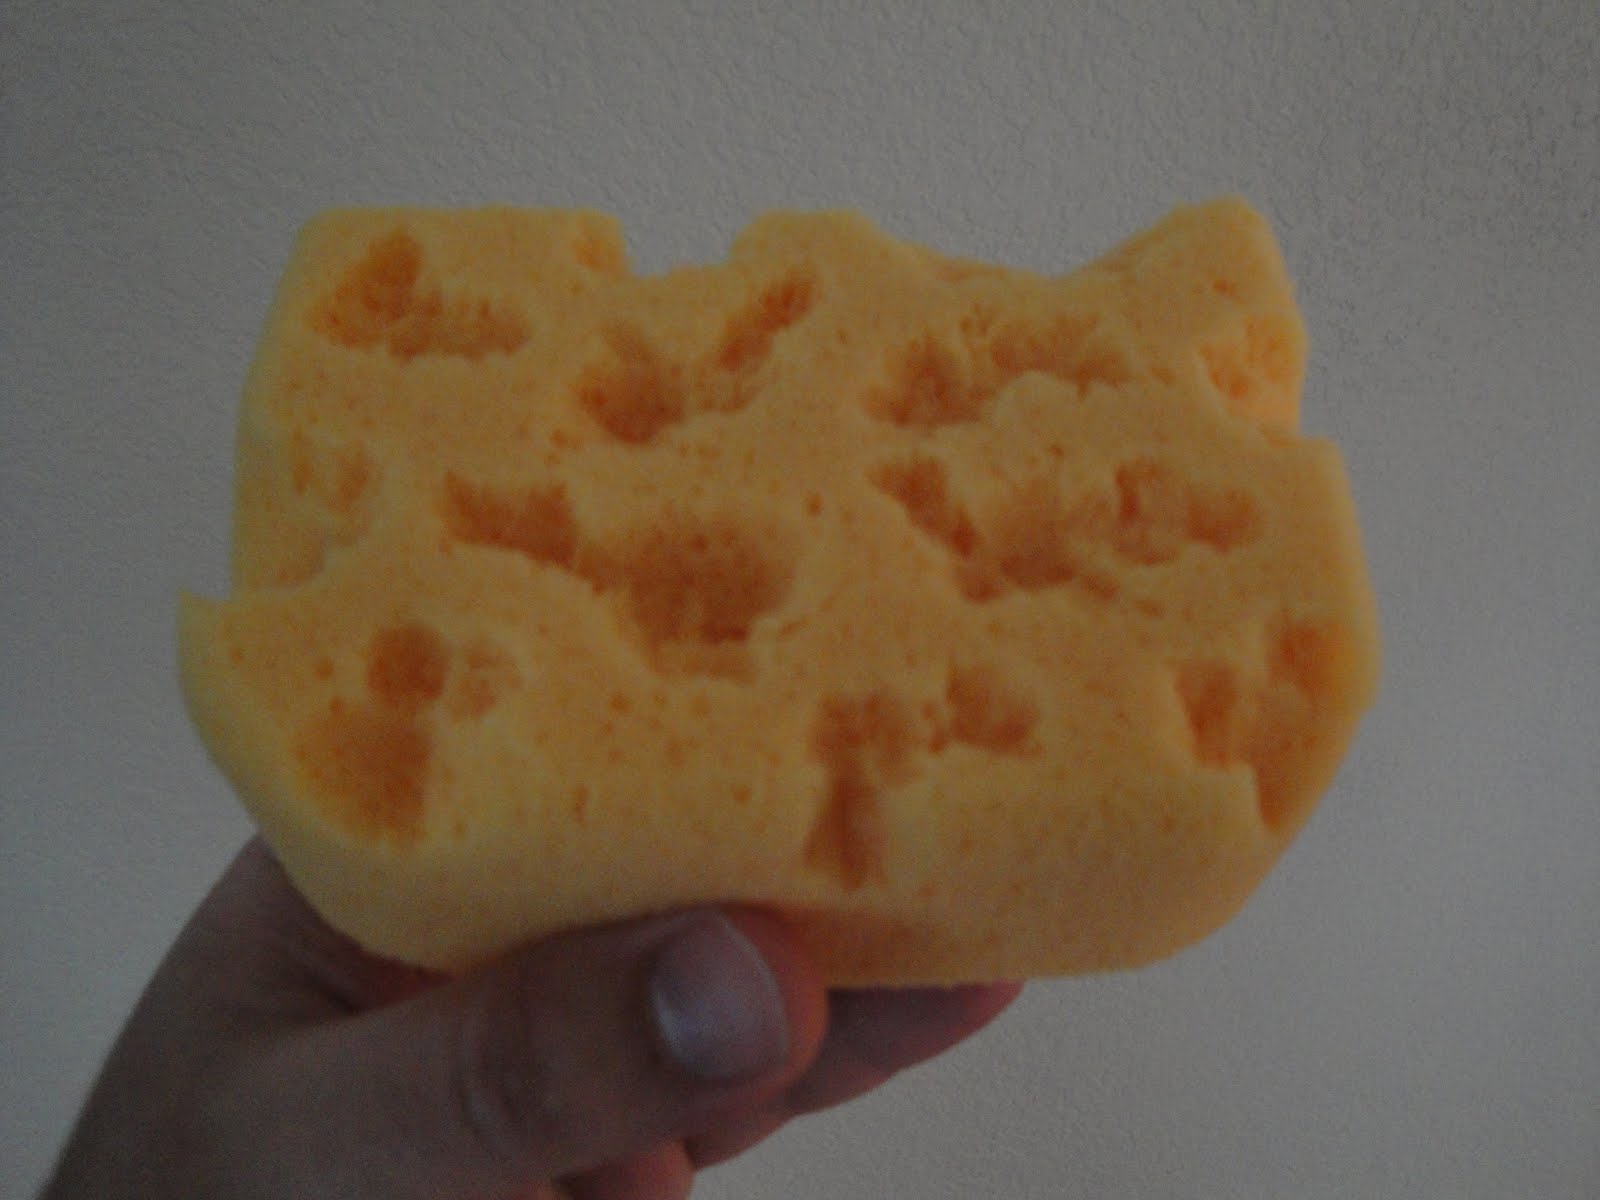
I found this video:
how to do a knockdown patch on youtube and I'm thinking this might work perfectly. I will probably have to sand my current texture off to get to flat wall so I can do it properly, but it looks so much easier and more precise than using a sprayer for a small patch. I think it could even work on corners, if you rolled the sponge around. I'll let you know how it goes.