Friday, April 30, 2010

Building a strong foundation

I've read a lot and watched a lot of videos on how to lay tile. I know the process in an academic way, but haven't actually done it so there's a certain disconnect. Yes I know you have to mix the mortar, but what is your desired consistency? How do you know when you've reached it? I'm learning these things now, because we finally got started on the tile project for the hall bath. Here's where we started last night:

The toilet and vanity have been removed, the moldy bit got patched and we plugged the drain properly.

 Here I am in the back yard mixing up the mortar. Yes, those are my underpants. They will be featured prominently in this post. Please escort young children and seniors from the room before continuing. This is why I bought those overalls. Also, notice the black bucket. That bucket was $1 at target and we are not planning on salvaging it. We had no idea how much mortar to mix so we figured we'd mix more than we needed and just let it harden in the bucket. Wasteful, yes, but until we get a better idea of how much to mix for a given area we wanted to err on the "too much" end. For reference, this is "Unmodified" mortar, so it's uber-cheap. You want to use unmodified mortar under the backer board and modified mortar under the tiles.

Using the 1/4"x1/4"x1/4" trowel to slap some mortar onto the floor here. These trowels have a toothed edge and a flat edge. The teeth are how you make sure you have the appropriate amount of mortar on the floor and the smooth edge is for spreading it around. You can also use it like a scoop to get it from the bucket to the floor.

I'm using the flat part to smooth the mortar out into the corners. it's a little tricky because the bottom is flat and smooth. With the consistency of the mortar, that means you can get some suction going if you lay it flat. keep a bit of an angle to it and you won't have any problems. A margin trowel would also be a bit useful here but you certainly don't need one.

You can see the grooves now. I got a decent layer of mortar down and started using the teeth to scrape off the excess. This ensure a nice even coat of mortar across your surface and it helps the backer board to stick to the floor. As the board settles, the ridges stick to the board and then sort of squish sideways into the grooves. You get a consistent layer and everything sticks nice and evenly.

Here we are laying the backer board into the space. Notice that it's already cut to shape. This is uber-important and I'm sorry I didn't get pictures of that process. You want to dry fit your backer board before you even think about mixing up mortar for it. Get all of your pieces laid into the room together and make sure everything will fit properly. After that, pull them back out, vacuum the floor and then you can mix your mortar. The backer board we used is Hardibacker, and it's supposed to be the easiest to work with. We had trouble with it the first time but it worked great the second day after a little research. We also used a carbide blade in a jigsaw to cut out our hole for the toilet drain and that worked like gangbusters.

The board is down and stuck to the floor and now we have to attach it even more with screws. Pay very close attention here: buy the special screws. Don't use some you have around the house, don't buy cheap drywall screws, buy the screws designed for your backer board. They are different and they will work better and hold stronger. They aren't even too much more expensive. If you get Hardibacker, it'll have a grid on the front with markings for where to put all the screws. You'll also want to put them around the edge, but you want to bring them in at least an inch so you don't break the board.

Lots and lots of screws to hold this baby down. Don't skimp on them. Having this piece solid will help to keep your tile stable and avoid cracks in the grout or even the tile itself.

The other side now. I'm standing on the one we just put down. Not sure if that's okay or not, but we don't really have a ton of options in a space this small. I'm thinking it will be okay, but I suppose we'll find out in the long run, eh?

Here's my dad and I bringing the other piece in.When you're dry fitting, you'll also want to make note of which pieces should go in first or second and if there are any tricks to get them to fit. We had to bow these pieces to get them under the door frame, and knowing that before we had mortar down made it easier to get them to fit properly the first time.

Here's a prime example of why you should measure twice and cut once. I mis-measured the distance to this vent opening so we had to cut the other end longer to fit and then patch this little piece here.

I filled the gap around the patch piece with mortar, first.

I flattened it out with the smooth side of the trowel next. You want to leave a fair bit on here, though. Just get it smooth.

Next, add your mesh tape. Make sure it's the mesh tape for concrete and not the mesh tape for drywall. They are different and the drywall stuff can't stand up to the mortar. You can use your fingers to get it to stick in here a bit.

Use the smooth end of the trowel to embed the mesh tape into the mortar. You want it pretty much covered with mortar so the mesh pattern isn't showing through. You shouldn't have to add any more, just smooth it down so it sinks into the layer you had on there already.

You can see how it should look on the left there. Not tons of mortar, just enough to cover up the tape. This should be a nice strong joint.

That's handy because it's exactly how you do your seams between sheets, too. Lay out a little bit of mortar along the seam, use the smooth side to press it down into the gap (if there is any) and then lay your tape into it.

And there's a nice easy seam. Keep in mind that you'll be covering this whole surface up with another 1/4" or so of mortar so slight imperfections aren't going to ruin anything. Just get it all flat and smooth as best you can.

So there you have it. That's how you can lay backer board. You don't have to do mortar underneath, really. We chose to because the floor was a little uneven and the edges of the floor patch were slightly rough. Adding this thin coat of mortar helps even out the subfloor surface so you get good contact from the backer board without any high or low spots. if your subfloor is flat and smooth and even, you can just screw the backer board to the subfloor without any mortar underneath. Honestly, this wasn't that tough and the mortar we used is super cheap (like $5 for a 50-pound bag) so I wouldn't be averse to doing it again. It may be overkill, but that's sort of how I roll. Please let me know if you have any questions. We'll be laying tile tonight!

Wednesday, April 28, 2010

Meeting the Neighbors

Not actually the neighbors, really. More the HOA board. Their first meeting since our purchase was last night and we attended to get a feel for the group and to ask some questions. The meeting was at the site of the current (for the next two days) management company and will be moved to another site for next month. The board is mostly younger people (30s and 40s I'd say) with one older lady and they all live in the same area. They really seem like nice people, too. They aren't vindictive or unreasonable at all, which is what I'd heard to expect from an HOA. Some folks sent letters asking for a waiver of a late fee for their dues or something and the board was cool about reading their reasons and giving them a break. They were also very understanding about wanting to make exterior changes to the house for security reasons and not wanting to wait to hear back from them with their approval. We'll still submit our forms and all to be safe, but it's nice to know they aren't going to come after us as long as we're being reasonable.

My parents and the handyman got a lot done in our absence, too. My dad swapped out some light switches, pulled up the linoleum in the pantry, helped hang doors, pulled the hall bath vanity out, helped replace the flooring around the toilet drain, and who knows what else. My mom continued cleaning the kitchen and touched up some paint in the office, and I believe she also got a full coat of the paint for the hobby room up.

Jenna and I went and picked up a tile saw from our friend Martin, the same friend who lent us the miter saw to help with the laminate floor and the power roller, and also helped us do the actual work with both of them to boot. We're very nearly ready to start laying tile in the hall bath now, so that will be nice. You may be asking why we replaced the floor and took out the vanity in there, since that wasn't originally part of the plan. We got some really good advice from a guy at Lowe's about the whole thing, and decided to go with it. His suggestion was to replace the floor rather than trying to level it with something because it's going to need to support a lot of weight once it's installed and in use. That makes a lot of sense to me, and I wasn't at all convinced that the damage the mold did was strictly in the color department. I feel much more comfortable having replaced the subfloor so we know it's strong and stable. Also, he suggested taking out the vanity and putting tile under it. We weren't really thinking about that, but it makes a lot of sense. We're probably going to replace that vanity at some point and having to find another with exactly the same footprint (or having to bust out and re-do the tile to fit) didn't seem like a good idea. This way a replacement will be an easy drop-in. Thanks, Lowe's guy!

Monday, April 26, 2010

True Neutral

Well, we had some big jobs this weekend. As you know, we had the mold in the hall bathroom upstairs to deal with, so we got to work on that. We also painted the living room, family room, staircase and upstairs hallway with what we're calling the "Whole House Neutral." It's not actually in the whole house, but it's darned close. I'll make a list of colors that we used here for our own records and in case you like what you see wand would like to know how to get hold of it.

Here's the list:

Ceilings in the bedrooms, inside of all closets: Killz Flat Ceiling White
Whole-House Neutral - Kilim Beige (Sherwin Williams Color) in Behr Premium Plus Ultra flat enamel
Colonial Room - Cornflower Blue (Killz Casual Colors) Flat
Office - Belgian Waffle (Not sure who made the color) in Behr Premium Plus Ultra flat enamel and Admiral Blue (ColorPlace) in Killz Casual Colors Flat
Hall Bathroom - Misty Surf (Killz or ColorPlace color) in Killz Casual Colors Semi-Glass
Bathroom Ceilings - Olympic Kitchen and Bathroom Ultra White ceiling paint
Hobby Room - Basketry (Behr) and Plateau (Behr) in Behr Premium Plus Ultra flat enamel
Ceilings in the living room, family room and kitchen - Dover White (Sherwin Williams) - Flat
Woodwork - Dover White (Sherwin Williams) - Semi Gloss

Whew! I think that's almost everything. We haven't decided on some things yet, like the master bedroom or the master bath, or even the powder room on the main floor. When we get those picked, I'll post those colors as well.

Now, for some pictures!

Remember the mold?

Mold no more! I started sealing with the primer before I remembered to take a picture of the floor, but you can see right around the drain how it's dramatically lighter in color. That's from me painting the whole area several times with undiluted bleach. I wasn't expecting a significant visual change, but it was huge. It was as if the bleach literally dissolved the mold, leaving only wood. Kind of amazing, really. I started painting the floor with a cheap roller, thusly:


And used this paint:

So we're thinking the issue of moisture getting into the subfloor again should be pretty minimal.

Here it is all done:

I had to chip out some of the floor that had been softened by the mold so the area around the drain is a little rough. We were planning to use the thinset mortar that goes under the tiles under the cement backer board as well, but my friend Erick suggested the self-leveling epoxy instead. I think that's a really great idea and we're going to try it. Hopefully we'll be laying tile at some point and I can get into that whole thing with you all.

Here are some pictures of the painting process for the main areas of the house:

That power roller is truly amazing.

This is a good picture of the fresh paint and the dry paint. You can see the dry paint at the top and bottom with the fresh paint in the middle. The paint went on sort of yellow but it dries to this really nice beige. The red/purple walls in there before made it stay looking like that yellow color even after it dried, which is why we didn't like it. It dries so much darker and the yellow leaves almost completely, just leaving a nice neutral color.

Here's one of the other rooms we got painted yesterday. We chose a bright yellow for the office, since it's on the north side of the house and has a smallish window. The wall with the window in it is going to be a really pretty blue color.


There's my lovely wife working on the room, too. I didn't get pictures of the blue since it needs a second coat to avoid being splotchy. I should have some of that for you guys tomorrow, though.

My mom and my wife also got the hobby room worked on. The ceiling and walls used to look like this:


And now look like this:

It took a coat of primer and two coats of ceiling white to cover the dark blue ceiling they had in here but it makes the room so much nicer. We've got the color for the walls for this room, so it'll be next to get the paint.

We also had a lot of visitors this weekend, which was really fun. AJ came over on Saturday to see our progress, then Neil and Melissa came by on Sunday (Neil had been before but it was her first time) and got the tour and all. My friend Steve from Wyoming was down for the weekend and stopped by on his way back home. He also hooked me up with some books on home wiring and a multimeter that will certainly come in handy. My cousin John and his wife Michelle came by too, which was really cool. We've had to keep ditching out on them to work on the house so it was nice to get to see them again. Erick and Kristen came by as well to drop off a toilet drain plug which will definitely come in handy. They're also going to help us with the tile in our place, since they did a really beautiful job at their house. All in all it was a great weekend since we actually got to see some friends for the first time since we bought the house and we still managed to get a lot done.

Thursday, April 22, 2010

The Creeping Crud

Here's the upstairs hall bathroom.


It's going to be our primary bathroom when we move in while we work on the master bathroom. We got it all cleaned and painted (my mom did all of that and it looks beautiful) and were ready to put in tile when we saw this:


Soooooo...we have an issue. Looks like the linoleum was installed not under the toilet but around the toilet, and then wasn't sealed with any kind of caulk. Moisture inevitably worked its way down into the floor and turned into nasty grossness. It doesn't look like it's the bad "Toxic Black Mold" because it doesn't have the distinctive spotty pattern, but it's certainly some kind of mold. We've got a call in to the county health expert to have her come out and identify it and make sure it isn't something super-nasty. If she says it's okay we can clean it up, seal it up, and tile over it. We may need to pull the tub in order to check under it and make sure the mold hasn't spread. If it's bad and has gone under the tub, we may need to cut out and replace the subfloor in there before we can do much else. Joy! We did pull the toilet out, which is important. The bolts that hold it on were all rusted out and we nearly had to just tear the thing out of the floor.

Always make sure to seal up your drain holes. Nasty gases can come out of there and into your house and that's bad news. The duct tape should be fine, but we've also seen folks use rags and stuff just to plug it up so the gas doesn't get out. How gross is that floor, though?

On the plus side, my mom and wife busted out more primer and cut in all the edges of the walls with more primer so it's fully ready for color now. We just need to pick up a bunch of paint (getting paint in 4 or 5 gallons at a time can save you up to 20% over buying individual gallons) and get to work.

We'll be back there tonight working on stuff, hopefully dealing with the mold and getting it all mitigated. We may even be able to start marking and measuring the floor in there to prepare for tile. We'll just have to see how everything goes. We're waiting for calls from the HOA regarding the design approval group and when they meet and also the guy who's dealing with the sliding back door and the dudes who are going to help us with the master bathroom. Oh yeah, and the carpet guy. I really don't like having so many things waiting on other people, but it's the way it has to be.

Wednesday, April 21, 2010

The future is now!

Remember that cool panel that will do all sorts of neat things for us? Turns out no equipment actually has a coax output anymore, except maybe a VCR or something. So the panel may still be useful in some sense, but I'm going to have to work at it to figure out how to make it do what we want.

We're going to get started in the tile in the hall bath tonight. I re-watched the tile setting DVD we have and got some good new info. We need to pick up some more tools before we're ready to go but we should be able to get started tonight for sure. At the very least we can lay out our tiles on the floor with the spacers and see how it'll all look once it's in. This is important so that we know how best to organize everything so we don't end up with lots of small pieces of tile around the edges. We're a bit limited with how we work this because the space is so small, but I think we'll make it really nice. I'll take lots of pictures of the process tonight so I can make a step-by-step how-to for tile over the next few entries. Should be loads of fun!

Tuesday, April 20, 2010

Light Night

We did a lot for the house yesterday, but in a sort of metaphysical sense. We bought the tile and various accessories for laying tile and also ordered the hardwood for the main floor. We'll have to have my dad pick that up in the truck in the next few days and then unload it into the house. Here's the tile we picked out:

Florentia Noce Porcelain Tile


It's very nice and has enough going on in it that it isn't going to look boring or anything. We really think it'll look great with the white plumbing and the countertop that's in there now.

I also re-textured some patches on the walls that I had to make and I'm feeling much better about that process. The initial patches I'd made had a tendency to get too smooth in areas, with not enough variation. The texture is definitely an art and it'll take a fair bit of practice before I feel really good about it. I'm definitely improving, though.

I also did a little reading about this bad boy:

It turns out that this is actually an intensely awesome piece of equipment. This little beast right here will serve quite a few functions for us. It's a way to get cable TV to every outlet in the house, which is nice, but it's also a way to transfer signals from one place in the house to another. Check this: I can run a coax out from a DVD player in the family room and hook it into this panel and then watch the signal from that player on any other TV in the house. Cool, huh? It means that we don't have to buy DVD players for every TV and you can also put a DVD in the family room while you're eating dinner, then head upstairs to the computer room and keep watching without having to bring the DVD with you and find your spot. Maybe I'm the only one who thinks that's cool, but I'm very excited about it. I still have plenty more to learn on this thing and quite a bit more testing and all to see that it actually does all of these things properly.

We have a few more things planned for tonight, mostly more painting and taping and prep work. I'll get pictures of any new improvements we make, as per usual.

Monday, April 19, 2010

Optimus Primer

We busted out some serious work this weekend. I'm going to let the pictures do most of the talking for the primer part, but there are plenty of other things that will let me ramble endlessly, as is my custom.

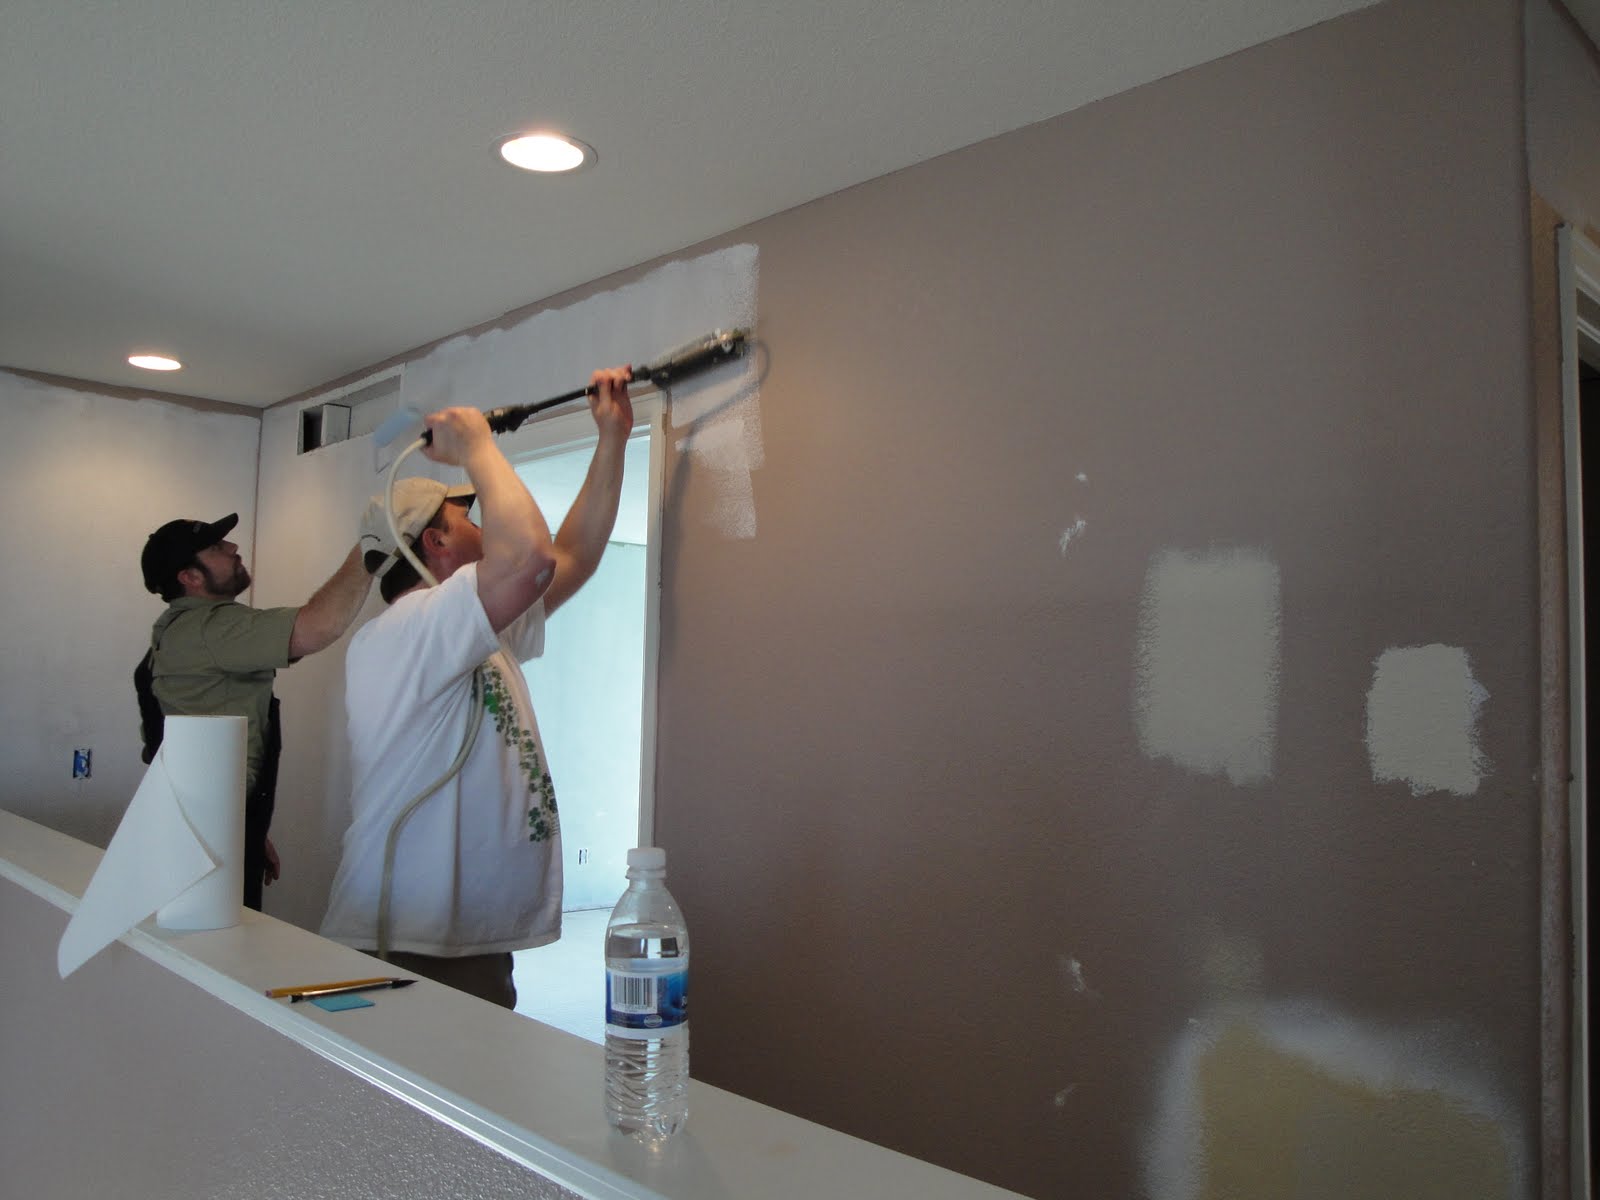
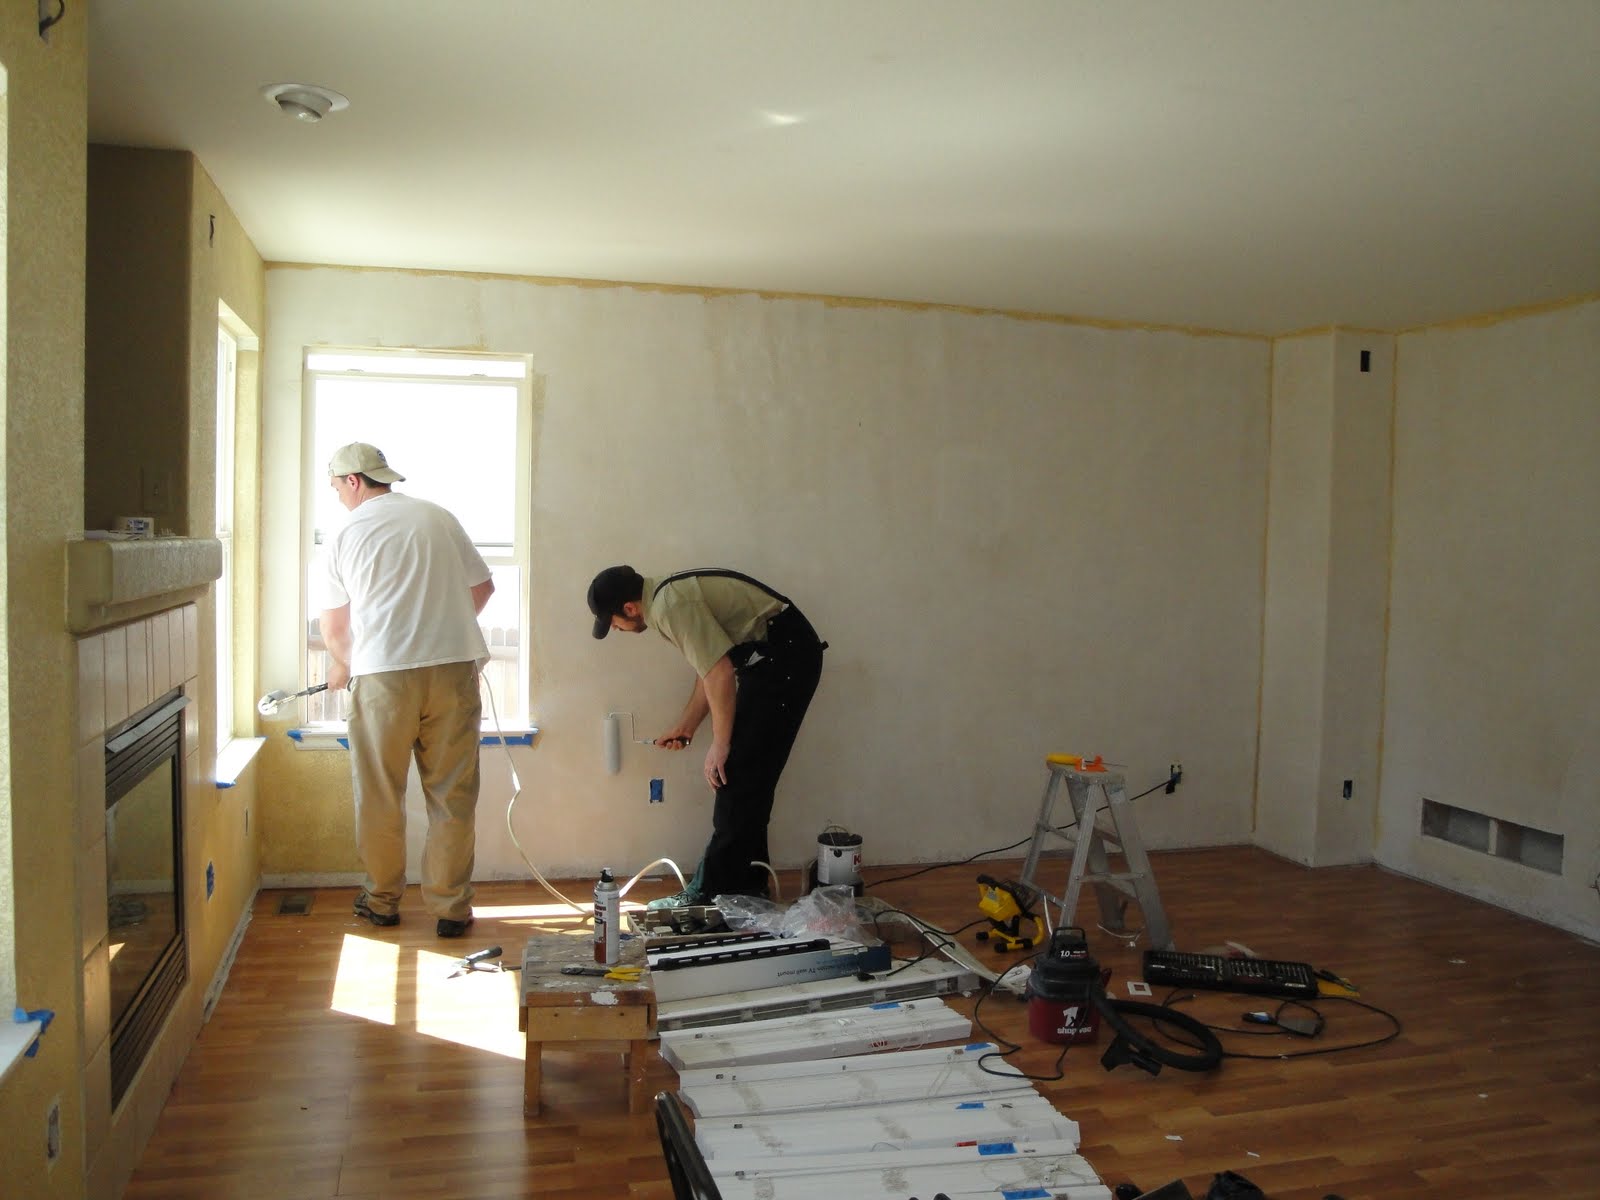
The tool being used here is a Wagner Power Roller. It hooks onto a 1-gal bucket of paint and pumps the paint to a special roller so you don't have to keep reloading in a tray. It is simply amazing. It works great for large areas but the cleanup takes long enough that it isn't worth it unless you're painting a lot. Some reviews I've read have been pretty negative, but we had an awesome experience with it. Here's the link: Wagner Power Roller


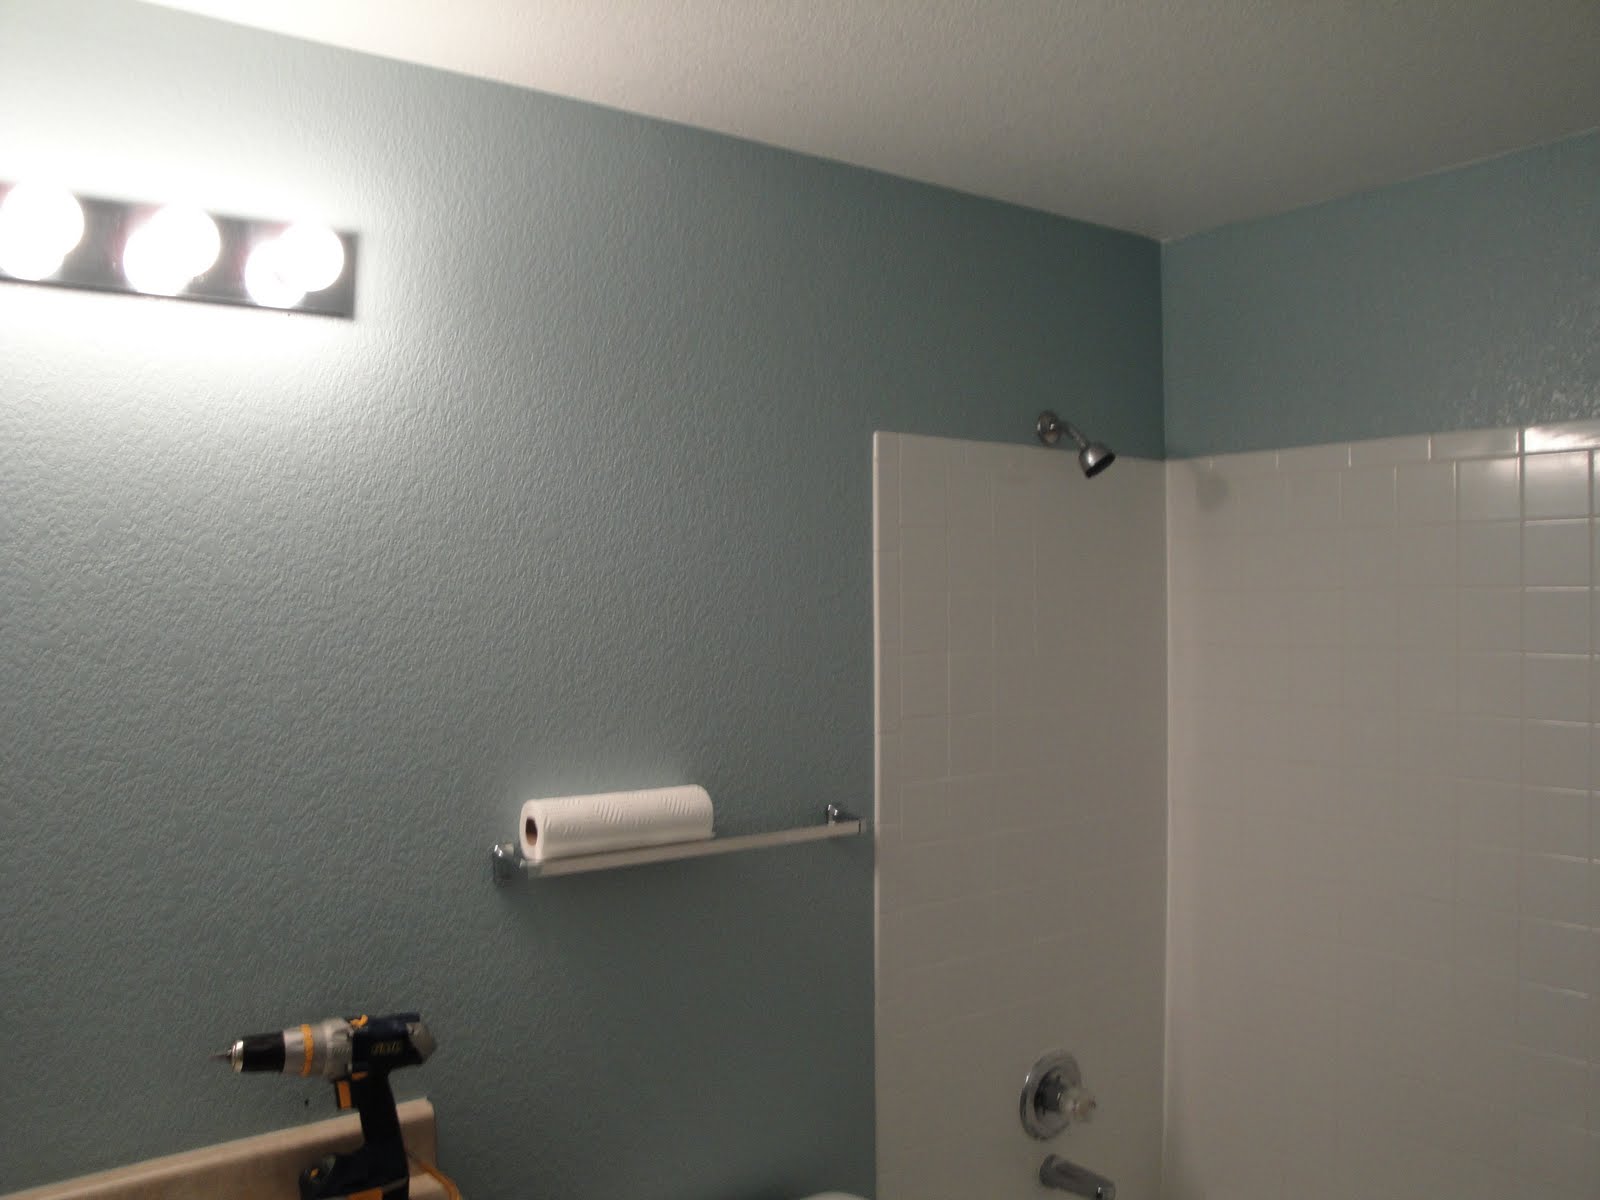
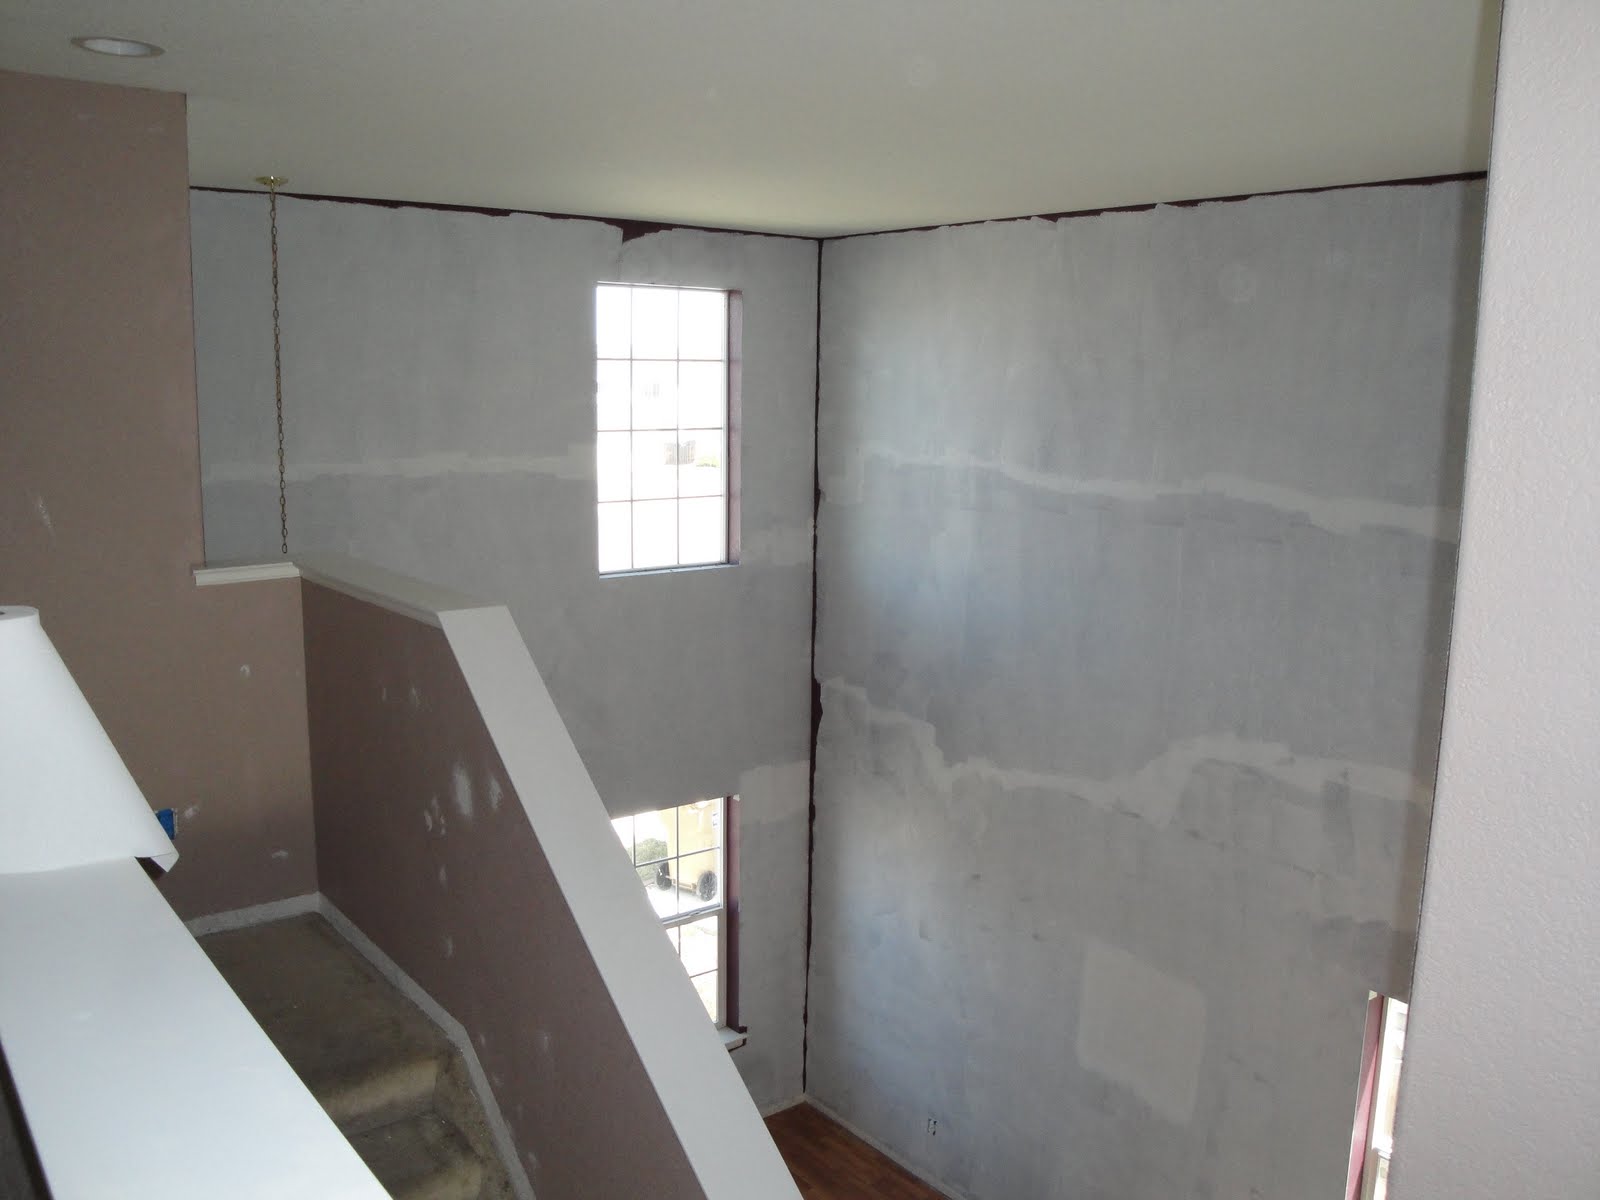
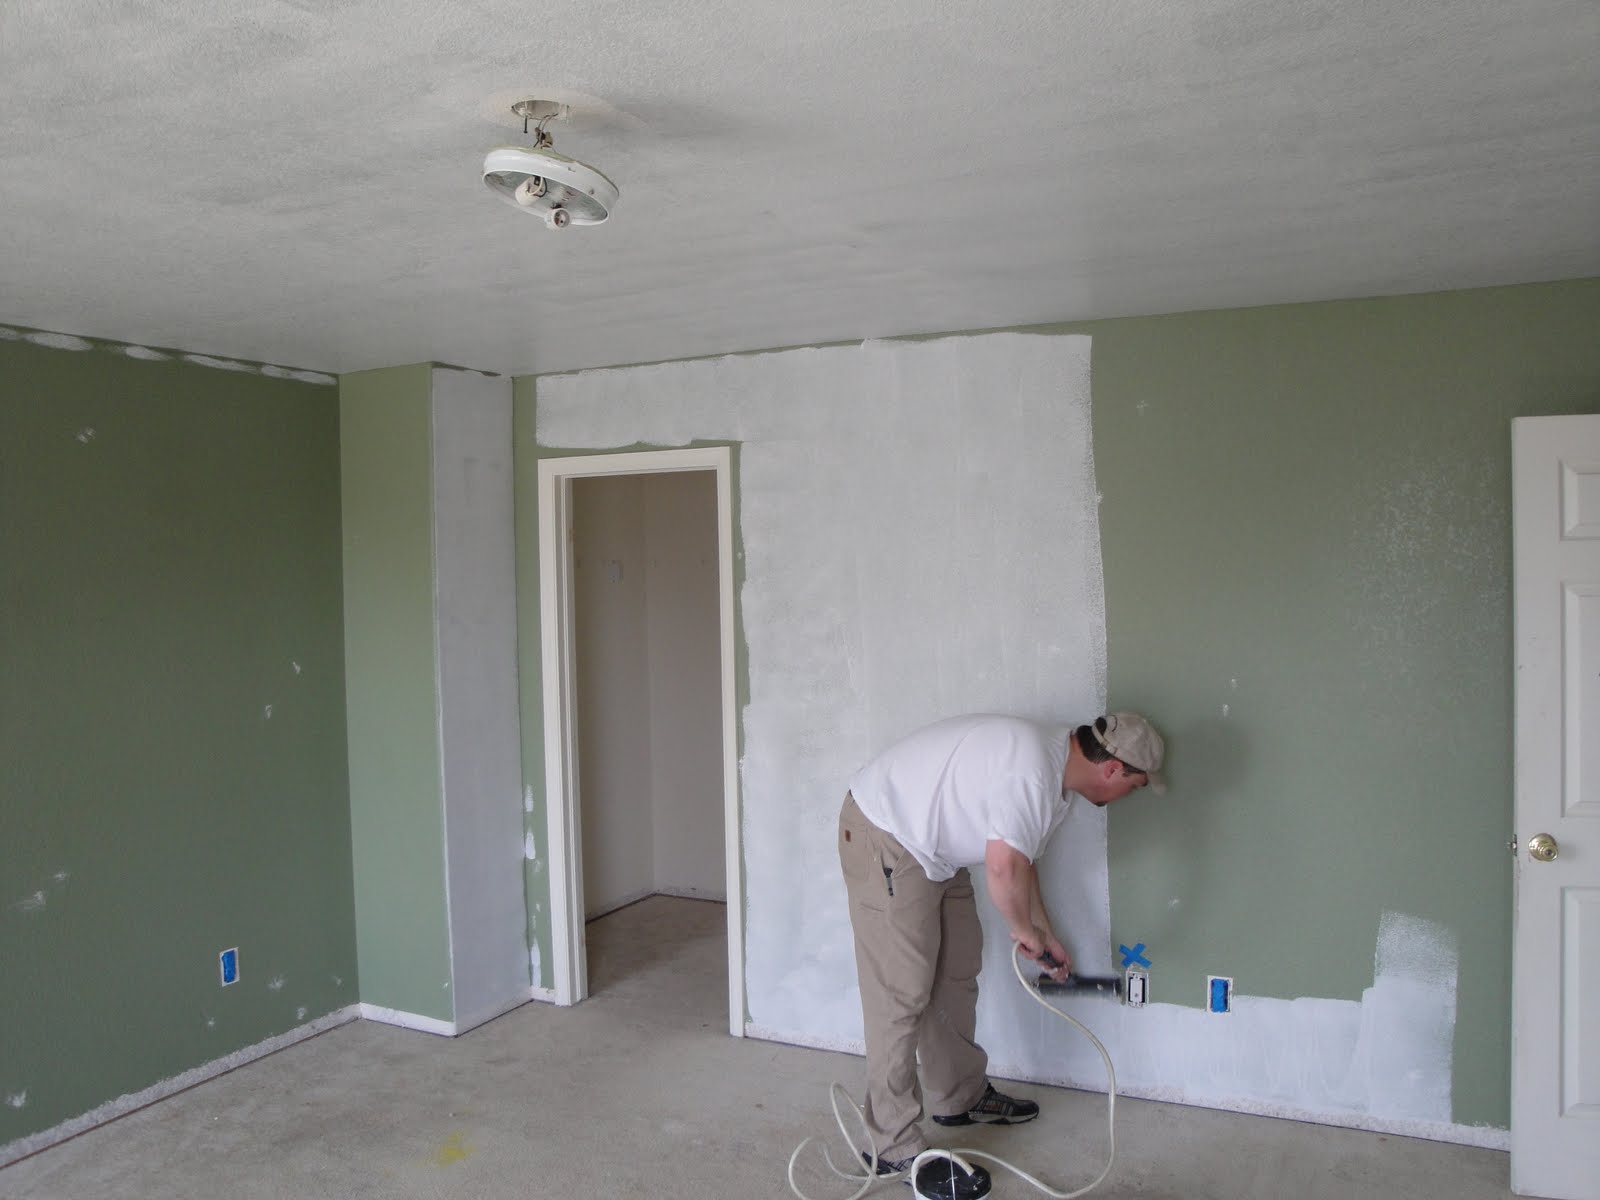
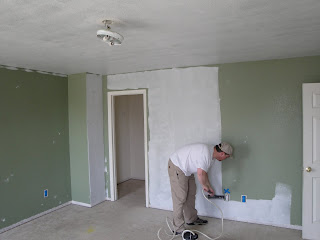
Yes, that is my friend and my dad working while I'm taking pictures. I'm sort of a jerk. But look at how much better the place looks without that nasty red/purple up there. Our neutral color (visible on the wall in the pic with my dad in it) looked sort of yellow and lame in that room but looked great in other rooms. We tried it even over multiple coats of primer and with multiple coats of color and it just kept looking awful. Turns out it was the reflected light from the other walls, and once we got the primer on all the walls it looked great. I'm really glad we did that test again after priming because we were ready to go with a different color entirely just because it looked so awful in this room. Let that be a lesson to you: You can't get a good feel for a color on your walls if you already have a dark/super bright color on the other walls. Prime it up, then use your little samples. Here are the other rooms in no particular order:


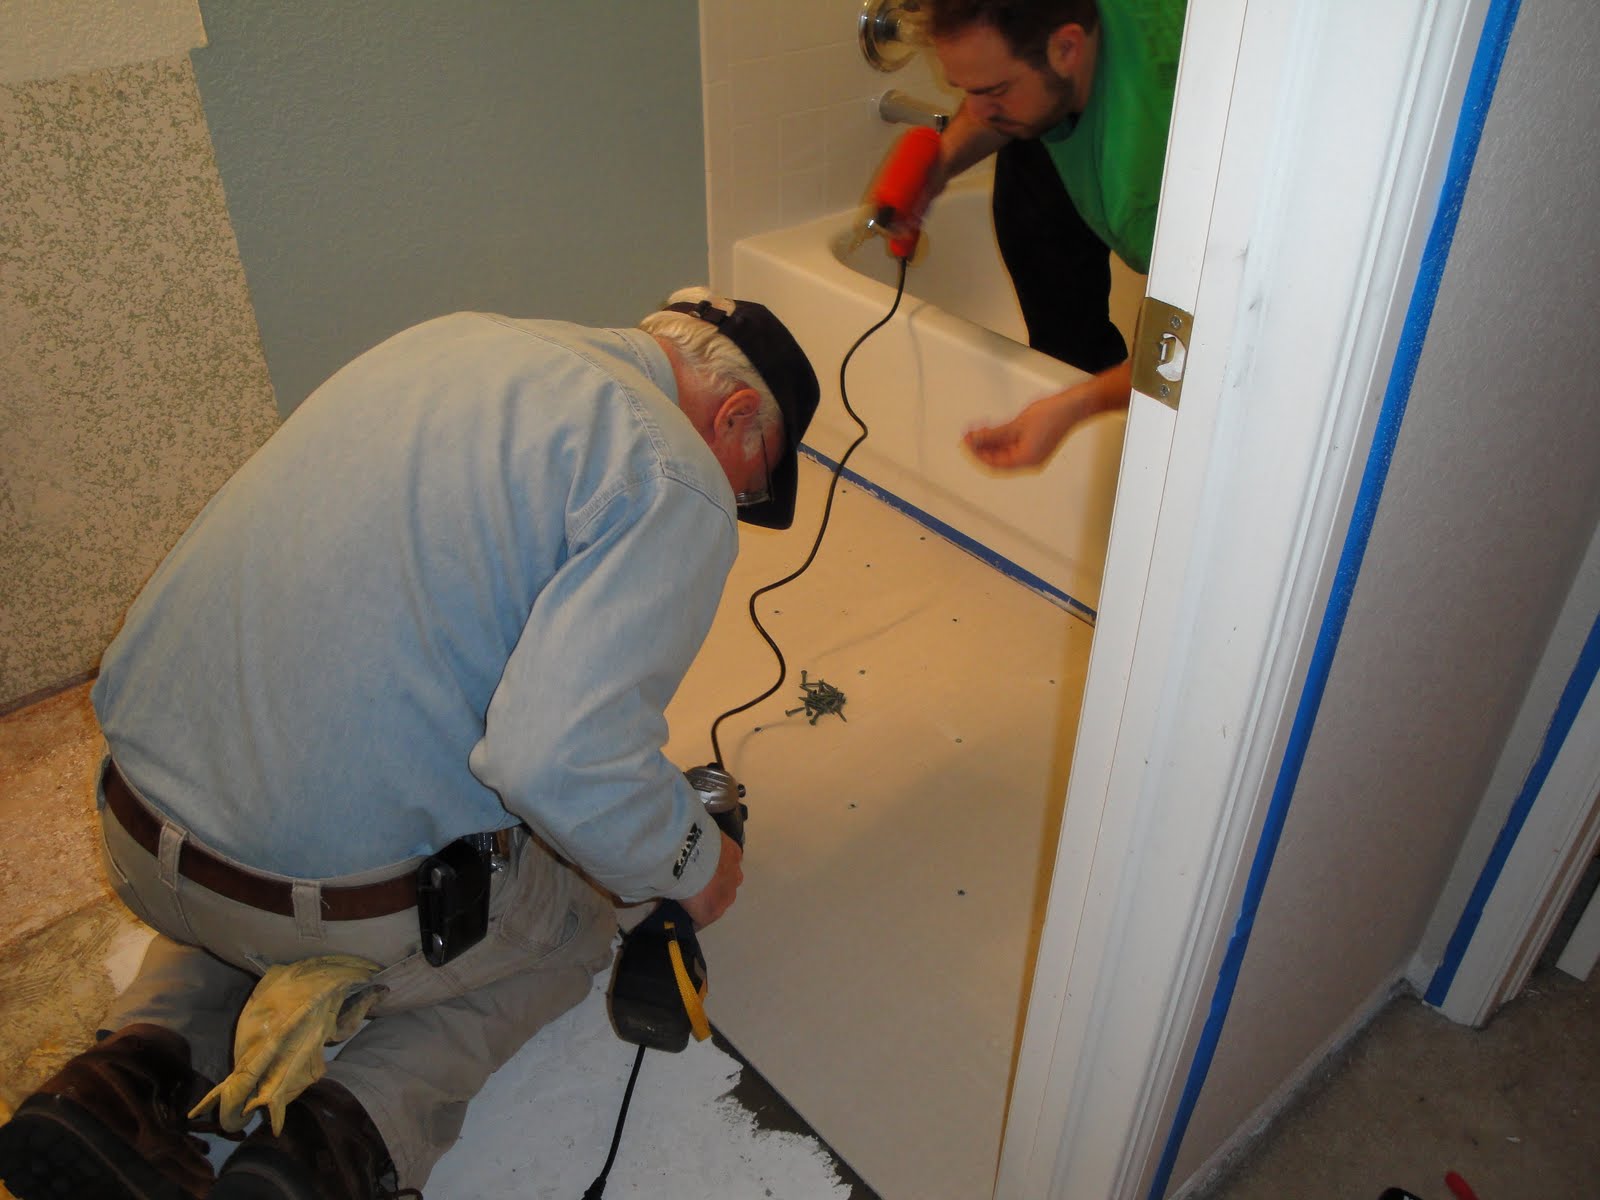
Okay, this might require some explanation. The power roller pumps paint when you have your finger on the button. It stops when you let up. It pumps more paint than you can lay down if you keep your finger on it, so you need to let off and just roll the roller dry before loading it up again. This process can be a bit touchy so it was helpful for us to have me go around after my friend with a dry roller and just sort of smooth out the paint. I could homogenize the coverage a bit, and pick up any stray drips or lines or anything. It was still way faster than two of us using trays and regular rollers, and we got a great layer of primer on here.

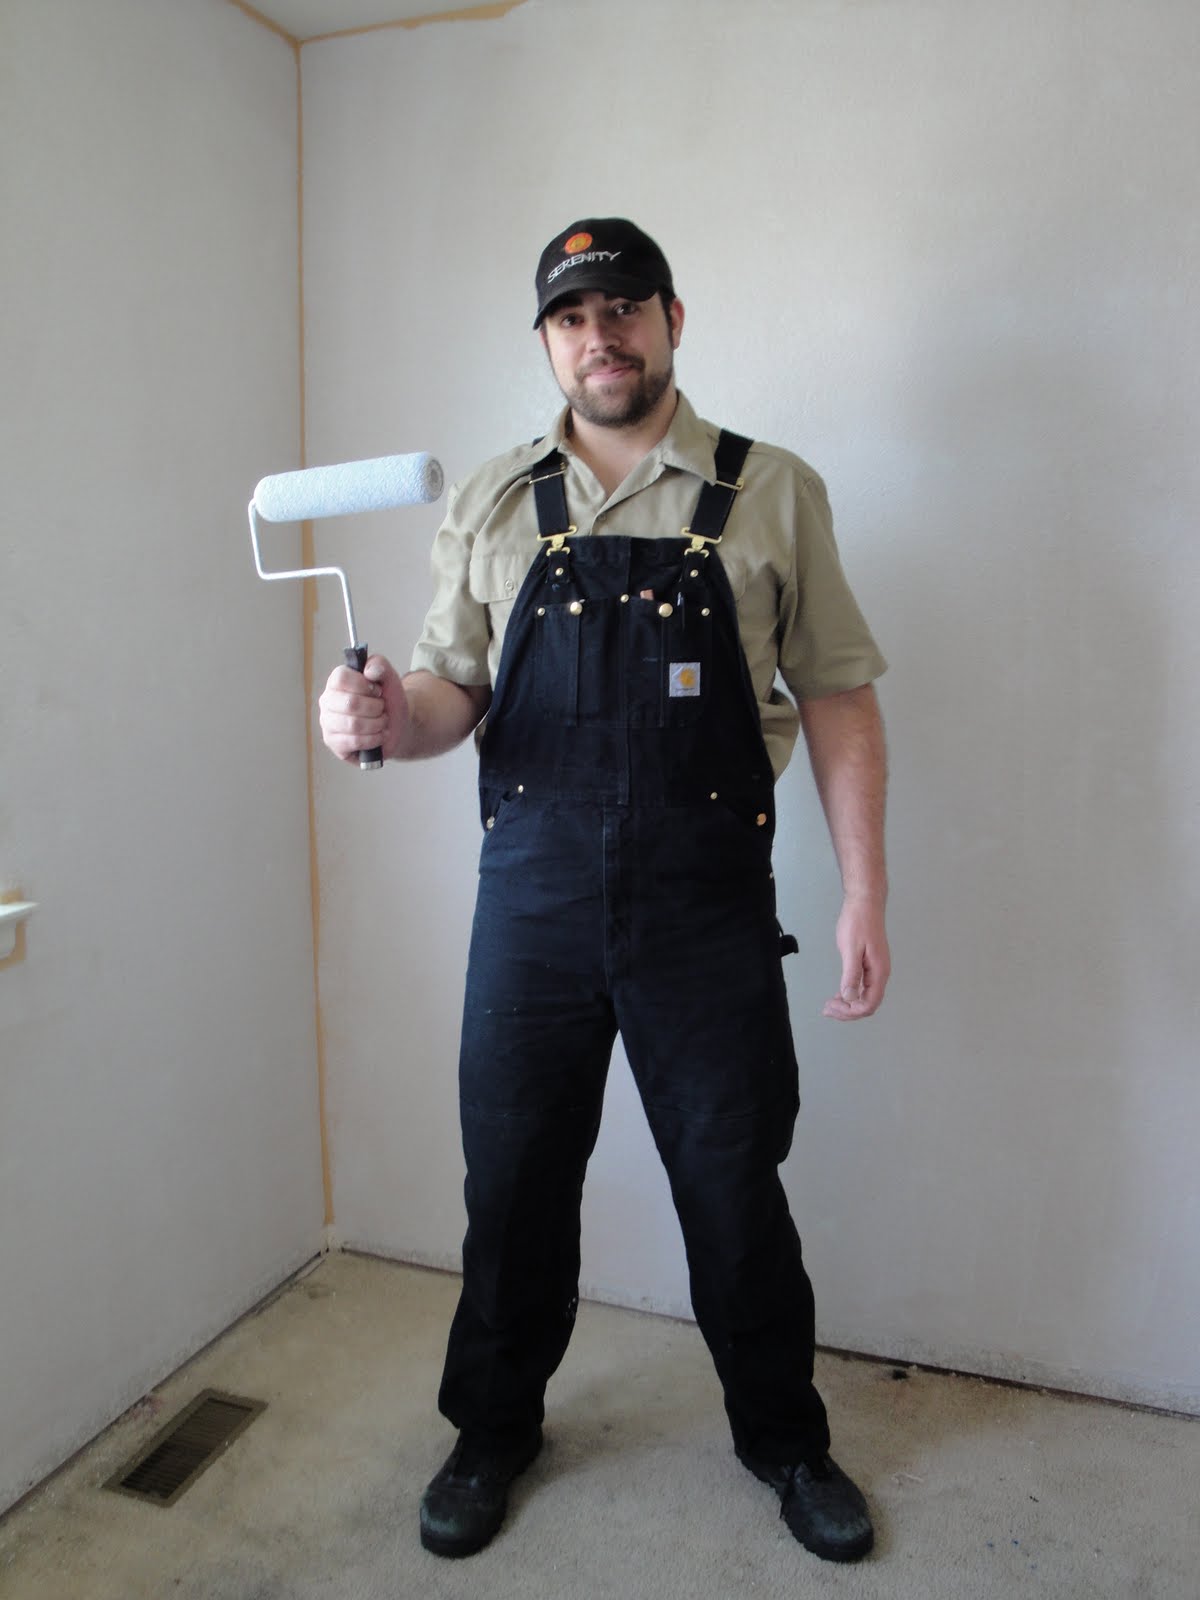
Me in my overalls. I do love these things. I managed not to get paint all over them, which was nice. They got super dirty later on when I was cutting holes in the basement ceiling.

This is my tiny wife in her house-cleaning duds. She was cleaning and scrubbing and scraping all day making everything ready for paint. She's such a good worker! Also, she's very cute.


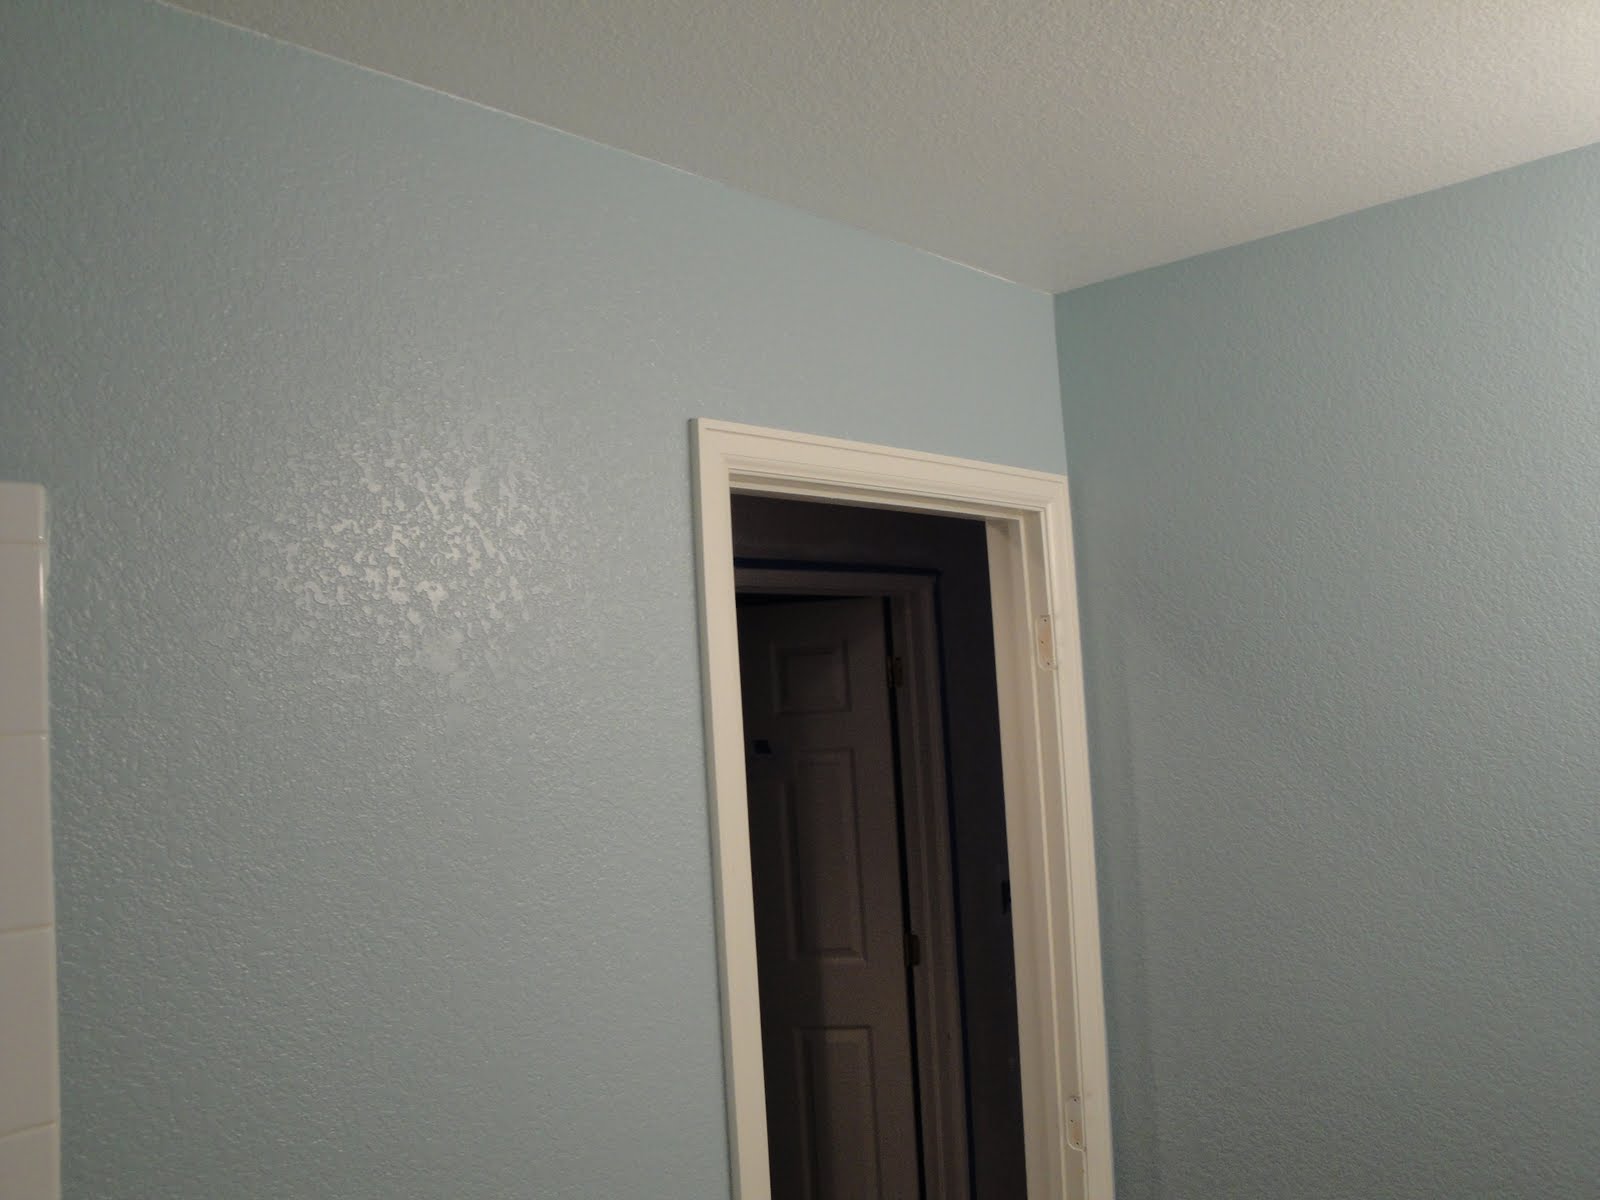
So close to being done now!

This was the last room. The whole house has a different feel to it, even with just the primer up and without us having done any cutting in on the edges. It just feels brighter and cleaner somehow. We'll be getting more color on the walls soon, too. I'll take lots of pictures of that and then we can do some comparisons with the original colors and see what you guys think.

We did some other projects this weekend, too.

Took off the wallpaper borders in the kitchen/family room area.

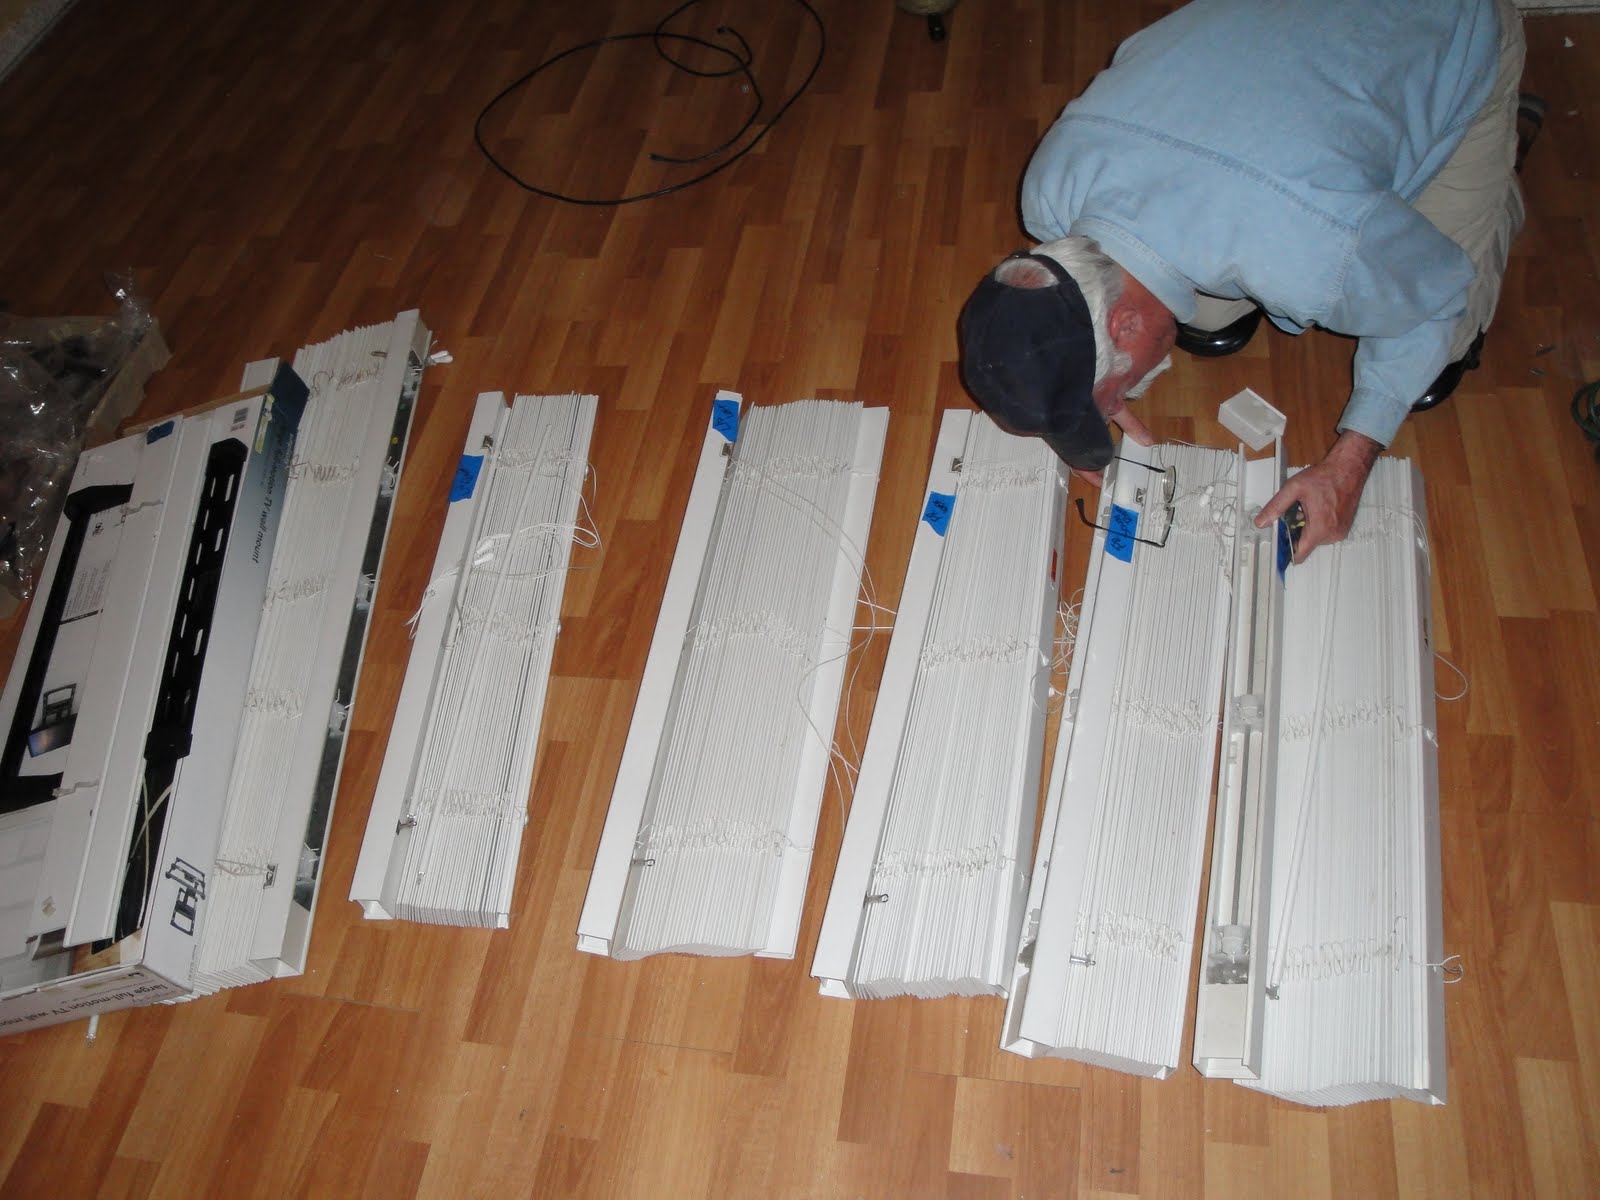
Prepped the rest of the rooms for paint (took down all the blinds as part of that).

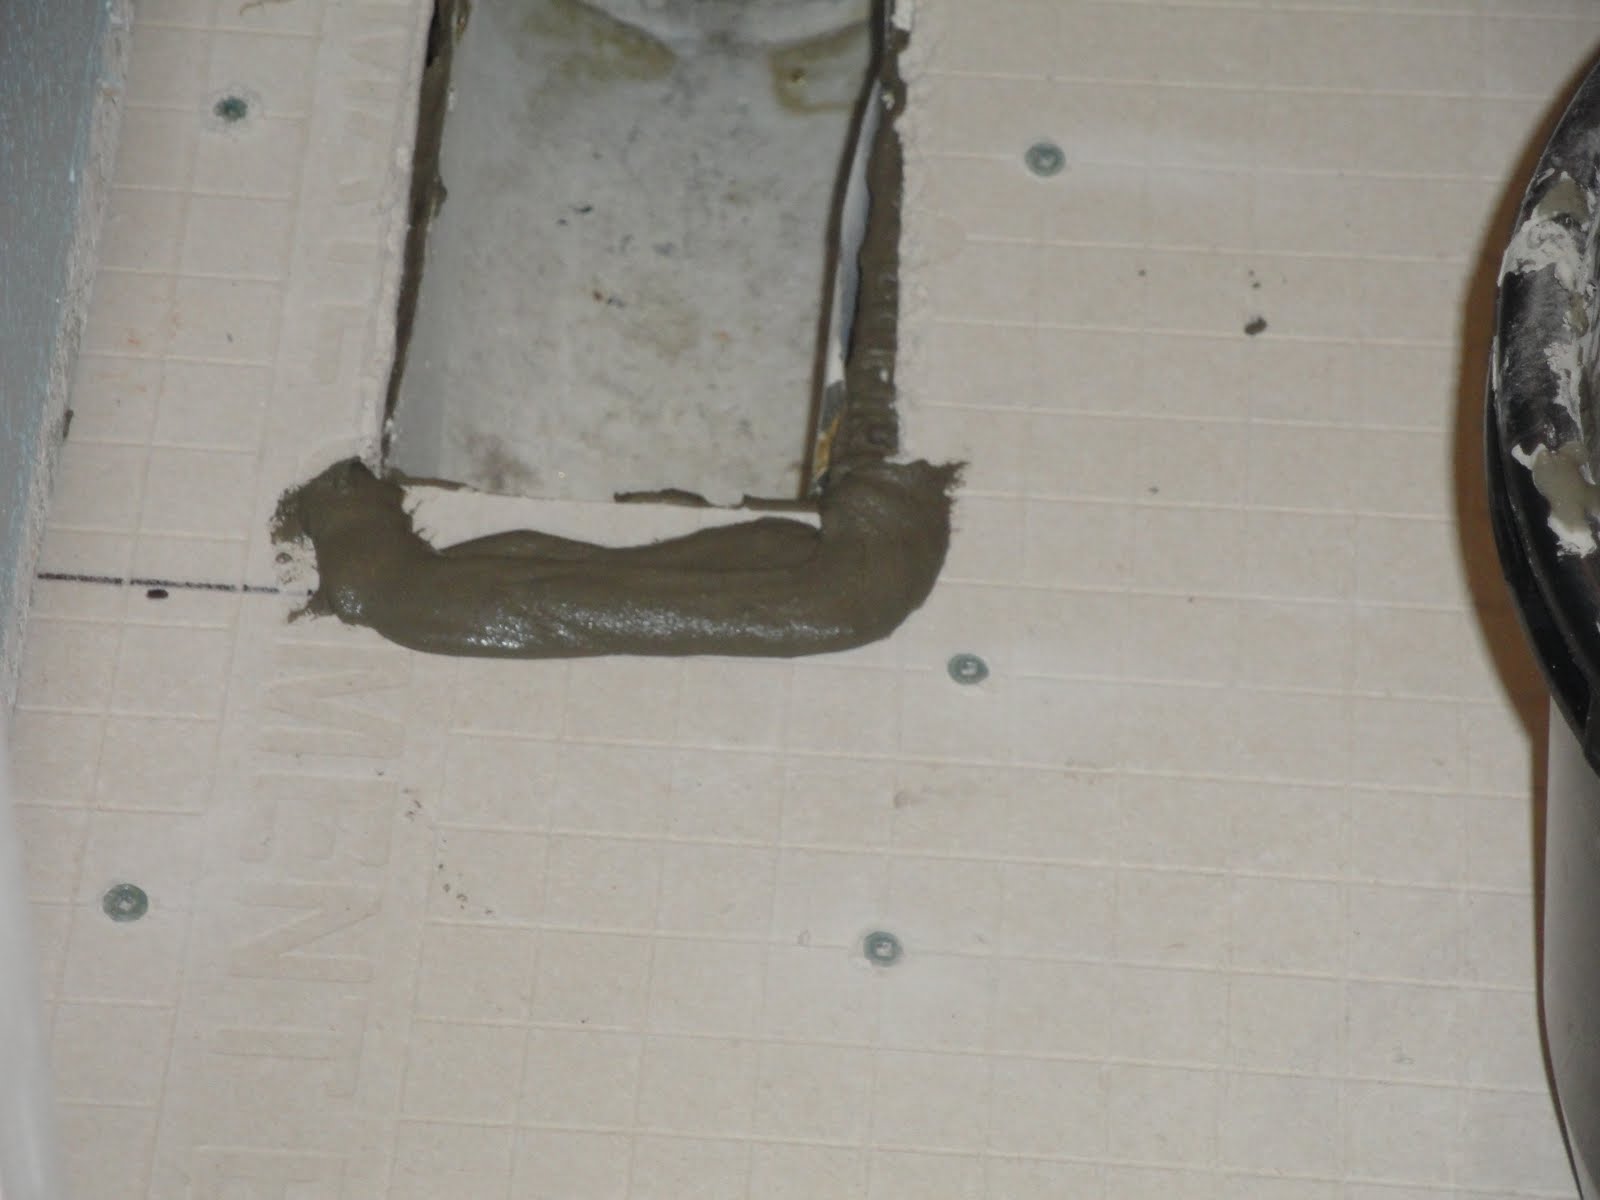
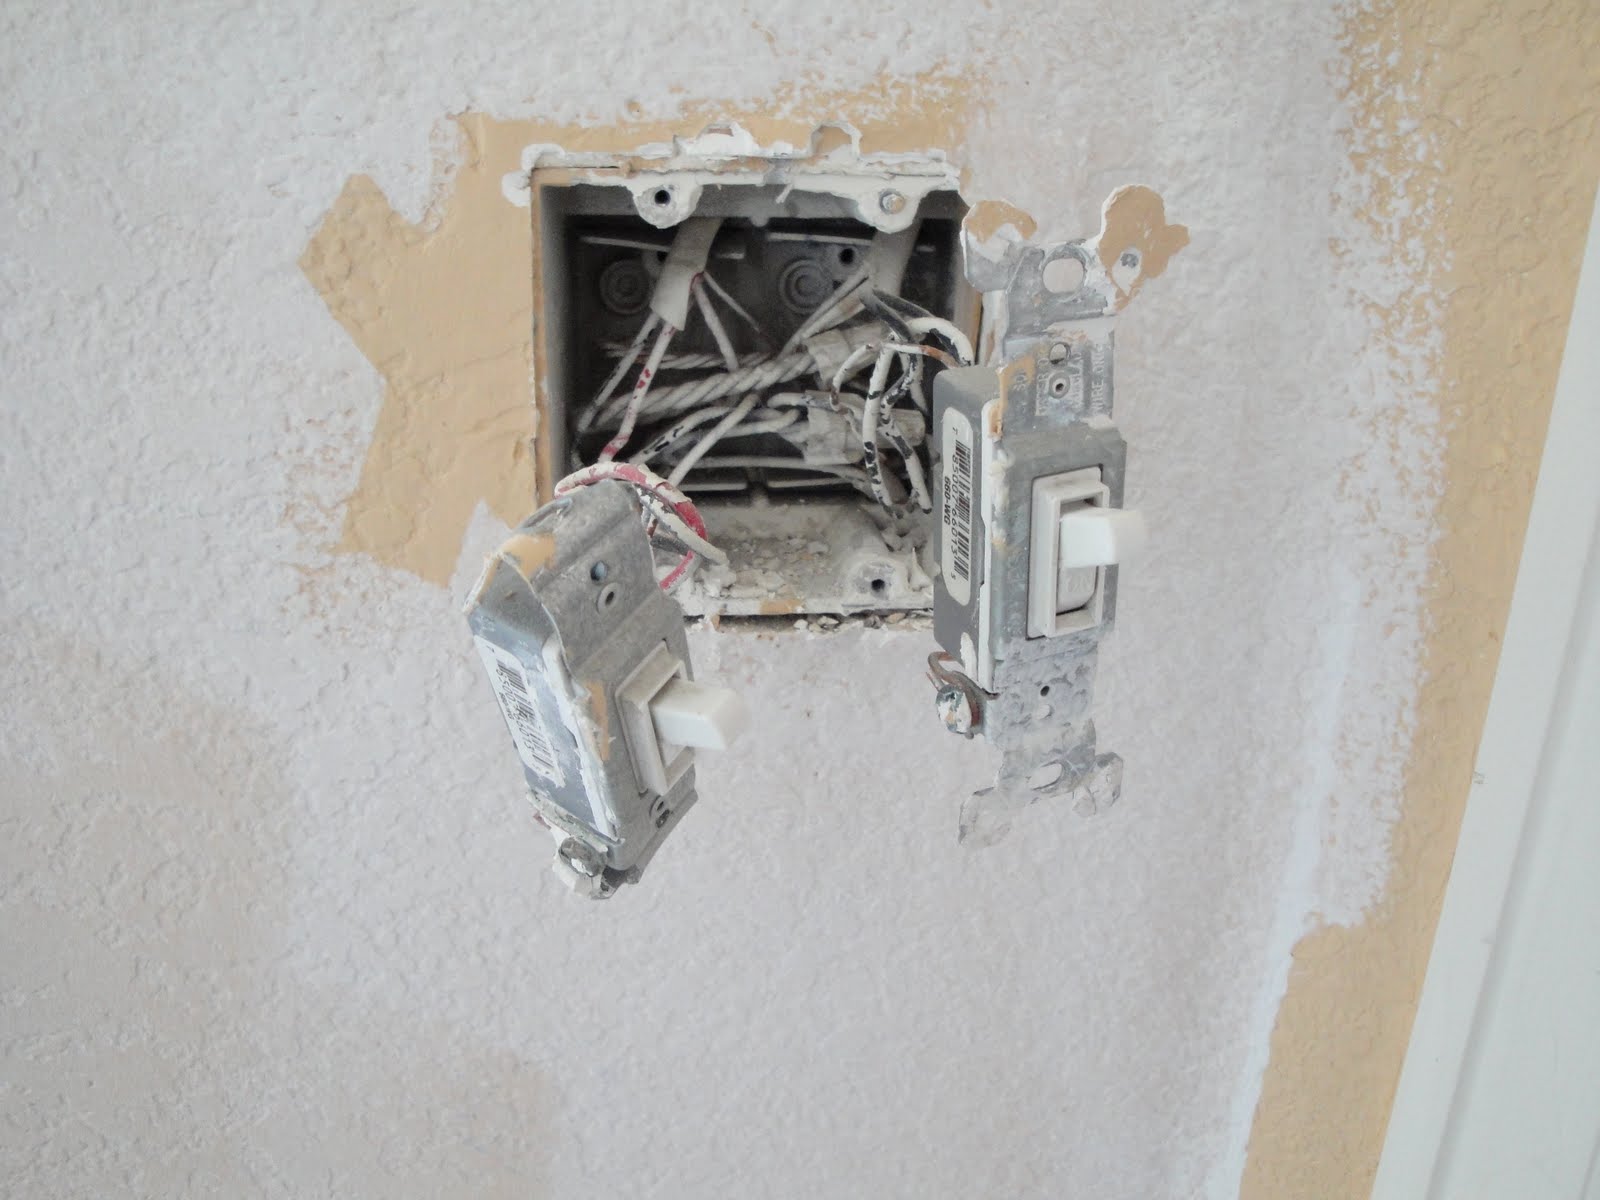
And here's a little gem. I can't find a picture of it right now, but the light switch in the orange room was supposed to be a two-switch plate like the rest of the rooms. Someone had moved one switch the the middle and puttied around it but we couldn't figure out why. We didn't worry too much about it until yesterday when we started digging it all out. My dad shipped the putty away and found popsicle sticks used as a base for the putty, and then this underneath:

The other switch is still inside the box, turned sideways. He added metal plates to the top and bottom of the box so he could mount the remaining switch sort of towards the middle. It makes no sense, especially since the switch he folded inside was still perfectly functional. Here are some more pictures of this disaster:

He actually used a nut and small bolt to hold the remaining switch to the metal plates he installed.

Here's the other switch tucked into the box. He has to fold down the mounting brackets to get it to fit.

Both switches pulled out. What the heck? No idea, but I know we'll be replacing that switch and mounting both switches back in their appropriate places.

Here's the progress made on the never-ending AV project:

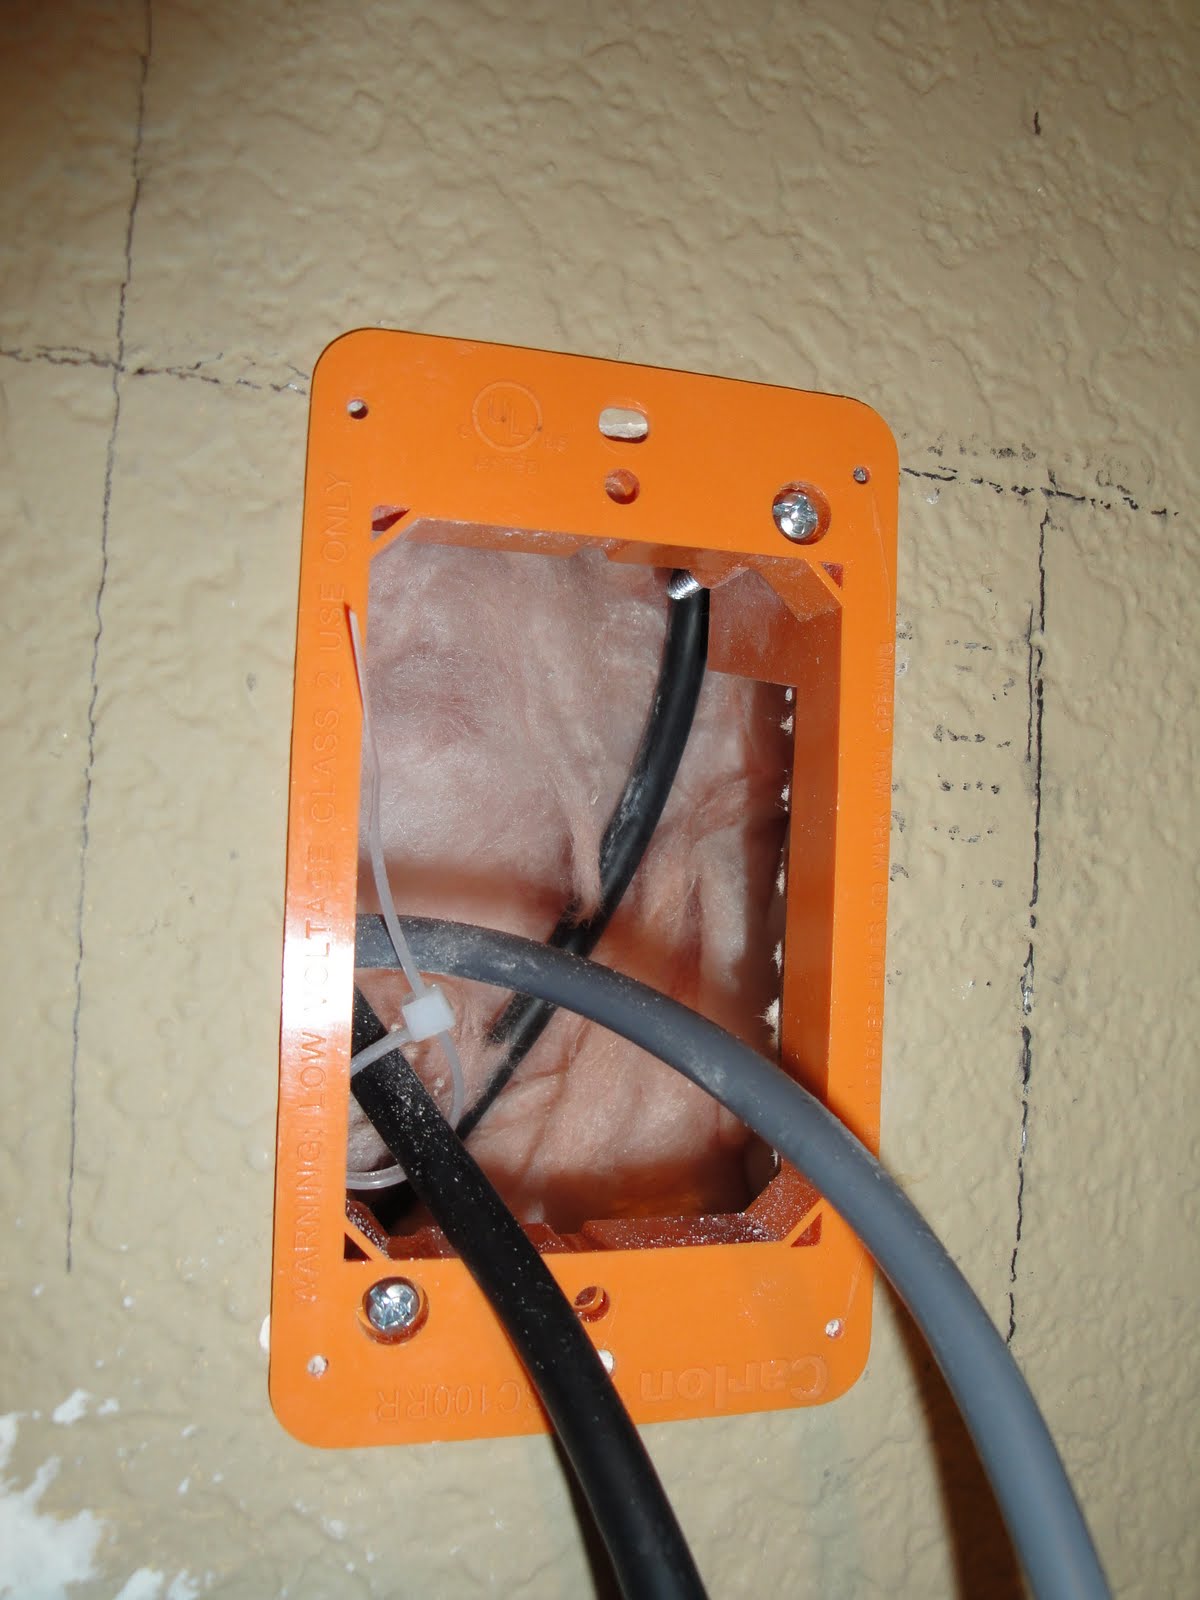
If you see the two long vertical lines to the right and left of the center box (with the wires) those are the lines where the rear plate of the TV swing arm structure will be. I have to move the other box over to the right (where it's drawn now) so that it will be between the swing arm structure and the next stud.

New hole with the wires pulled through. I'm going to have to patch that middle one now.

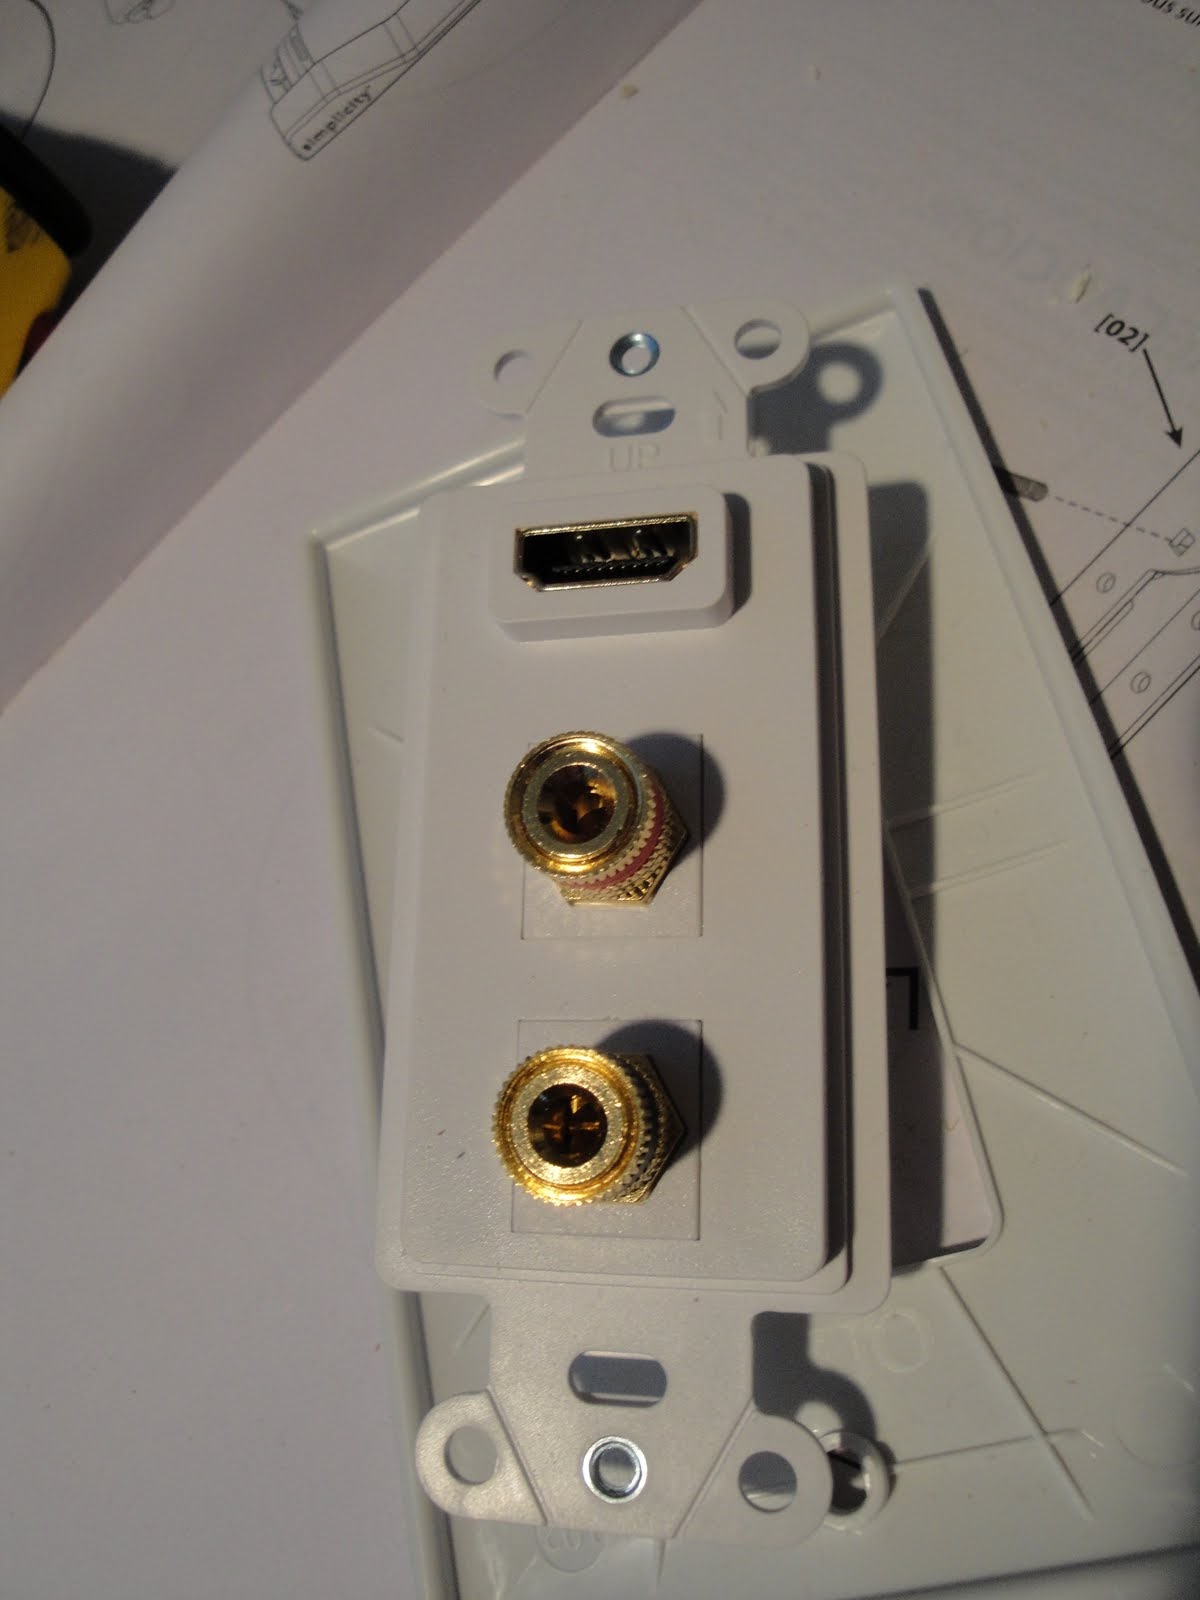
This is the plate that goes on the right. HDMI port on top, center channel speaker ports on the bottom. Very nicely set up, I think.

Here's the back. The connectors for the speaker wires are a little odd, but they seem solid. There are little gold screws in the side, so you unscrew them, put the wire in and then screw them back down. Seems like it will be secure enough, I guess.

This is one of our magical orange boxes. These things are great. The little swing arms go up and down and when you tighten the screws they clamp to the drywall. They're perfect for what we're doing here and are so easy to use.

Here's an example of me thinking ahead. I drilled a hole in here. You'll see why in a second.

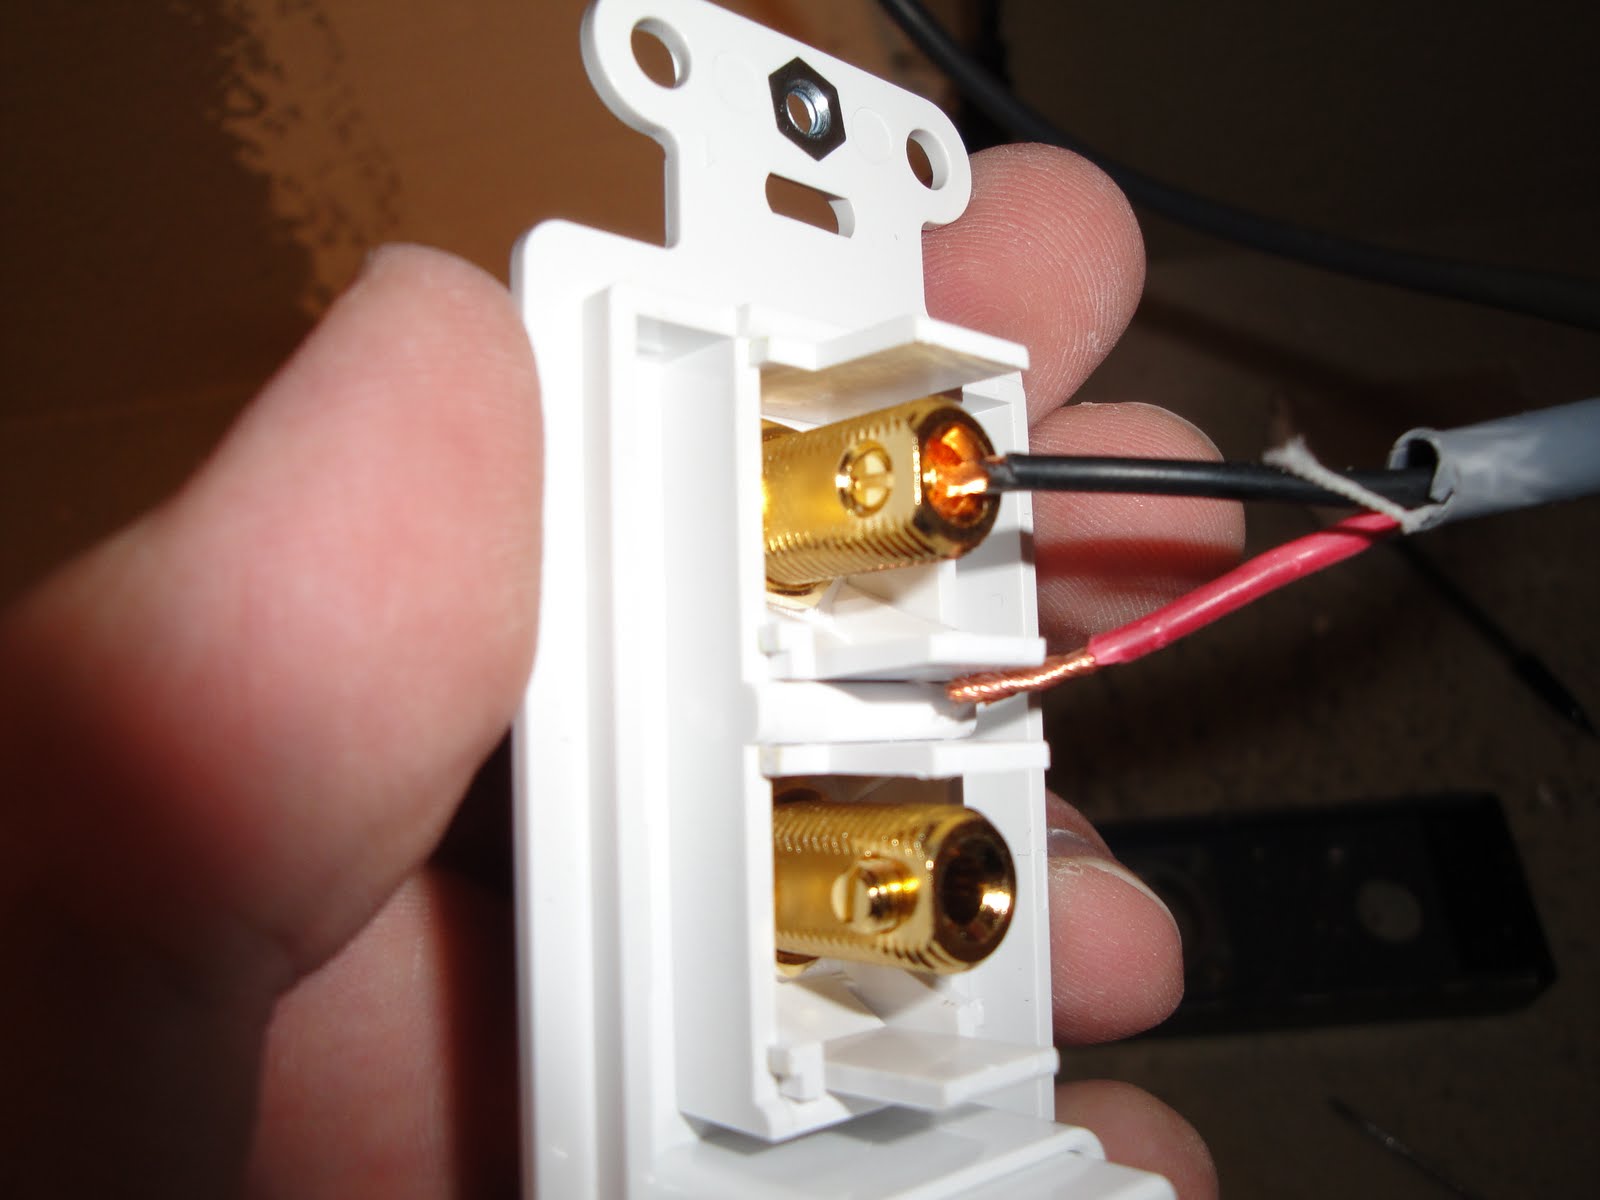
There it is! I used a cable tie to attach the HDMI cable to the box so it can't pull free of the connecter and get lost back behind the wall. The speaker wires and the coax screw in but the HDMI just pushes in so I wanted to secure it a bit better.

Here it is clamped to the wall. Very nice, isn't it?

This is how the speaker wires connect. I haven't seen these before, but who am I to judge?

All the plugs plugged in. Time to secure to the wall and be done with it for the time being. You can see that the HDMI cable is attached to the box at the bottom even though it plugs into the top. Part of thep lan is to give the wire enough slack on the back that it won't get pulled out by any rough treatment of the cables down below or anything. Also, I didn't want to crimp it too hard to get it to plug in properly.

Ta-da! There's the plug. After all this, it feels way more impressive to me than it looks. Still, once we get the other speaker panels finished and the remaining holes patched, we'll be all done. Woot!

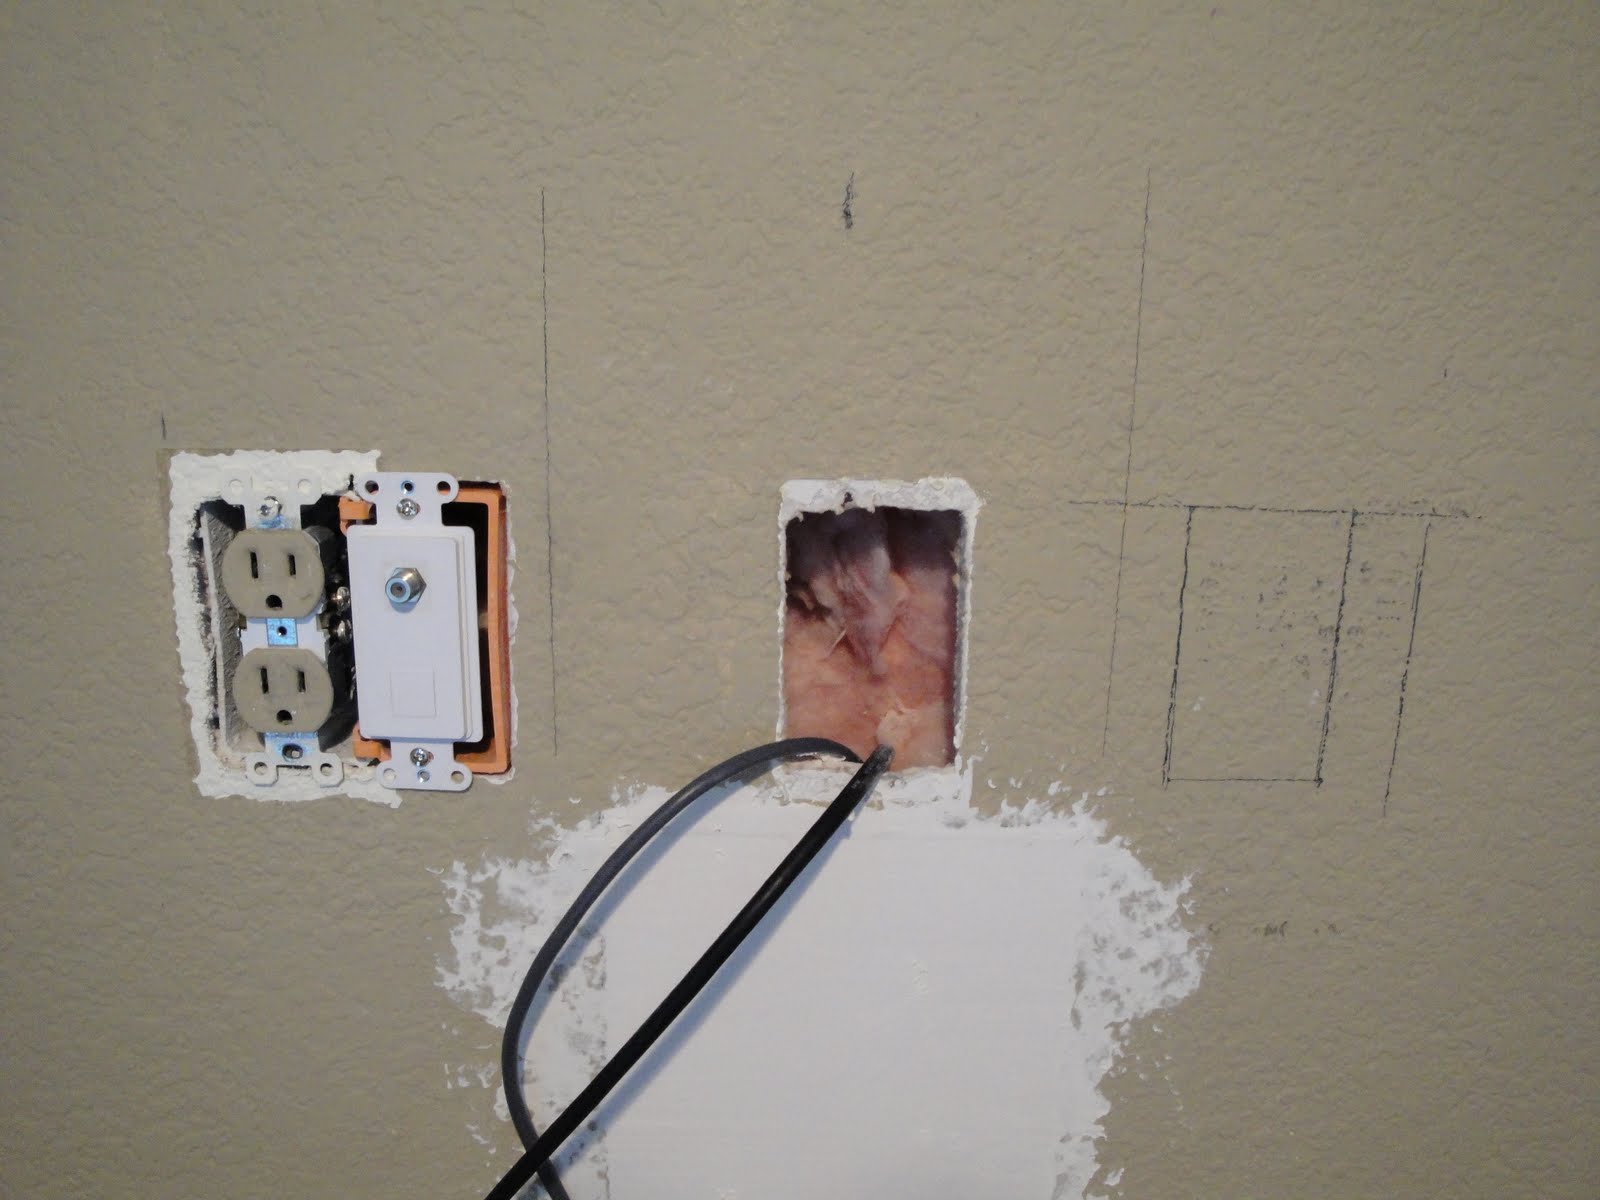
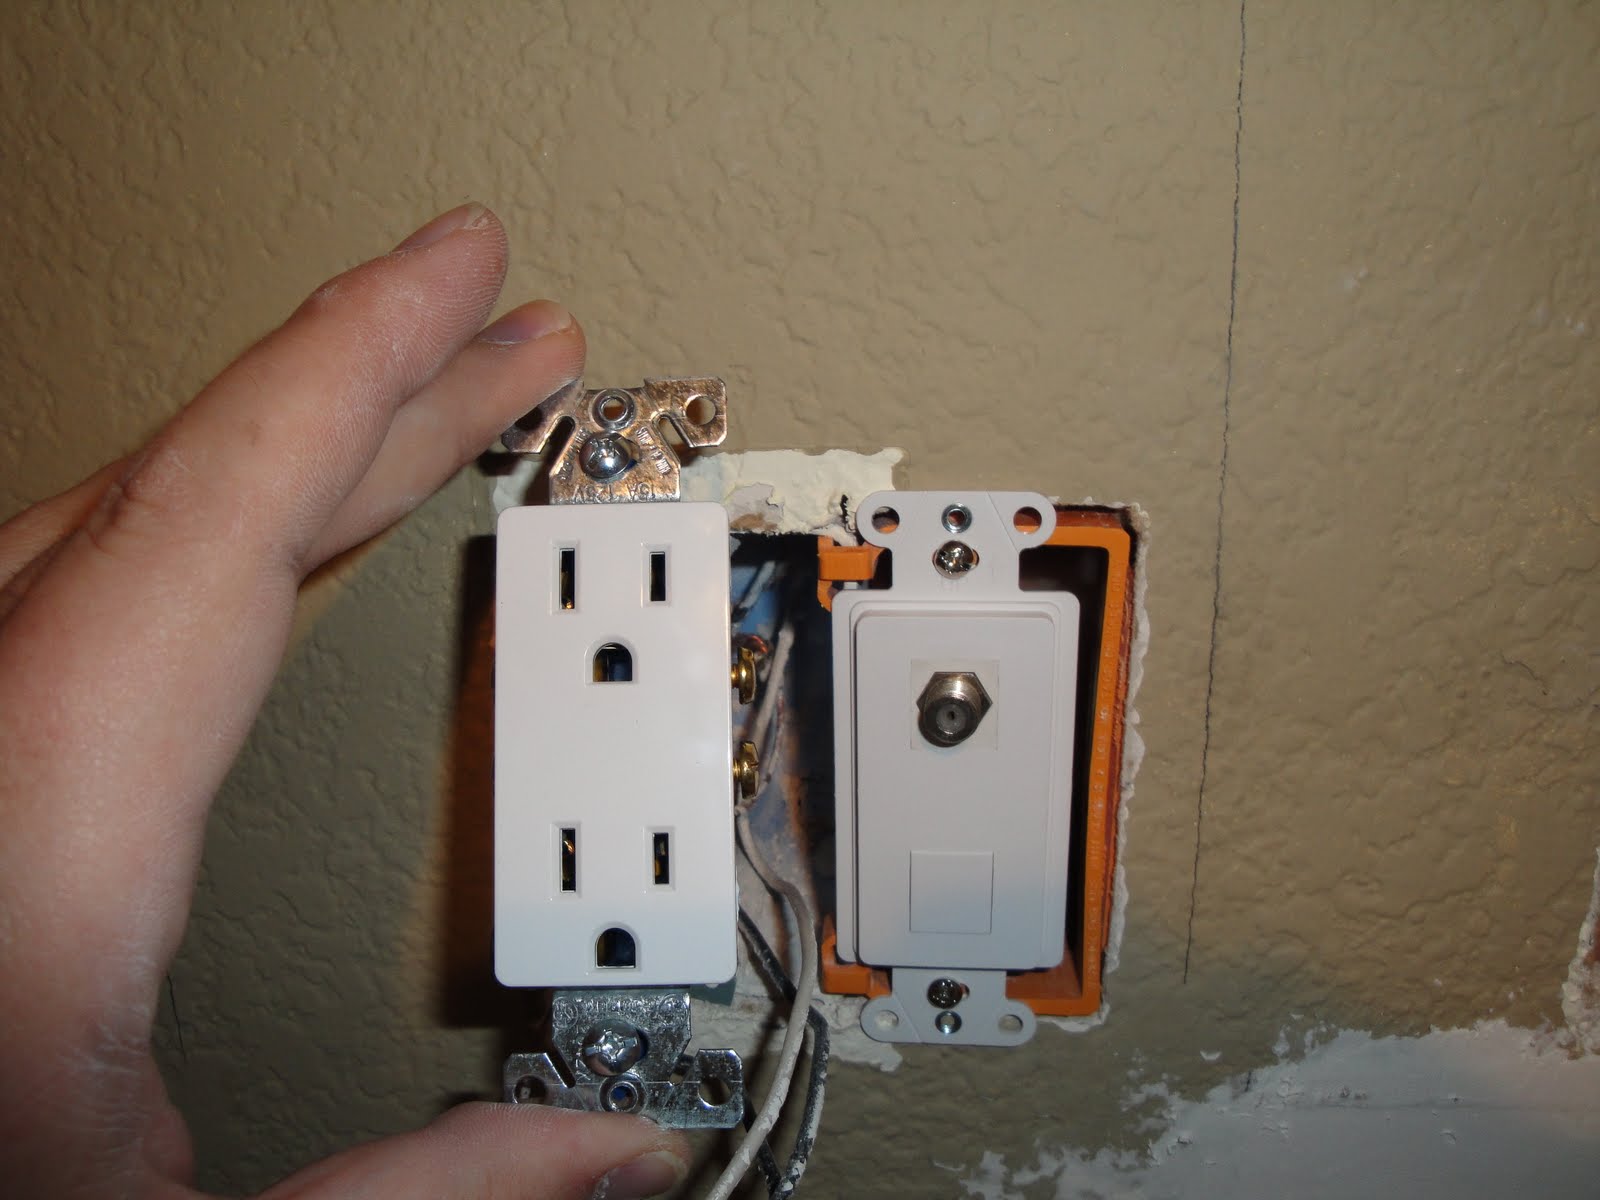
So pretty. What to do about the double gang panel on the left, though? We couldn't find a white panel that had a two-hole outlet opening and a rectangular opening. Solution?

They painted over the outlet so we needed a new one anyway. This just makes the whole thing look all snazzy.

Thanks for reading! As always, feel free to ask questions or leave suggestions or whatever.